If you want the print ready package
![]()
My first real useful homebrew app for the Nintendo Switch.
This is what happens when you watch 2h youtube tutorials of a 4h course.
Youtube C++ Tutorial for Beginners.
Video clip showing it in action:
- Install/update uLaunch.
- Remove uLaunch.
- Install extra Themes.
- In app update.
- Reboot to payload.
 . When uLaunch came out I was very excited to try it out, it looks very promising like the design.
Open source and I guess there will be loads of new features in the future.
But it's still in beta 0.1 so its not realy stable, not that I found breaking bugs.
So I wanted a easy way to remove it and re-install it without re-ftp or sdswap.
Started my journey in to Switch develepment just this month and I really like the progress I made.
Here are some screenshots:
Nice progress menu.
Like the screenshot says use Reboot Payload to do restart in to uLaunch.
 This will only De-Install the Titles, not the users information at ”/uLaunch/” Themes will not be deleted.
Like the screenshot says use Reboot Payload to do restart in to uLaunch.

Themes will appeare directly after closing app in uLauch theme selector.
You need to restart uLaunch to apply the theme.
Use Reboot Payload to do so.

Disable or Enable uLaunch without deleting it. Title folders will be moved except for 0100000000001000 only the exefs.nsp file will be moved.
And as bonus Included all Themes that are in the Showcase.

Just restart after download and if there is a new version this one will be started.
Like you can see the Icon shows “!” because I used a icon.png and not icon.jpg.
In uLauch my png icon is showing correct but not in Homebrew Menu
This is very simple just download the DC-uLaunch_Updater.nro
and create and place in your /switch/Ulaunch-update/ folder.

And then your done launch from HBmenu or uLaunch.
Some example screenshots of KarmicBacklash Themes.
Install will not work on other CFW! Only tested it on my Switch so I don’t take responsibility if something happens to your switch.


 Today it was father’s day and I wanted to make something special for my dad.
 the nes mini theme would go good with this in retropie.
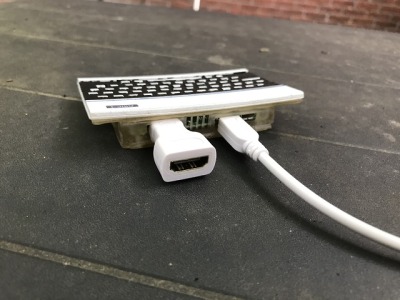
Load that model in to ThinkerCad and a Raspberry Pi zero model, just for size’s.
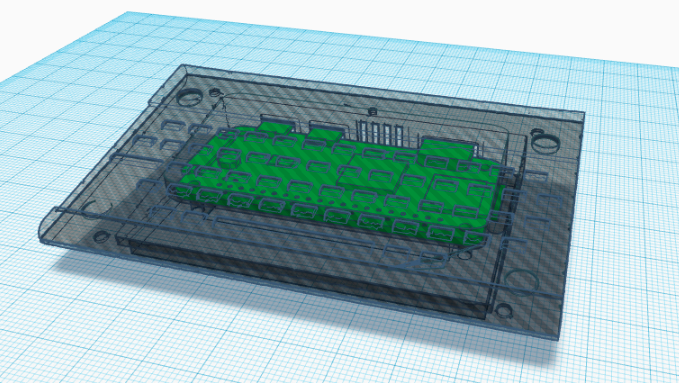
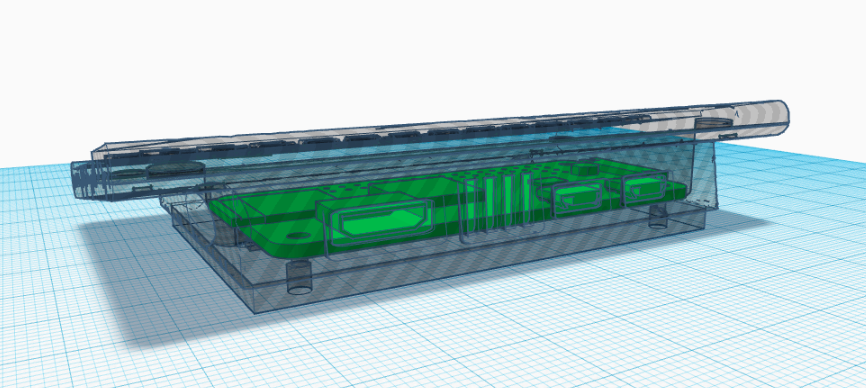
If you want to tinker more:
https://www.tinkercad.com/things/5aVdkiqgLMc-oric-raspberry-pi-zero-w
Added retropie installed the Oric emulator and added the roms.
Oric Atmos theme that i made for the Nes-mini theme:
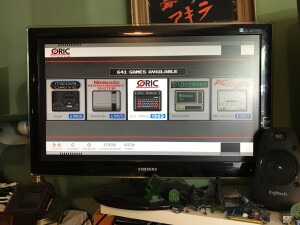
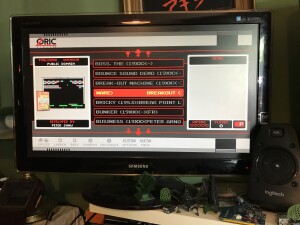
Download link: Oric Atoms. (oops include the psd.. systembackground.png is a psd)
Location of the themes: /etc/emulationstation/themes/(nes-mini)
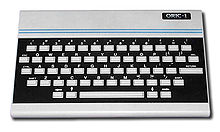
My dad/mom loved The Oric 1 mini

If you want the print ready package
My dad is a Ham Radio/TV amateur and he asked if i could write a better version of his version Test card/screen program that he found on the internet.
 |
http://home.worldonline.nl/~peterdb/testcard/ | Site is offline |
My version is almost a one 2 one copy of Peter his program the only different aspect is: custom screen options.
My dad complains that after he upgrade his video card he could get Peter’s version working correct.
So i looked at the application and told my dad that i could code that in one day and make it better.
I took this challenge because i written some code for custom screen options before.
My version got all basic functions that peter’s version got i left out the RGB options because otherwise i couldn’t make the dead line of one day
Download: Dropbox download. Testscreen app
Source code : Github
Video demo:
Some time back i tried the hole Augmented Reality thing and now that Pokemon Go is so popular
I remembered this project that i did below is a video showing a demo of the project that i did:
If you enable your Webcam in this flash app you can try it your self.
The X-wing will rotated on the Code and if you move it it will follow your movement.
Needs Webcam!
This code is used to display the xwing print it out or display it on your tablet or phone
Place it so the webcam can see the code


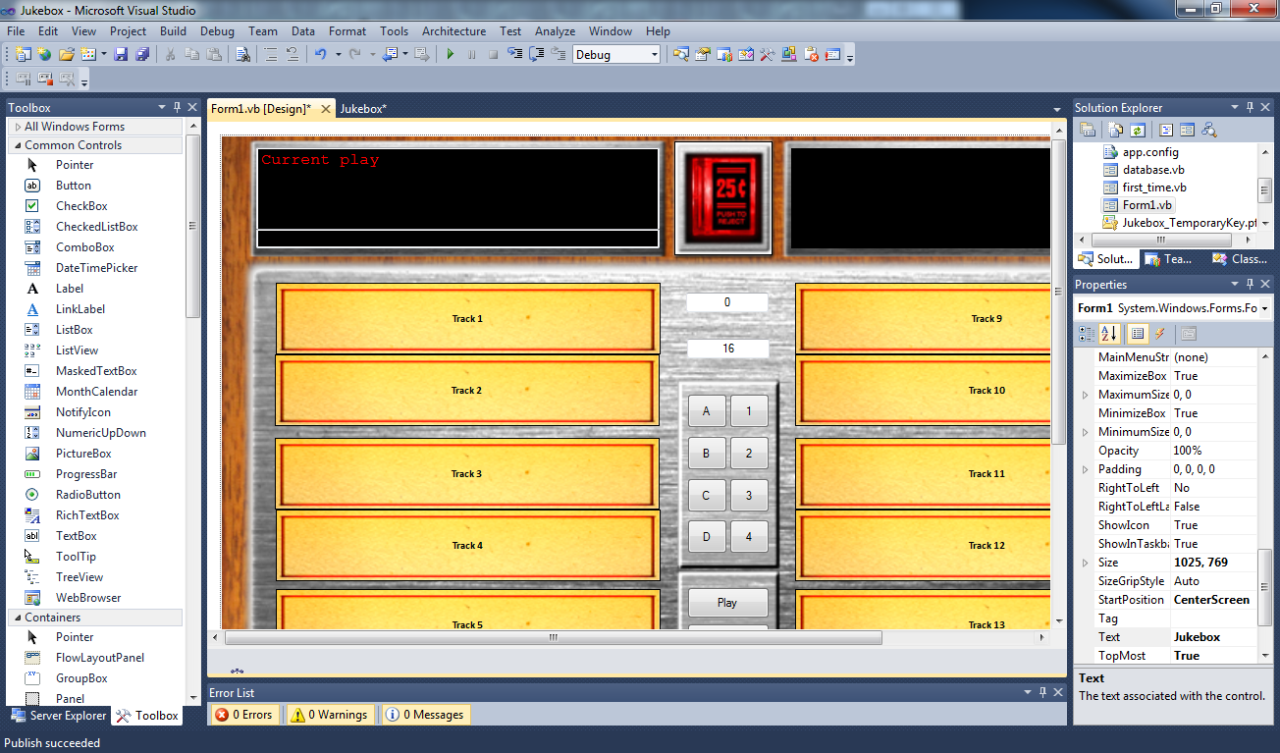
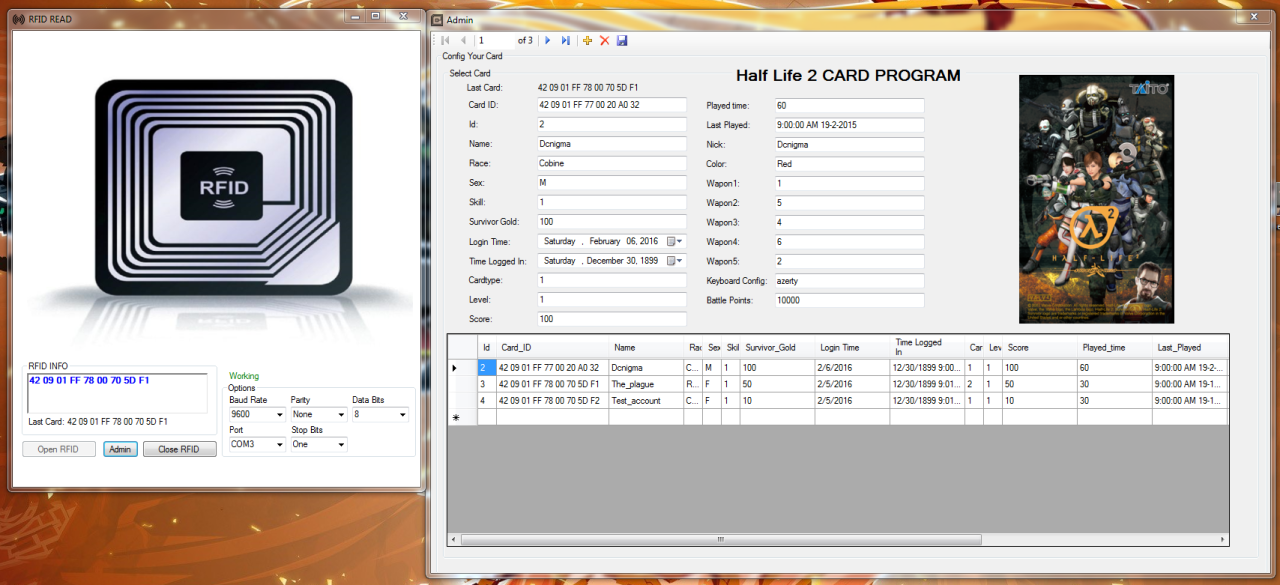
Here is a construct of my new Half Life² loader.
I bought a Rfid reader and now i want to simulate the arcade feeling more.
In later clips you will see the custom player menu´s weapon shop item shop etc.
This clip shows the possible way´s to save or load the game.
Will add a option for dual screens so you can have a marquee effect:
show loading maps have player info etc…
this app/loader will give you the beste Half life² survivor arcade experience that you can have on pc.
