September 27

Made a Pwnagotchi >> M1n1N16m4
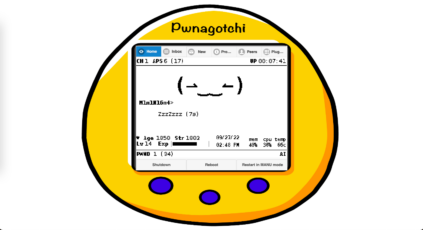
(⌐■_■)

PWNAGOTCHI: DEEP REINFORCEMENT LEARNING FOR WIFI PWNING!
Source: https://pwnagotchi.ai/

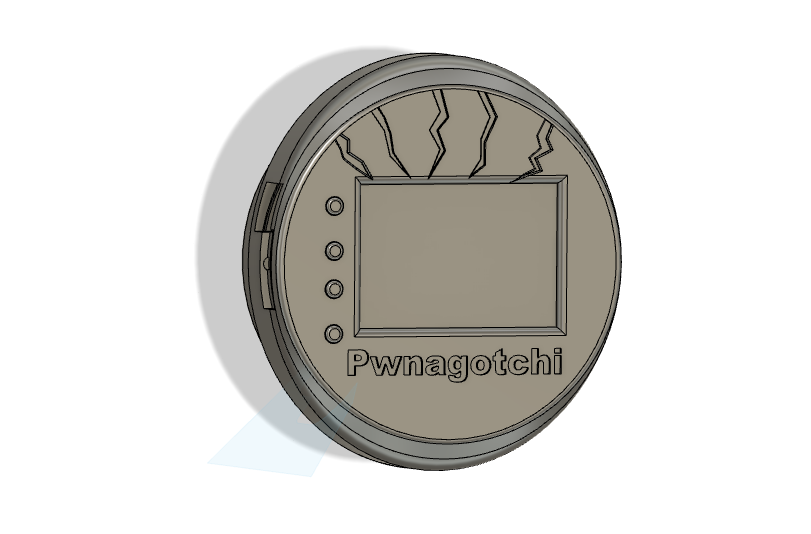
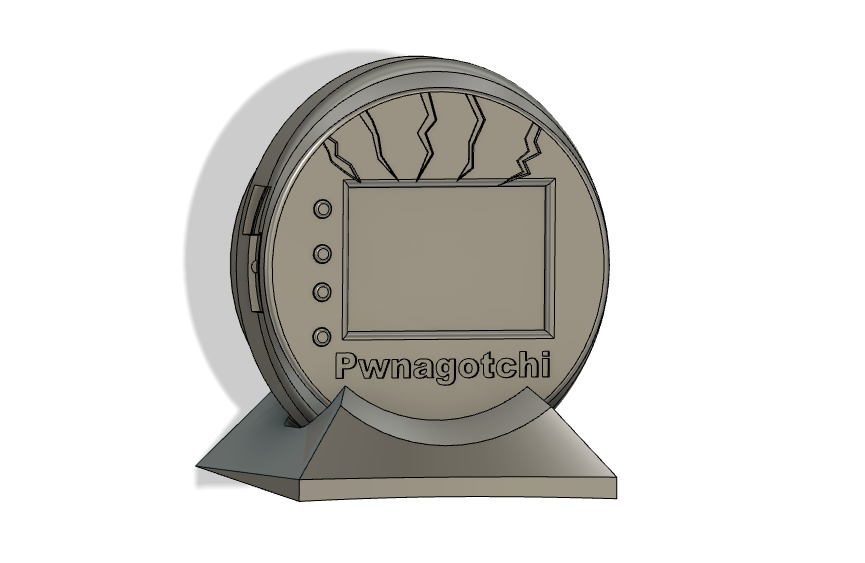
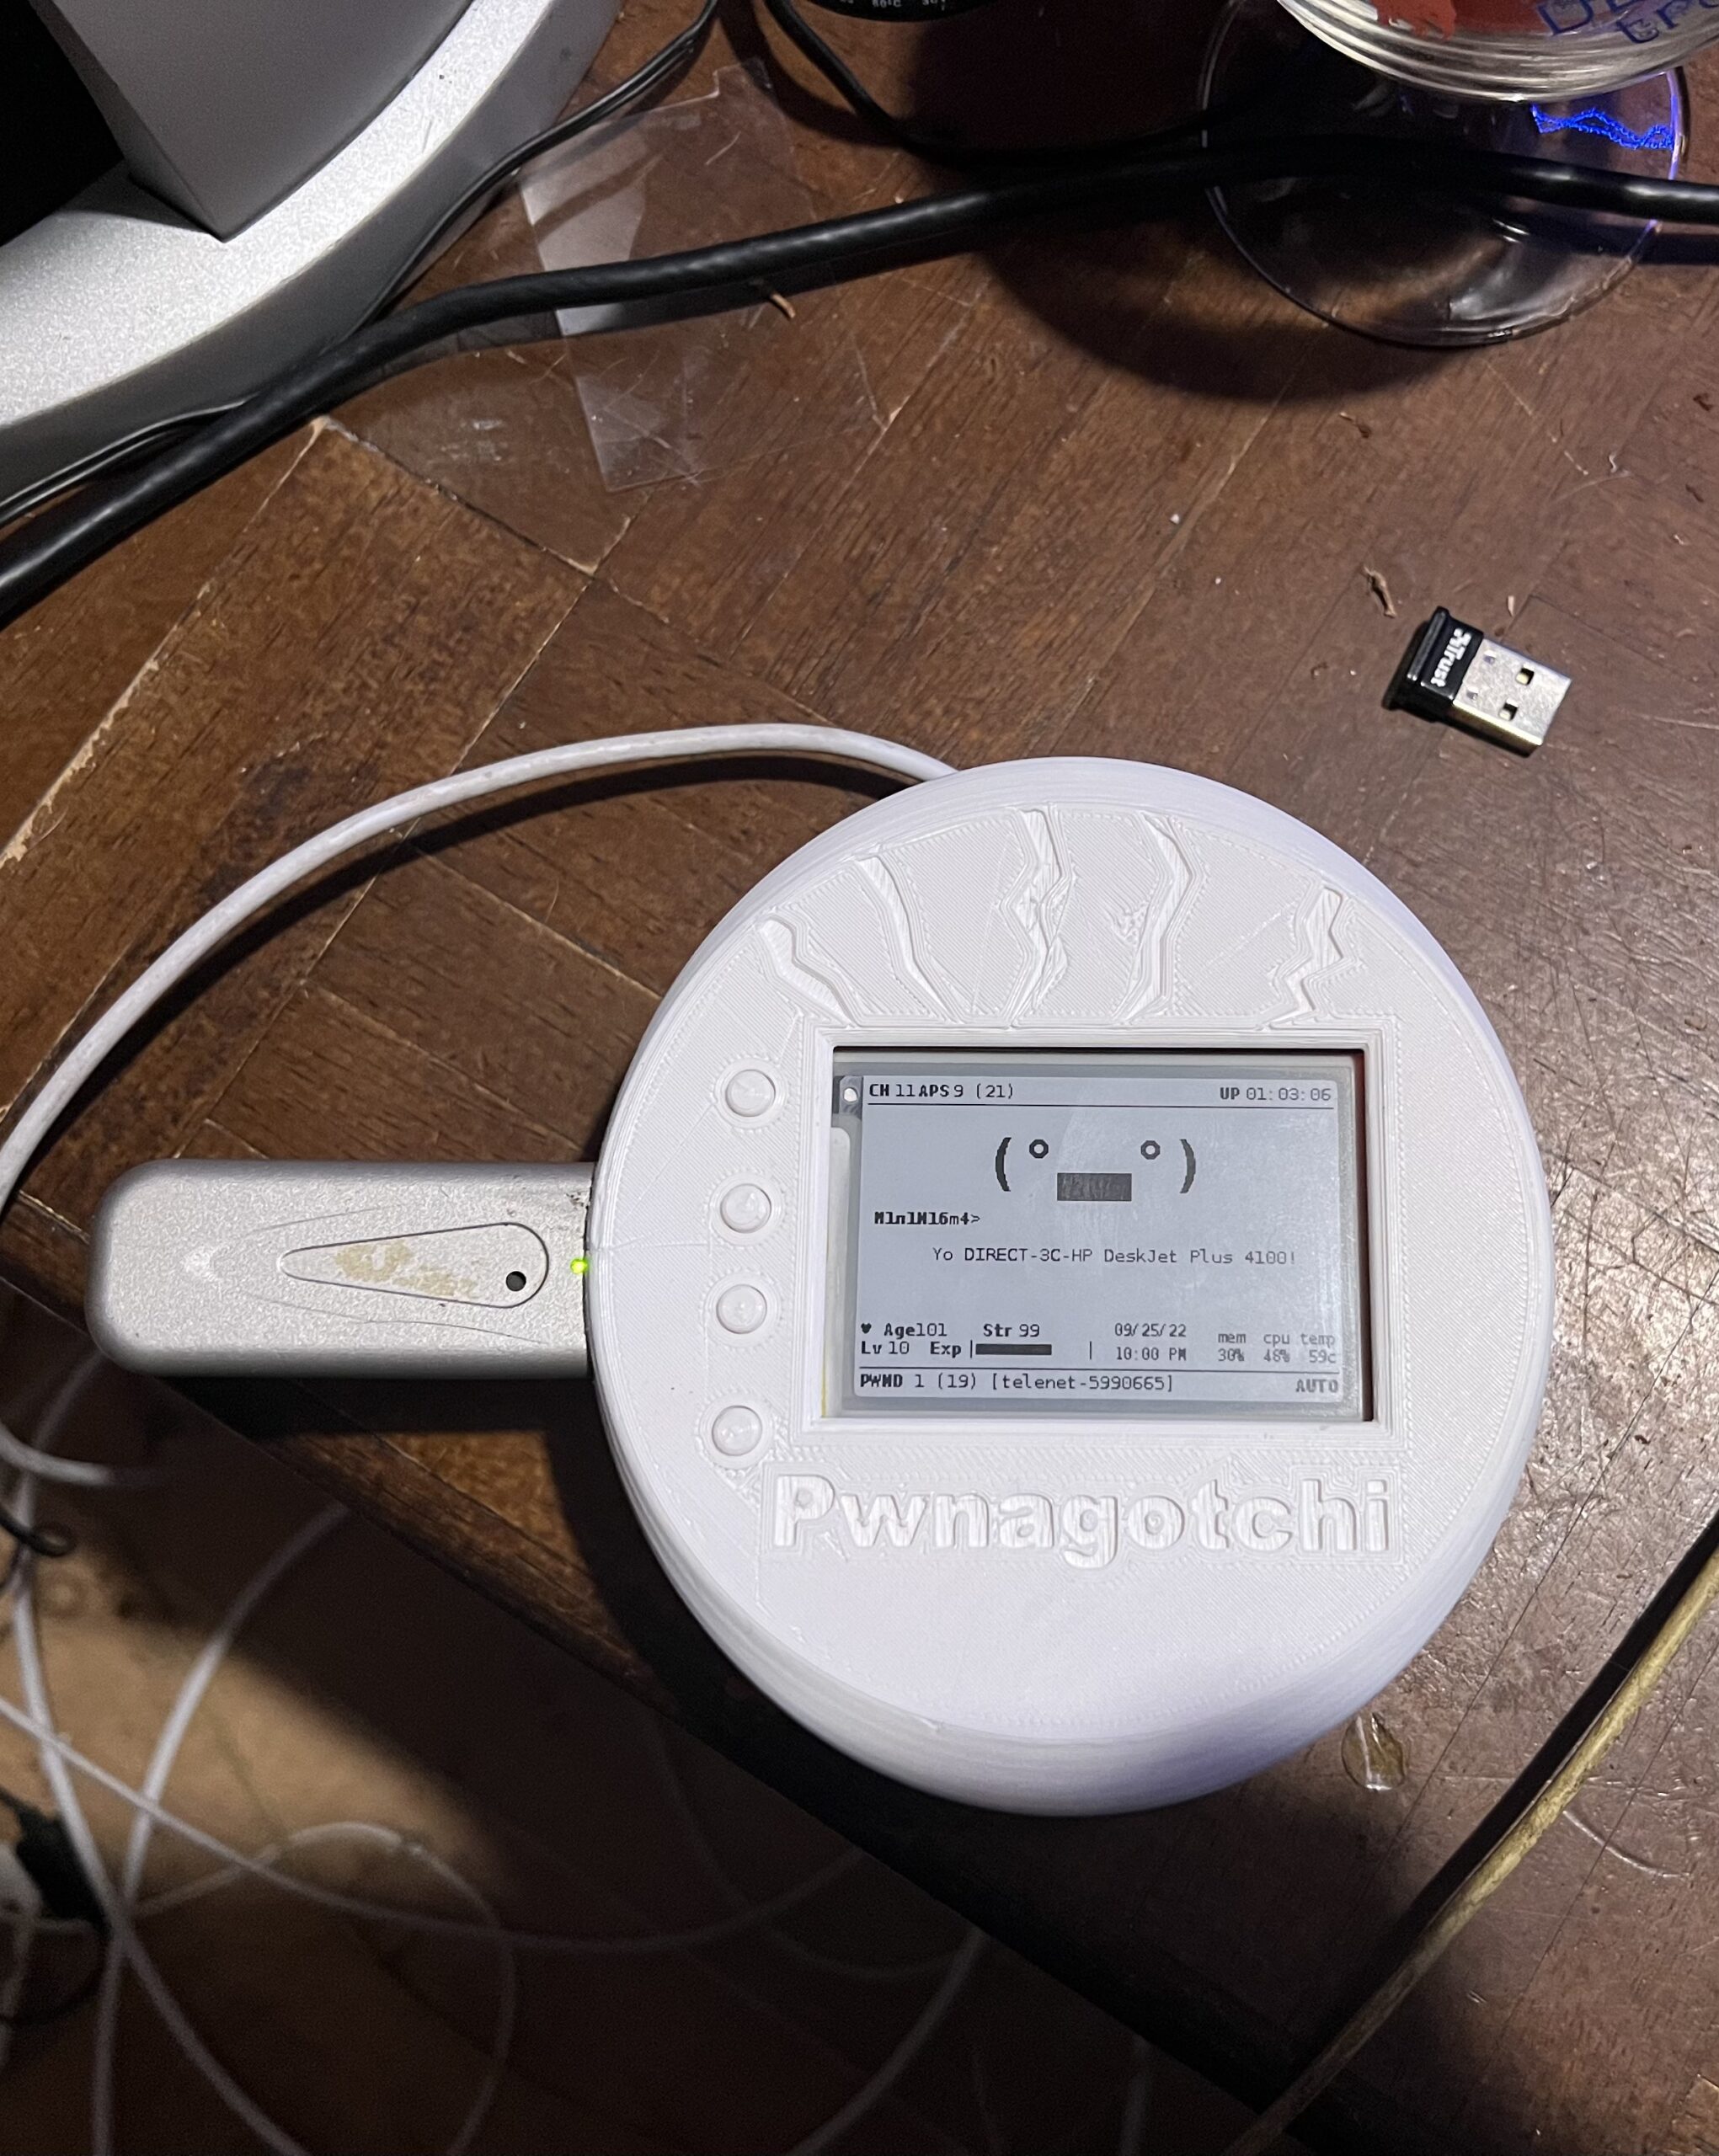
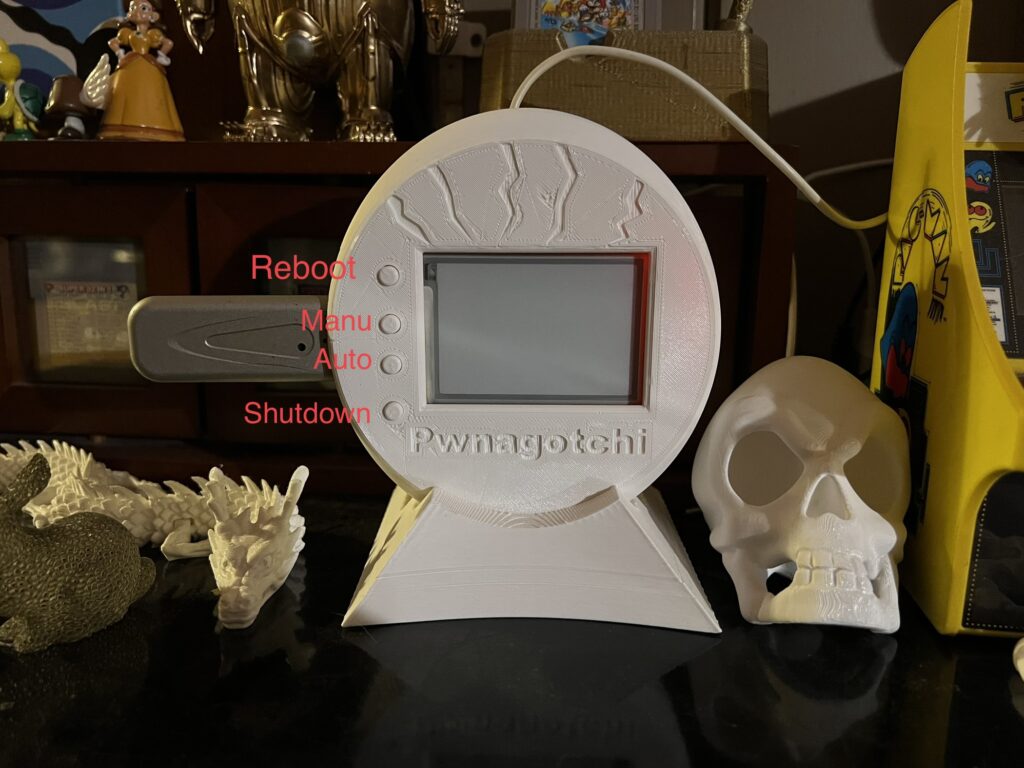
Here are some pictures of my build/design of the case:
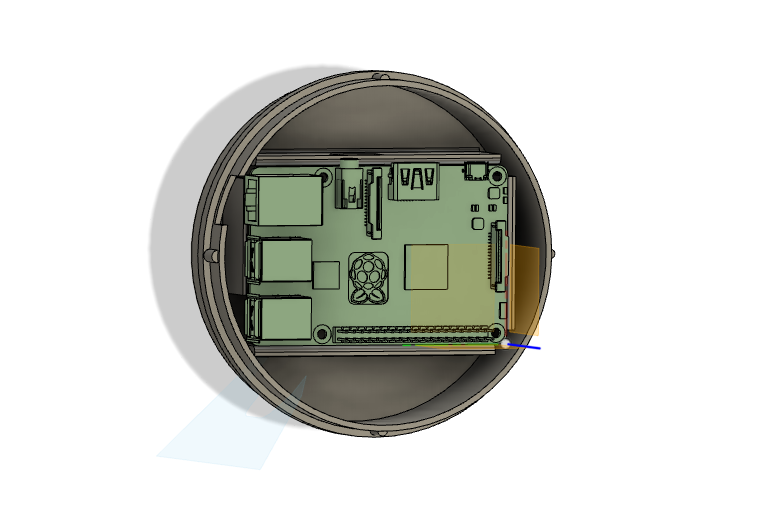
The Case is not perfect, but works 🙂 need some sanding to fit the ports.
STL files will be uploaded to Thingiverse

Specs:

  • Raspberry Pi 3b+
  • WaveShare 2.7 inch e-Paper HAT
  • RPI UPSpack v3
  • Sweex WiFi dongle (2.4ghz only (very old but works perfect on raspberry))
  • Real-time clock ds3231


TODO: wire UART from ups to raspberry and write a plug-in 

Backup and Restore

Backup your SD card using DD (osx)
sudo dd bs=4m if=/dev/disk* of=pwnagotchi.img

Restore SD after you F*ck Up
sudo dd if=/Path/To/pwnagotci/pwnagotchi.img of=/dev/disk* bs=4m
Or use balenaEtcher or any other Img writer

Buttons!

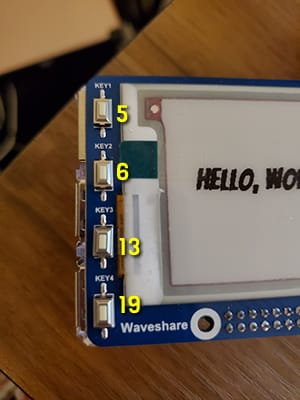
I wanted to make use of the buttons so I made a very simple python script.
But I never learned python so its a bit of hack and slach 😀 If it works it works!

Also Install gpiozero to make it work:

pip3 install gpiozero
import os
import gpiozero  # We are using GPIO pins
import time
 
button1 = gpiozero.Button(19) # GPIO19 connects to button 
button2 = gpiozero.Button(13) # GPIO13 connects to button 
button3 = gpiozero.Button(6) # GPIO6 connects to button 
button4 = gpiozero.Button(5) # GPIO5 connects to button 
 
while True:
  if button1.is_pressed:
    print("Button 1 is pressed!")
#    os.system("shutdown")
  else:
    print("")
  if button2.is_pressed:
    print("Button 2 is pressed!")
    os.system("touch /root/.pwnagotchi-auto")
    time.sleep(1.1)
    os.system("systemctl restart pwnagotchi")
    time.sleep(5.5)
  else:
    print("")
  if button3.is_pressed:
    print("Button 3 is pressed!")
    os.system("touch /root/.pwnagotchi-manu")
    time.sleep(1.1)
    os.system("systemctl restart pwnagotchi")
    time.sleep(5.5)
  else:
    print("")
  if button4.is_pressed:
    print("Button 4 is pressed!")
    os.system("reboot")
  else:
    print("")

I made it boot from rc.local

sudo nano /etc/rc.local

Added the location:

sudo python3 /home/pi/4_gpio_buttons.py &

But no I will use GPIO Plugin just found out how that works 😀

Extra Plugins I used:


Some Extra info about the plugins:
Plugin configs:

aircrackonly plugin

sudo pwnagotchi plugins install aircrackonly
sudo nano /etc/pwnagotchi/config.toml
# add the following lines to config.toml:
main.plugins.aircrackonly.enabled = true
main.plugins.aircrackonly.face = "(>.<)"

AGE plugin

sudo nano /etc/pwnagotchi/config.toml
# add the following lines to config.toml:
main.plugins.age.enabled = true
main.plugins.age.age_x_coord = 0
main.plugins.age.age_y_coord = 135
main.plugins.age.str_x_coord = 67
main.plugins.age.str_y_coord = 135

EXP plugin

sudo nano /etc/pwnagotchi/config.toml
# add the following lines to config.toml:
main.plugins.exp.enabled = true
main.plugins.exp.lvl_x_coord = 0
main.plugins.exp.lvl_y_coord = 145
main.plugins.exp.exp_x_coord = 0
main.plugins.exp.exp_y_coord = 145

Clock Plugin

I changed the Waveshare to my version: is_waveshare27inch and changed te pos: to (200, 80)

        if ui.is_waveshare27inch():
            pos = (135, 135) if memenable else (200, 80)
            ui.add_element('clock', LabeledValue(color=BLACK, label='', value='-/-/-\n-:--',
                                                 position=pos,
                                                 label_font=fonts.Small, text_font=fonts.Small))

Auto_Backup Plugin

Here is the UPDATED code you need to add to /root/etc/pwnagotchi/config.toml to make the auto_backup plugin work:

main.plugins.auto_backup.enabled = true
main.plugins.auto_backup.interval = 1 # Every X Days
main.plugins.auto_backup.max_tries = 10
main.plugins.auto_backup.files = [
"/root/brain.nn",
"/root/brain.json",
"/root/.api-report.json",
"/root/handshakes/",
"/root/peers/",
"/etc/pwnagotchi/",
"/var/log/pwnagotchi.log"]
main.plugins.auto_backup.commands = [ "tar czf /root/pwnagotchi-backup$(date +%d-%m-%Y).tar.gz {files}"]

gpio_buttons Plugin

main.plugins.gpio_buttons.enabled = true
main.plugins.gpio_buttons.gpios.5 = "python /home/pi/powerutilscmd.py shutdown"
main.plugins.gpio_buttons.gpios.6 = "python /home/pi/powerutilscmd.py shutdown"
main.plugins.gpio_buttons.gpios.13 = "python /home/pi/powerutilscmd.py shutdown"
main.plugins.gpio_buttons.gpios.19 = "python /home/pi/pwnmenucmd.py close"

Plugins not working (for me):

  • Christmas plugin. >> Uses old config.yml file.
    (tried fixing it but after I made quick and dirty “fix” Wifi stopt scanning, very strange)
  • Pwnagotchi Pwnmenu Plugin get error:
[ERROR] Exception on /plugins/toggle [POST]  
File "/usr/local/share/pwnagotchi/custom-plugins/pwnmenu.py", line 24, in <module>
    menucommands.append(linelist[1].replace("\n",""))

Here are some guides I found/used

Successful cracked 2 Wifi Passwords
Results of Online Hash Crack

You can contact  ( ⚆_⚆)
M1N1N16M4 via PwnMAIL at:

42fc6207fb1302f9d407042099aacb4c6c492794334e01c1613c0db5ed225f5b

Category: Uncategorized | Comments Off on Made a Pwnagotchi >> M1n1N16m4
June 5

HALF-LIFE 2: SURVIVOR Ver2.0

After a few years doing nothing with the translation.
I decided to release the project.

Will have a download for the game but will make a separate download file.
This separate download will have the vtf converted to png for anyone that wants continue on this project.

Most of the graphics to change are located at /hl2/materials/ac2d/*
I did also few of changes in the GameUI.dll, ac.dll, nesys.dll, srcds.dll
If you change your language setting for your computer to Japanese you will see the missing text in game but it will be in kanji
Also errorwin.exe got changed.

Just compare the files to see what I have changed.

I used a few tools, Hexeditor, Photoshop, notepad++ and also
you will need a photoshop vtf plugin to edit the vtf files.
(plugin will only work in photoshop 32bit)

source: https://nemstools.github.io/pages/Miscellaneous-PS_VTF_Plug-In.html

Links to downloads: Soon need to test on other computer if it boots.

Category: Uncategorized | Comments Off on HALF-LIFE 2: SURVIVOR Ver2.0
March 5

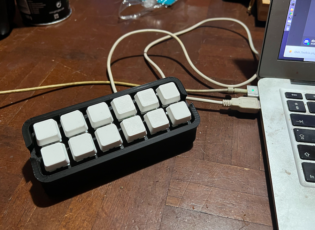
6 x 2 Macropad

Printed a macropad from thingiverse not this one but can’t find Og files.

but these look good too https://www.thingiverse.com/thing:2822140

Parts:

  • 3D printer filament of your choice
  • Arduino Pro Micro (ATmega32u4)
  • 12 x Cherry MX-style mechanical key switches

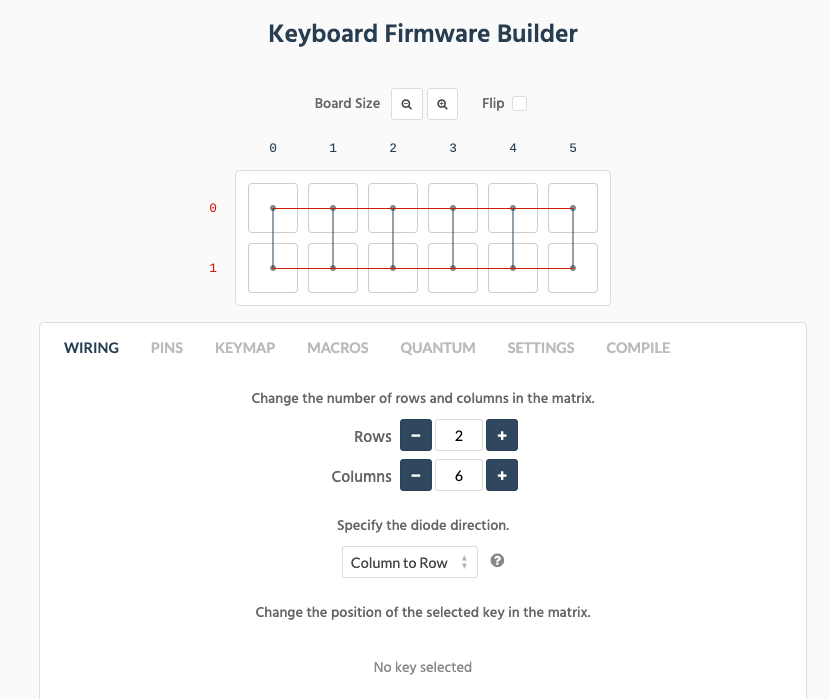
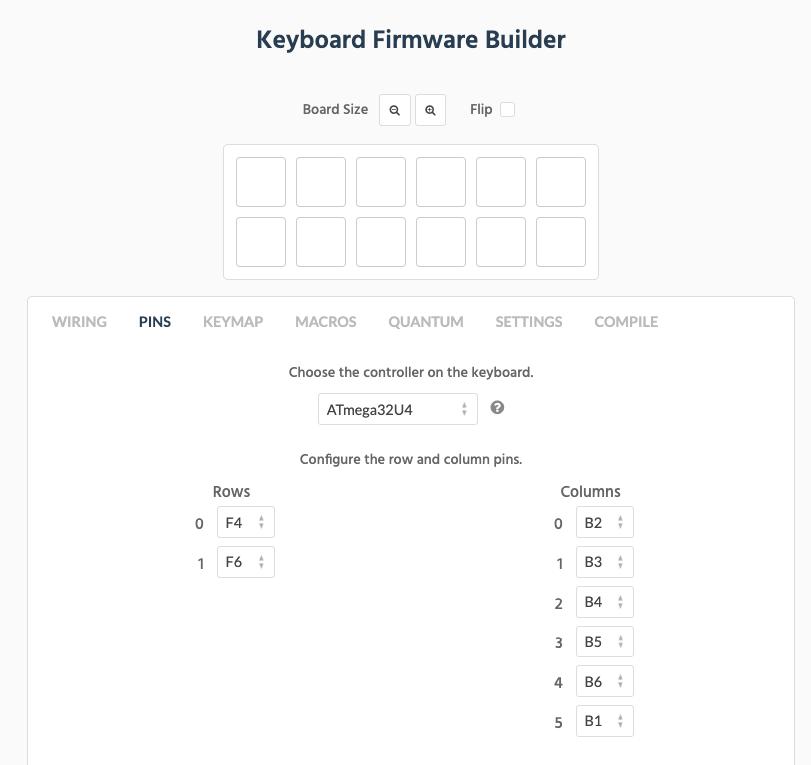
I used KBFirmware to make the Firmware for the Arduino Pro Micro:
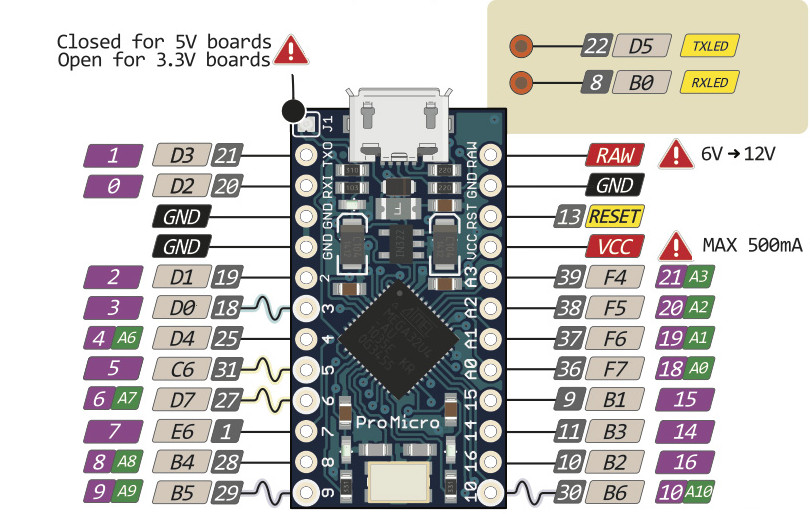
Used this pin out to find out what the KBfirmware pinouts were using

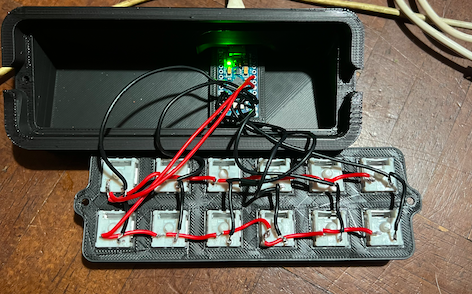
The Wiring:

PINS

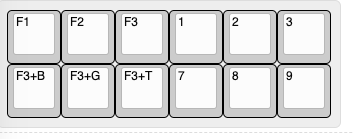
I tried this layout for Minecraft
Made using Keyboard Layout Editor


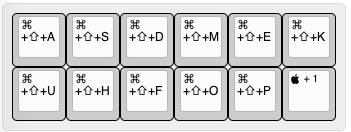
For Microsoft Teams

Teams Shortcuts:

  • Accept video call Command+Shift+A
  • Accept audio call Command+Shift+S
  • Decline call Command+Shift+D
  • Toggle mute Command+Shift+M
  • Start screen share session Command+Shift+E
  • Raise or lower your hand Command+Shift+K
  • Start video call Command+Shift+U
  • End audio call Command+Shift+H
  • Toggle fullscreen Command+Shift+F
  • Toggle video Command+Shift+O
  • Toggle background blur Command+Shift+P
  • Open Activity Command+1

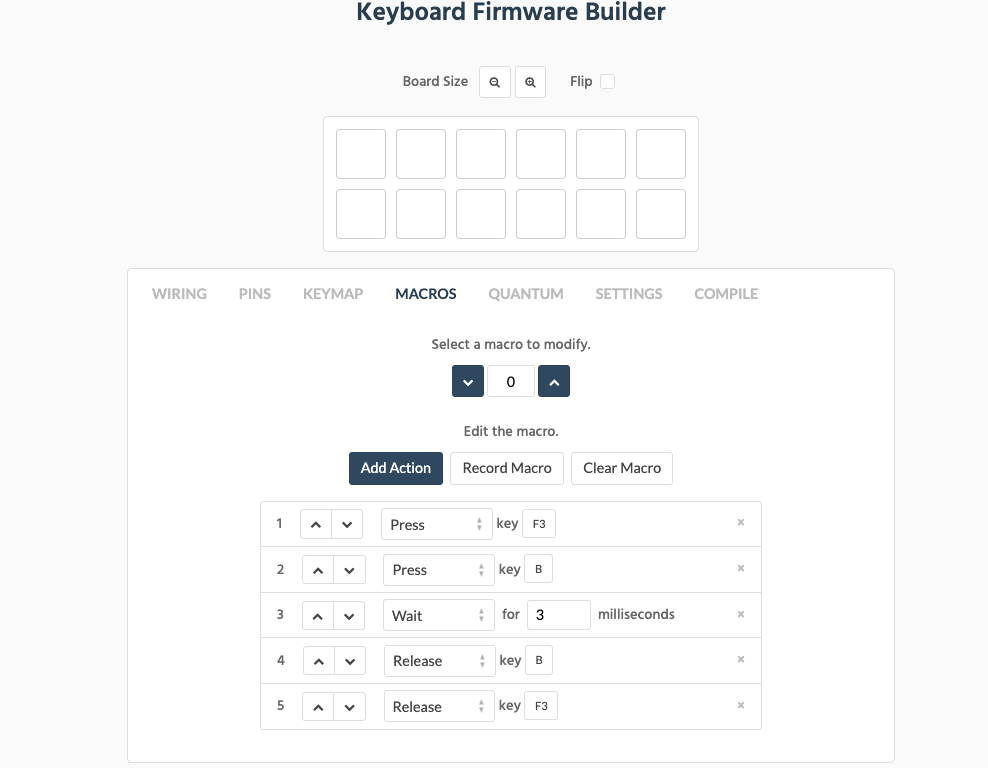
How to Setup the Macros:

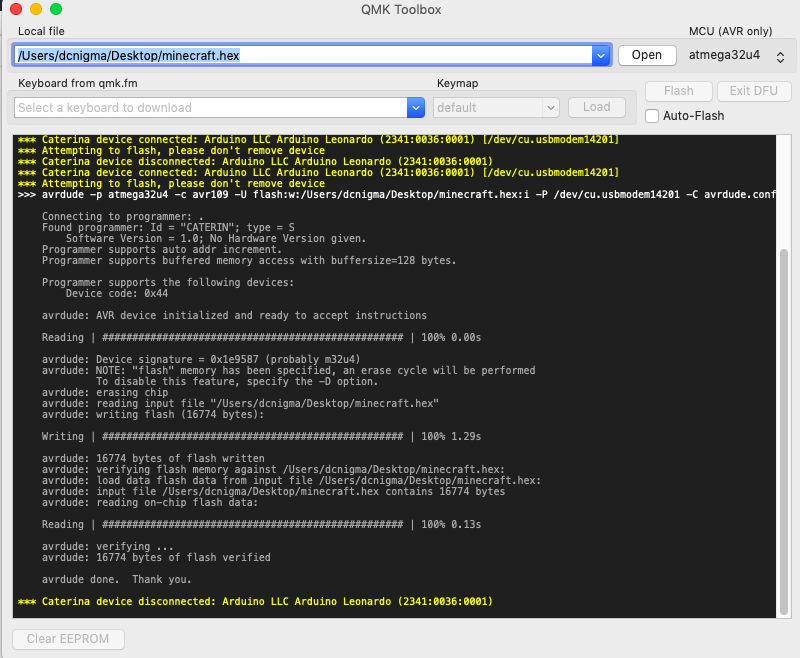
Flash the HEX for Arduino Pro Micro with QMK Toolbox

Category: Uncategorized | Comments Off on 6 x 2 Macropad
September 25

Setting up a Home PBX phone netwerk (3CX)

BUY a Raspberry Pi and install Raspberry Pi Imager

Then flash your sd card with Debian with Raspberry 32bit

we install the 3CX Phone System (IP PBX) on a Raspberry Pi using

one command:
wget https://downloads-global.3cx.com/downloads/misc/d10pi.zip; sudo bash d10pi.zip
follow the installation and choose webbrowser

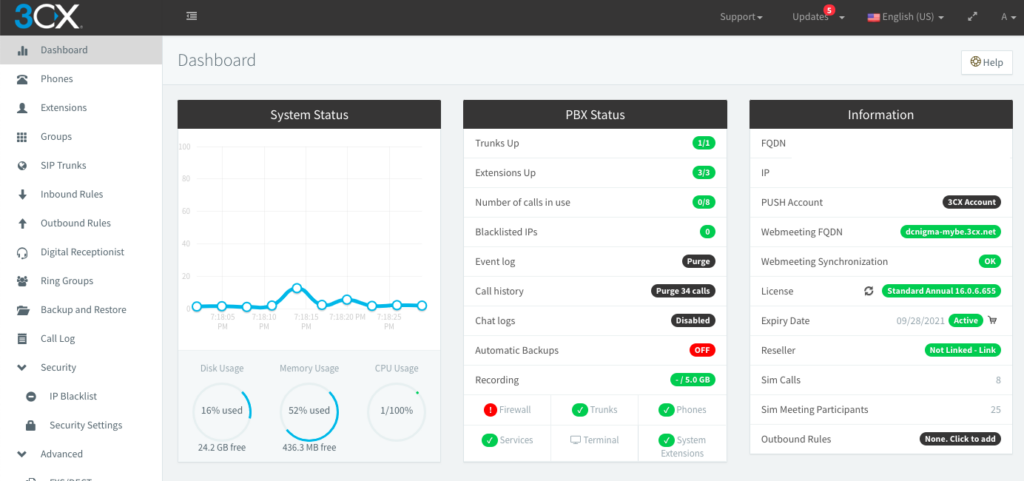
3CX Dashboard

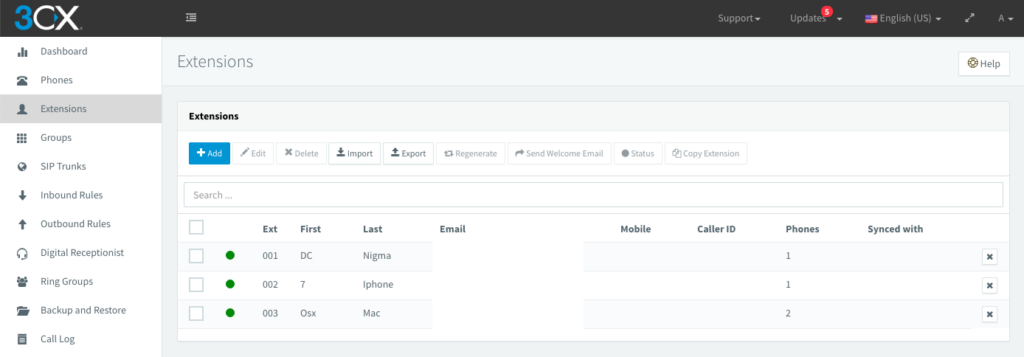
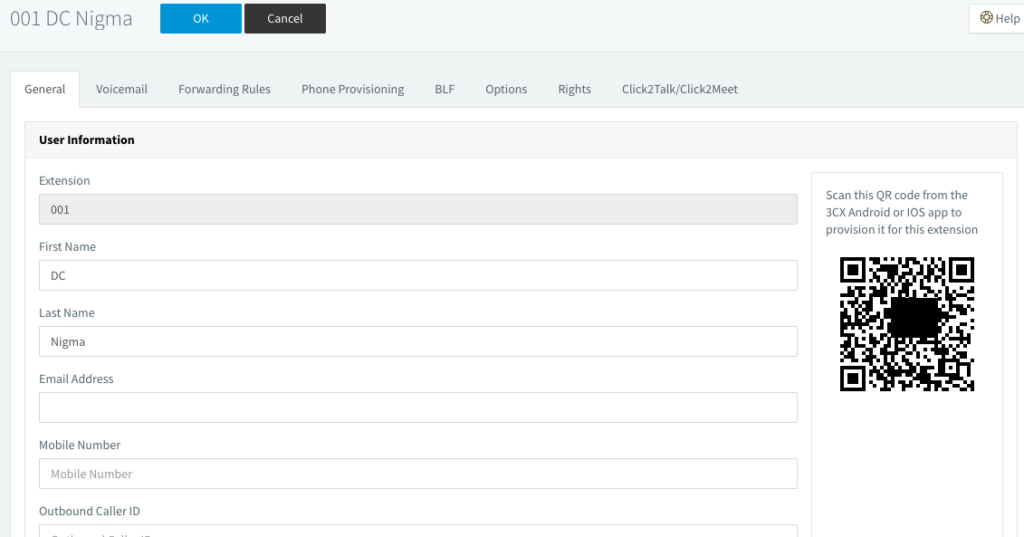
Create Extensions

Download 3CX communicator for your phone/tablet and scan QR code

This is the easies way to make your home phone network work instantly.

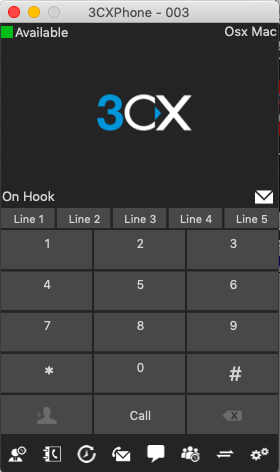
How to use the 3CXPhone app for OSX
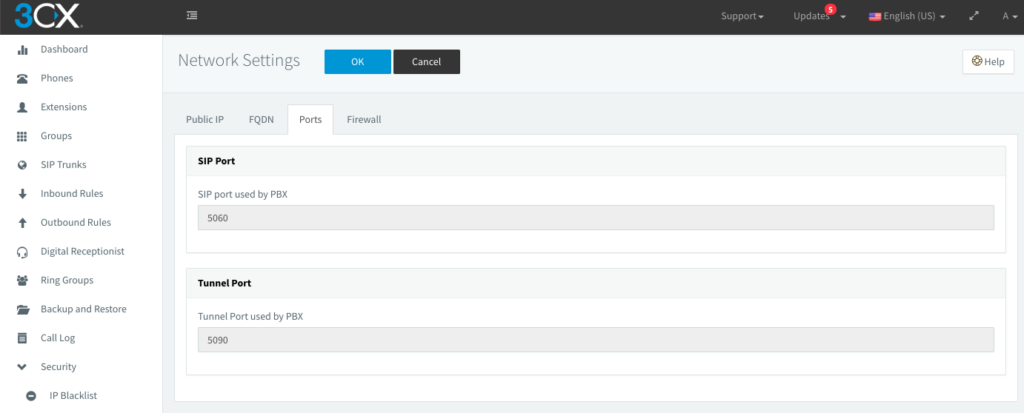
Download the app and install it, change in the preferences the Local SIP port to your 3CX server.

Check your port:

Settings > Network Settings > Ports

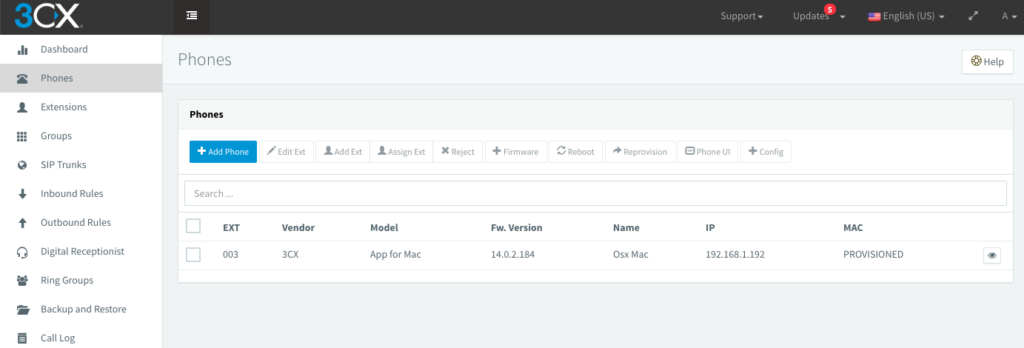
You need to create a extension first before you can configure a phone
Add a phone:

I just used the first phone in the pull down menu and added my mac’s Mac Address

Restart 3CXPhone and your connected

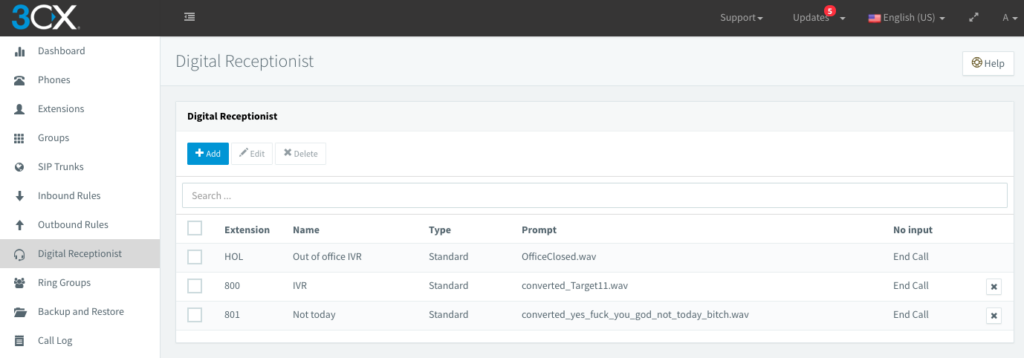
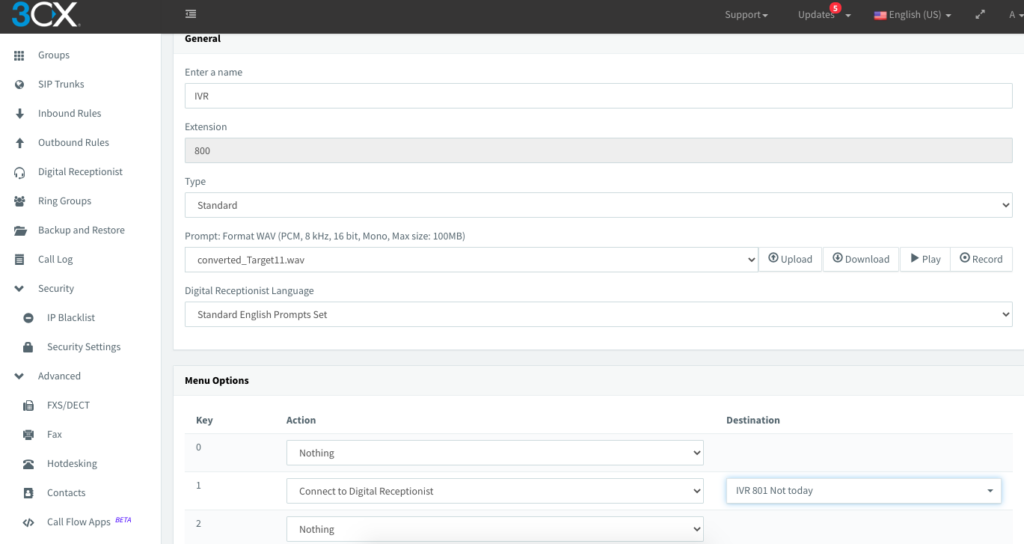
Having fun with the IVR

Its easy to make a IVR upload some custom wav files to give direction.

Idea: Fun IVR game. Find the right numbers to dial and progress in the IVR.

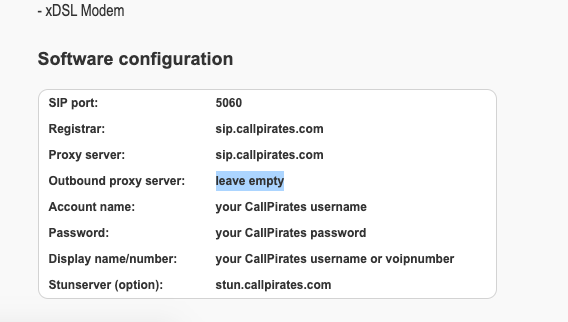
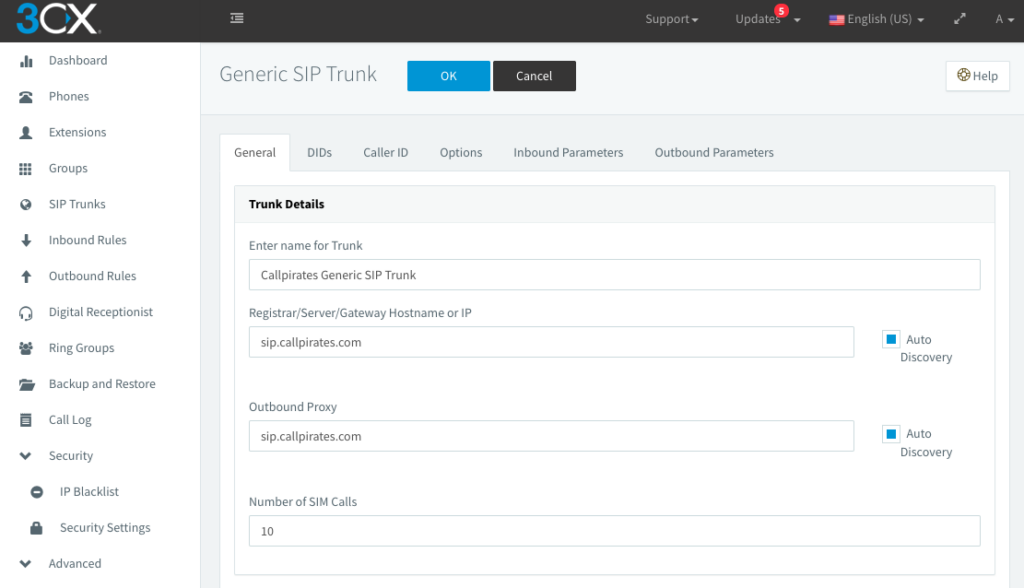
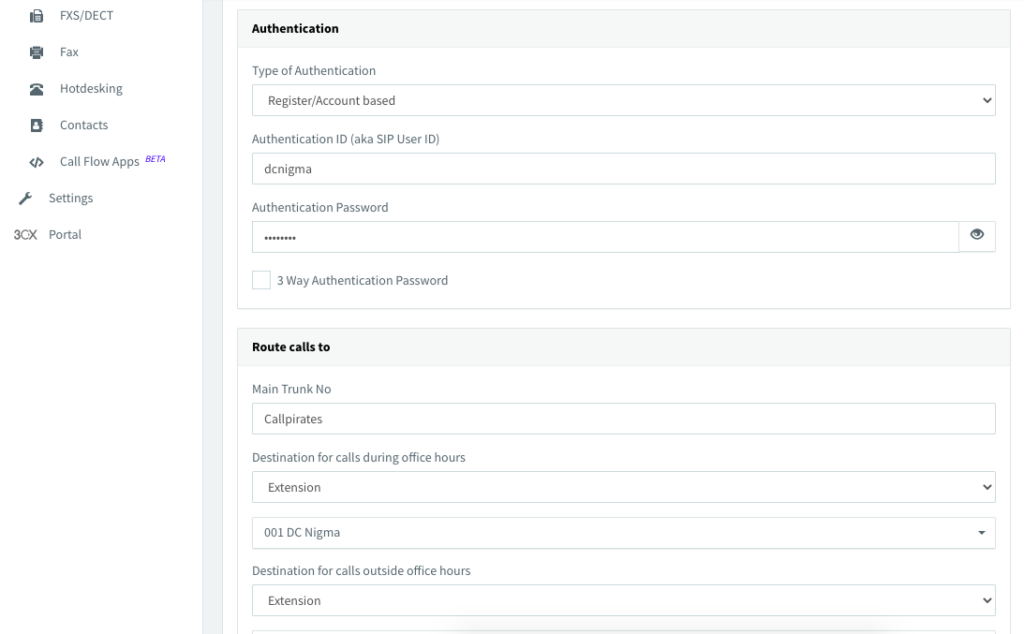
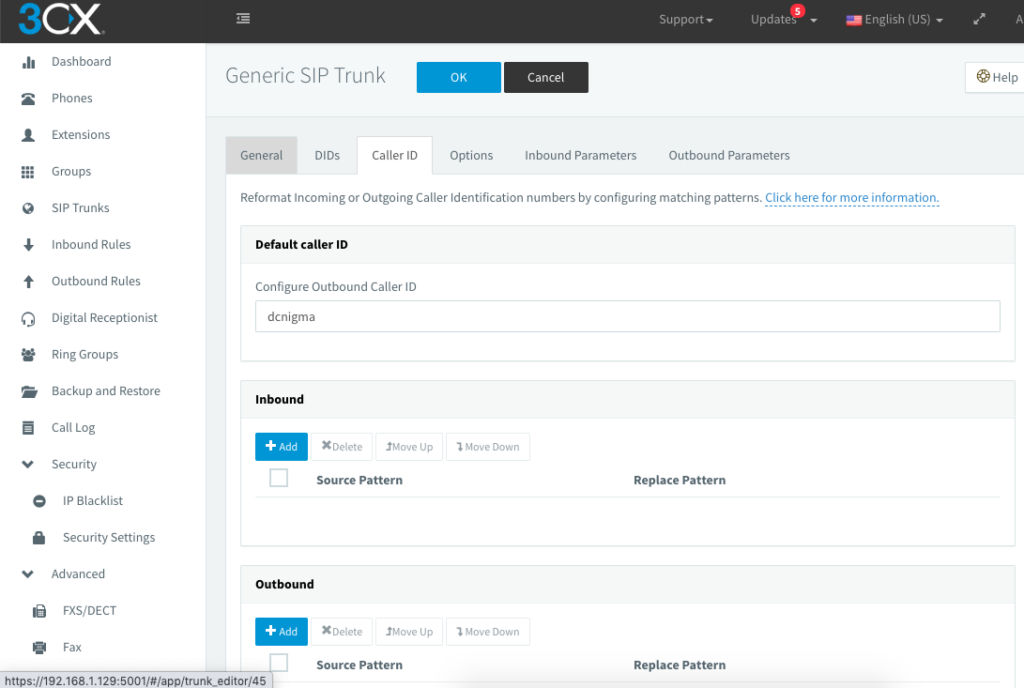
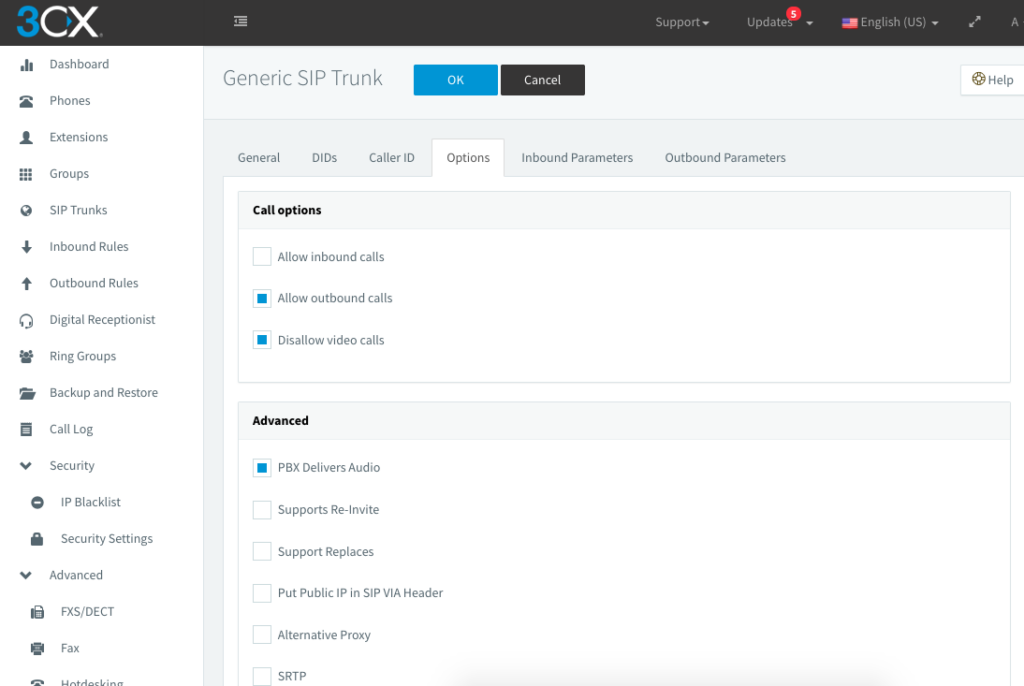
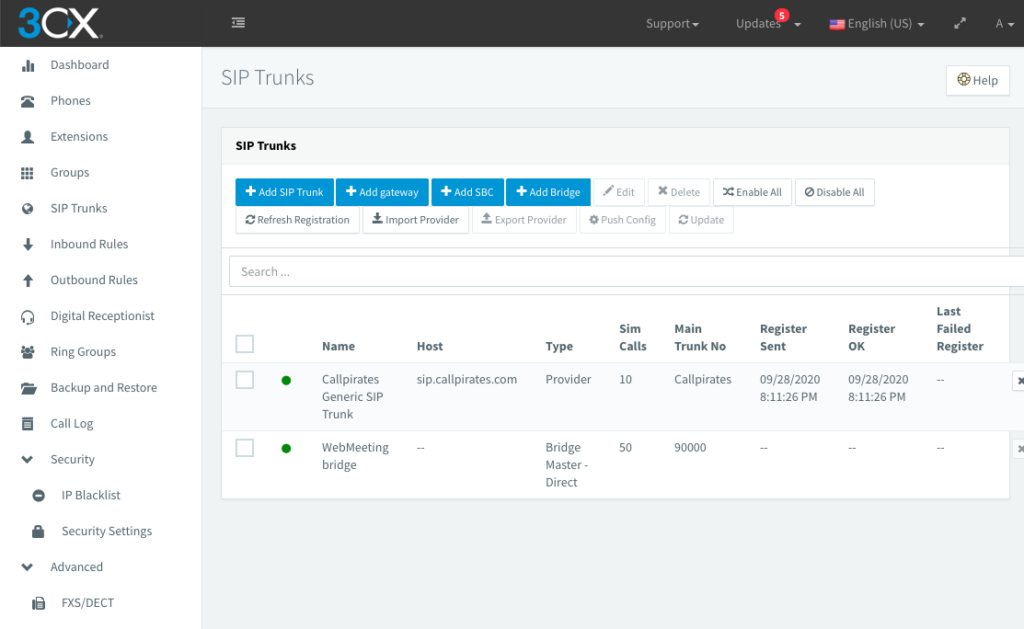
Setting up a SiP Trunk for outbound calling.

I use callpirates

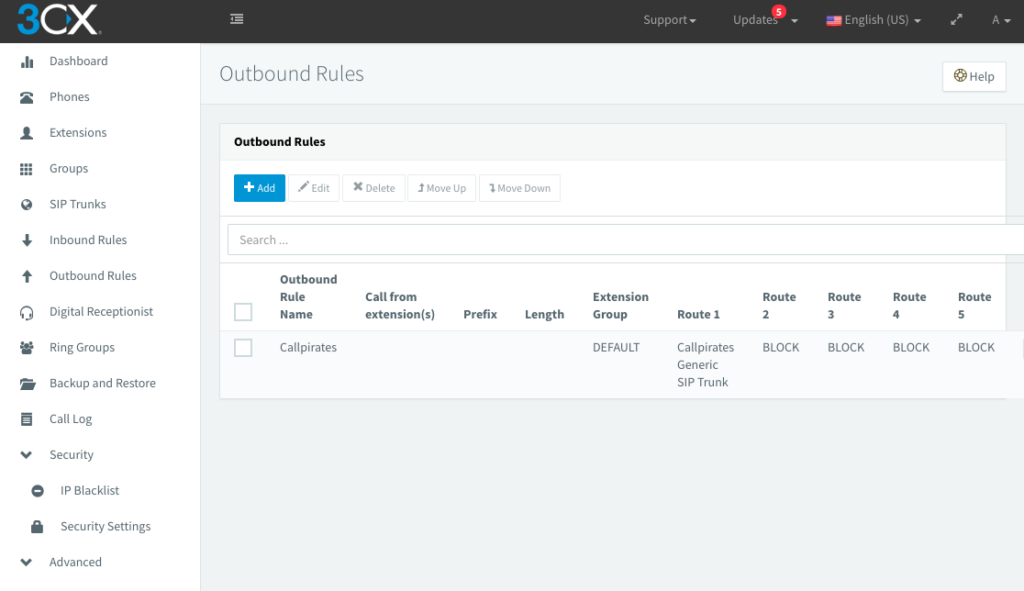
Make The Outbound Rules:

Category: pbx, Raspberry Pi | Comments Off on Setting up a Home PBX phone netwerk (3CX)
March 3

Demul on my Pinball

I got MAME running, but I wanted more..
So I tried loading Demul.

This didn’t go like I wanted at first needed to edit the script use a hidden command in pin popper to load the playfield “bezel”

But before I did that I needed to fit it on the screen,
I don’t know if I want to play on the playfield like I do now.
For now its ok but maybe I will change it in the future.
To make it work I needed to install windows app.
Found a good one that works, but after running it I found out that
I lost focus so I wrote a Autokey script to keep it ontop and press f3 to remove the menu bar in window view..
Script and hidden command for keeping playfield running below.
Here is a video how it resizes:

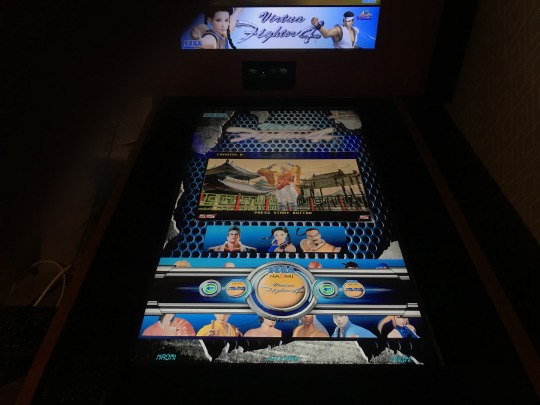
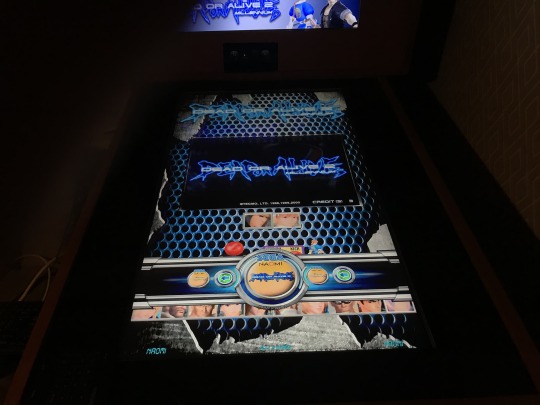
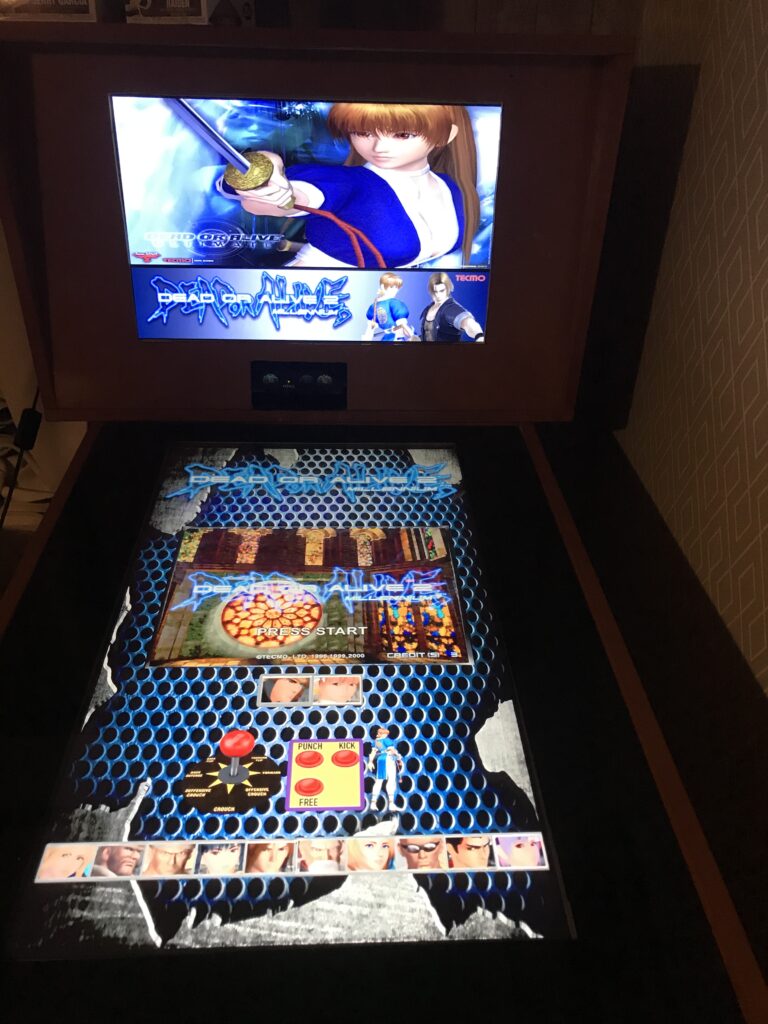
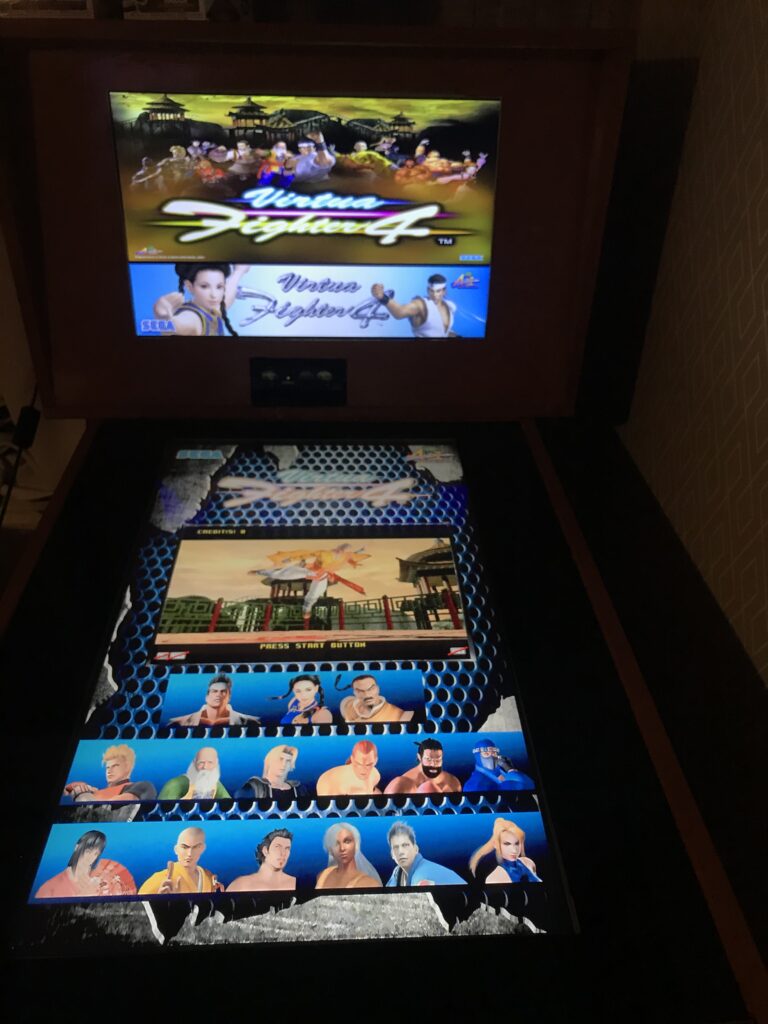
Here are some pictures of the 2 games I have running for now:

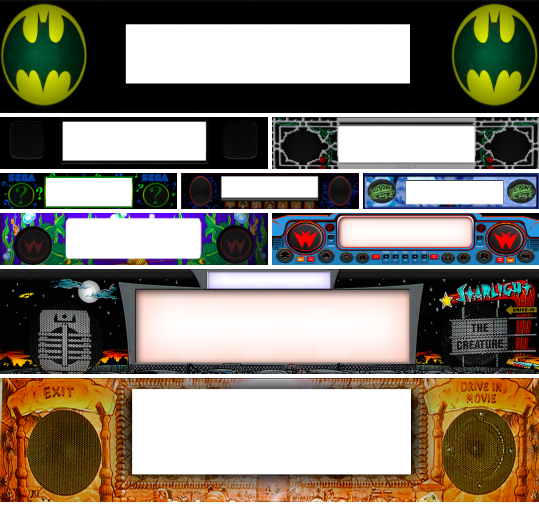
Made some backglasses for them and DMD images..
Wanted to use video, but found nothing fitting…

Will upload the script and tools later.

Category: Arcade, Coding, DIY, Download, Homebrew, Mod´s, Pinball, Uncategorized | Comments Off on Demul on my Pinball
March 1

Site Update….

Today I finally came around to updating my WordPress.
But now I know why I didn’t update before…
Needed to update PHP for it to work.

Good news I also updated it to https:// so my site is a bit secured..
so update your bookmarks 😀

Cheers Dc.

Category: Uncategorized | Comments Off on Site Update….
March 1

Pinball Update

Ok it’s time for a little update on the Pinball Machine.
Stopped using Hyperpin and moved over to PinUP popper and PinPlayer.
Its the future for Visual pinball…

After installing a new screen for the backglass I started searching for a new Frontend

and that is how I found out about PinUP popper.

Then the updates happend very quick:

After some tweaking I was able to install it and get it running on my Cab.

Here is video of the update.

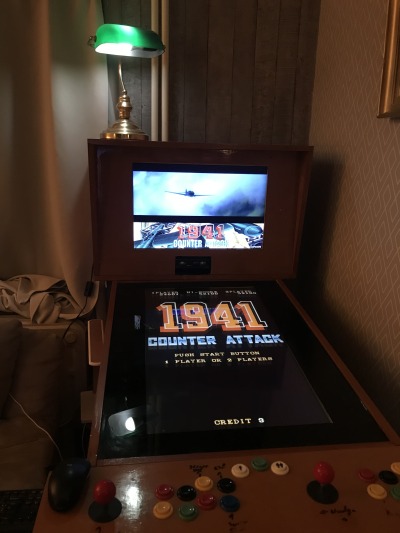
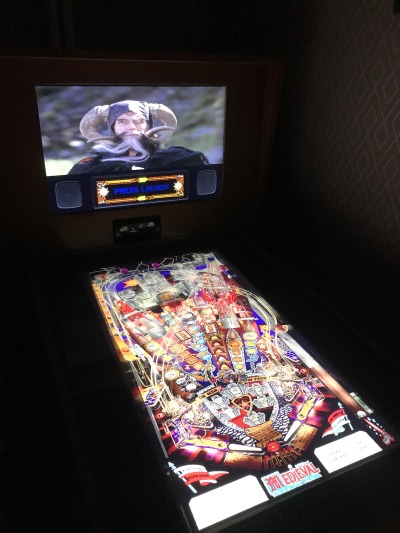
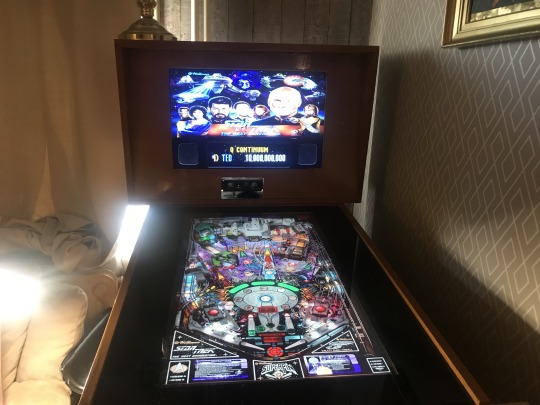
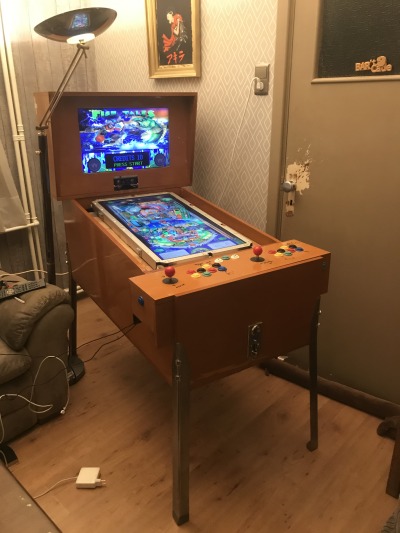
Some pictures:

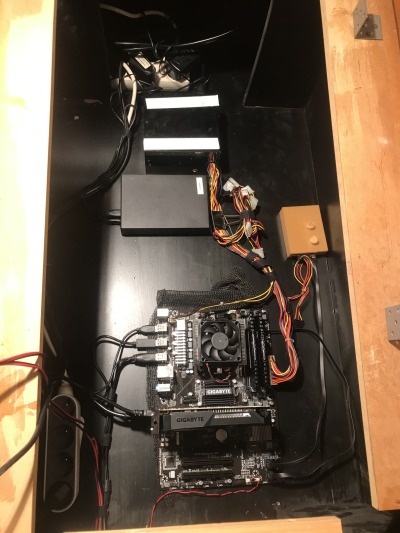
It has legs! Starting to keep it clean inside
Mame Pup Video's PinUP Player PUP video
Colored DMD
– You can find PinUP popper frontend. if you follow the link.
Suggest you read the wiki a few times…- I made me some custom DMD overlays because of my 2 screensetup.
Been using DMDoverlay  but need to change the size here and there.
So we made some custom overlays download link below.

Schermafbeelding 2020-03-01 om 09.49.43
You can find my Custom overlay DMD’s  in my mega.co.nz folder.

– I wanted to add some Mame games.
Looked up some TATE games and now I have about 124 games.
Here is my game list ( Pastbin). PinUP popper got a nice search feature for pinball tables.
But for MAME games it will not work so i made my Wheels, DMD, etc myself.
Used the autorecorder for the playfield recording.
Here are someimages of my Mame wheel images:

Schermafbeelding 2020-03-01 om 09.59.42

You can find my Custom Mame Wheels  in my mega.co.nz folder.

– I also needed custom DMD’s for my Mame games:
Schermafbeelding 2020-03-01 om 10.32.37
You can find my Custom Mame  DMDS  in my mega.co.nz folder.

And of course I needed backglasses our Marquee but because of most
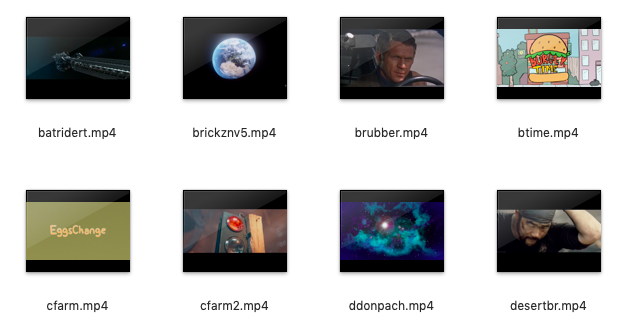
of the marquee images would be on the DMD I wanted to add Video’s.


Searched on youtube and (p)ornhub to find some useable video clips
Yes (p)ornhub apparently lots of TATE games are hot girls games 😀
So little warning for the videos not all are Safe for under 18 😉
Did a little editing on them but not enough to call it ready.
But i will share them and update them if i have time.
Schermafbeelding 2020-03-01 om 10.52.38
You can find my Custom Mame videos in my mega.co.nz folder.

Install my images and videos in your default mame popvideo folder.

They are already named correct, if you use the same romset.
Didn’t use a rom organiser, so there can be errors.
See my game list at pastbin for the names I used.

Wheel images > Wheel
DMD images > DMD
Video images >  BackGlass

Category: Arcade, DIY, Download, Photoshop, Pinball | Comments Off on Pinball Update