New weekend project that I made:
Last year I a got a NES case of a co-worker, I did’t know what to do with it, until now…
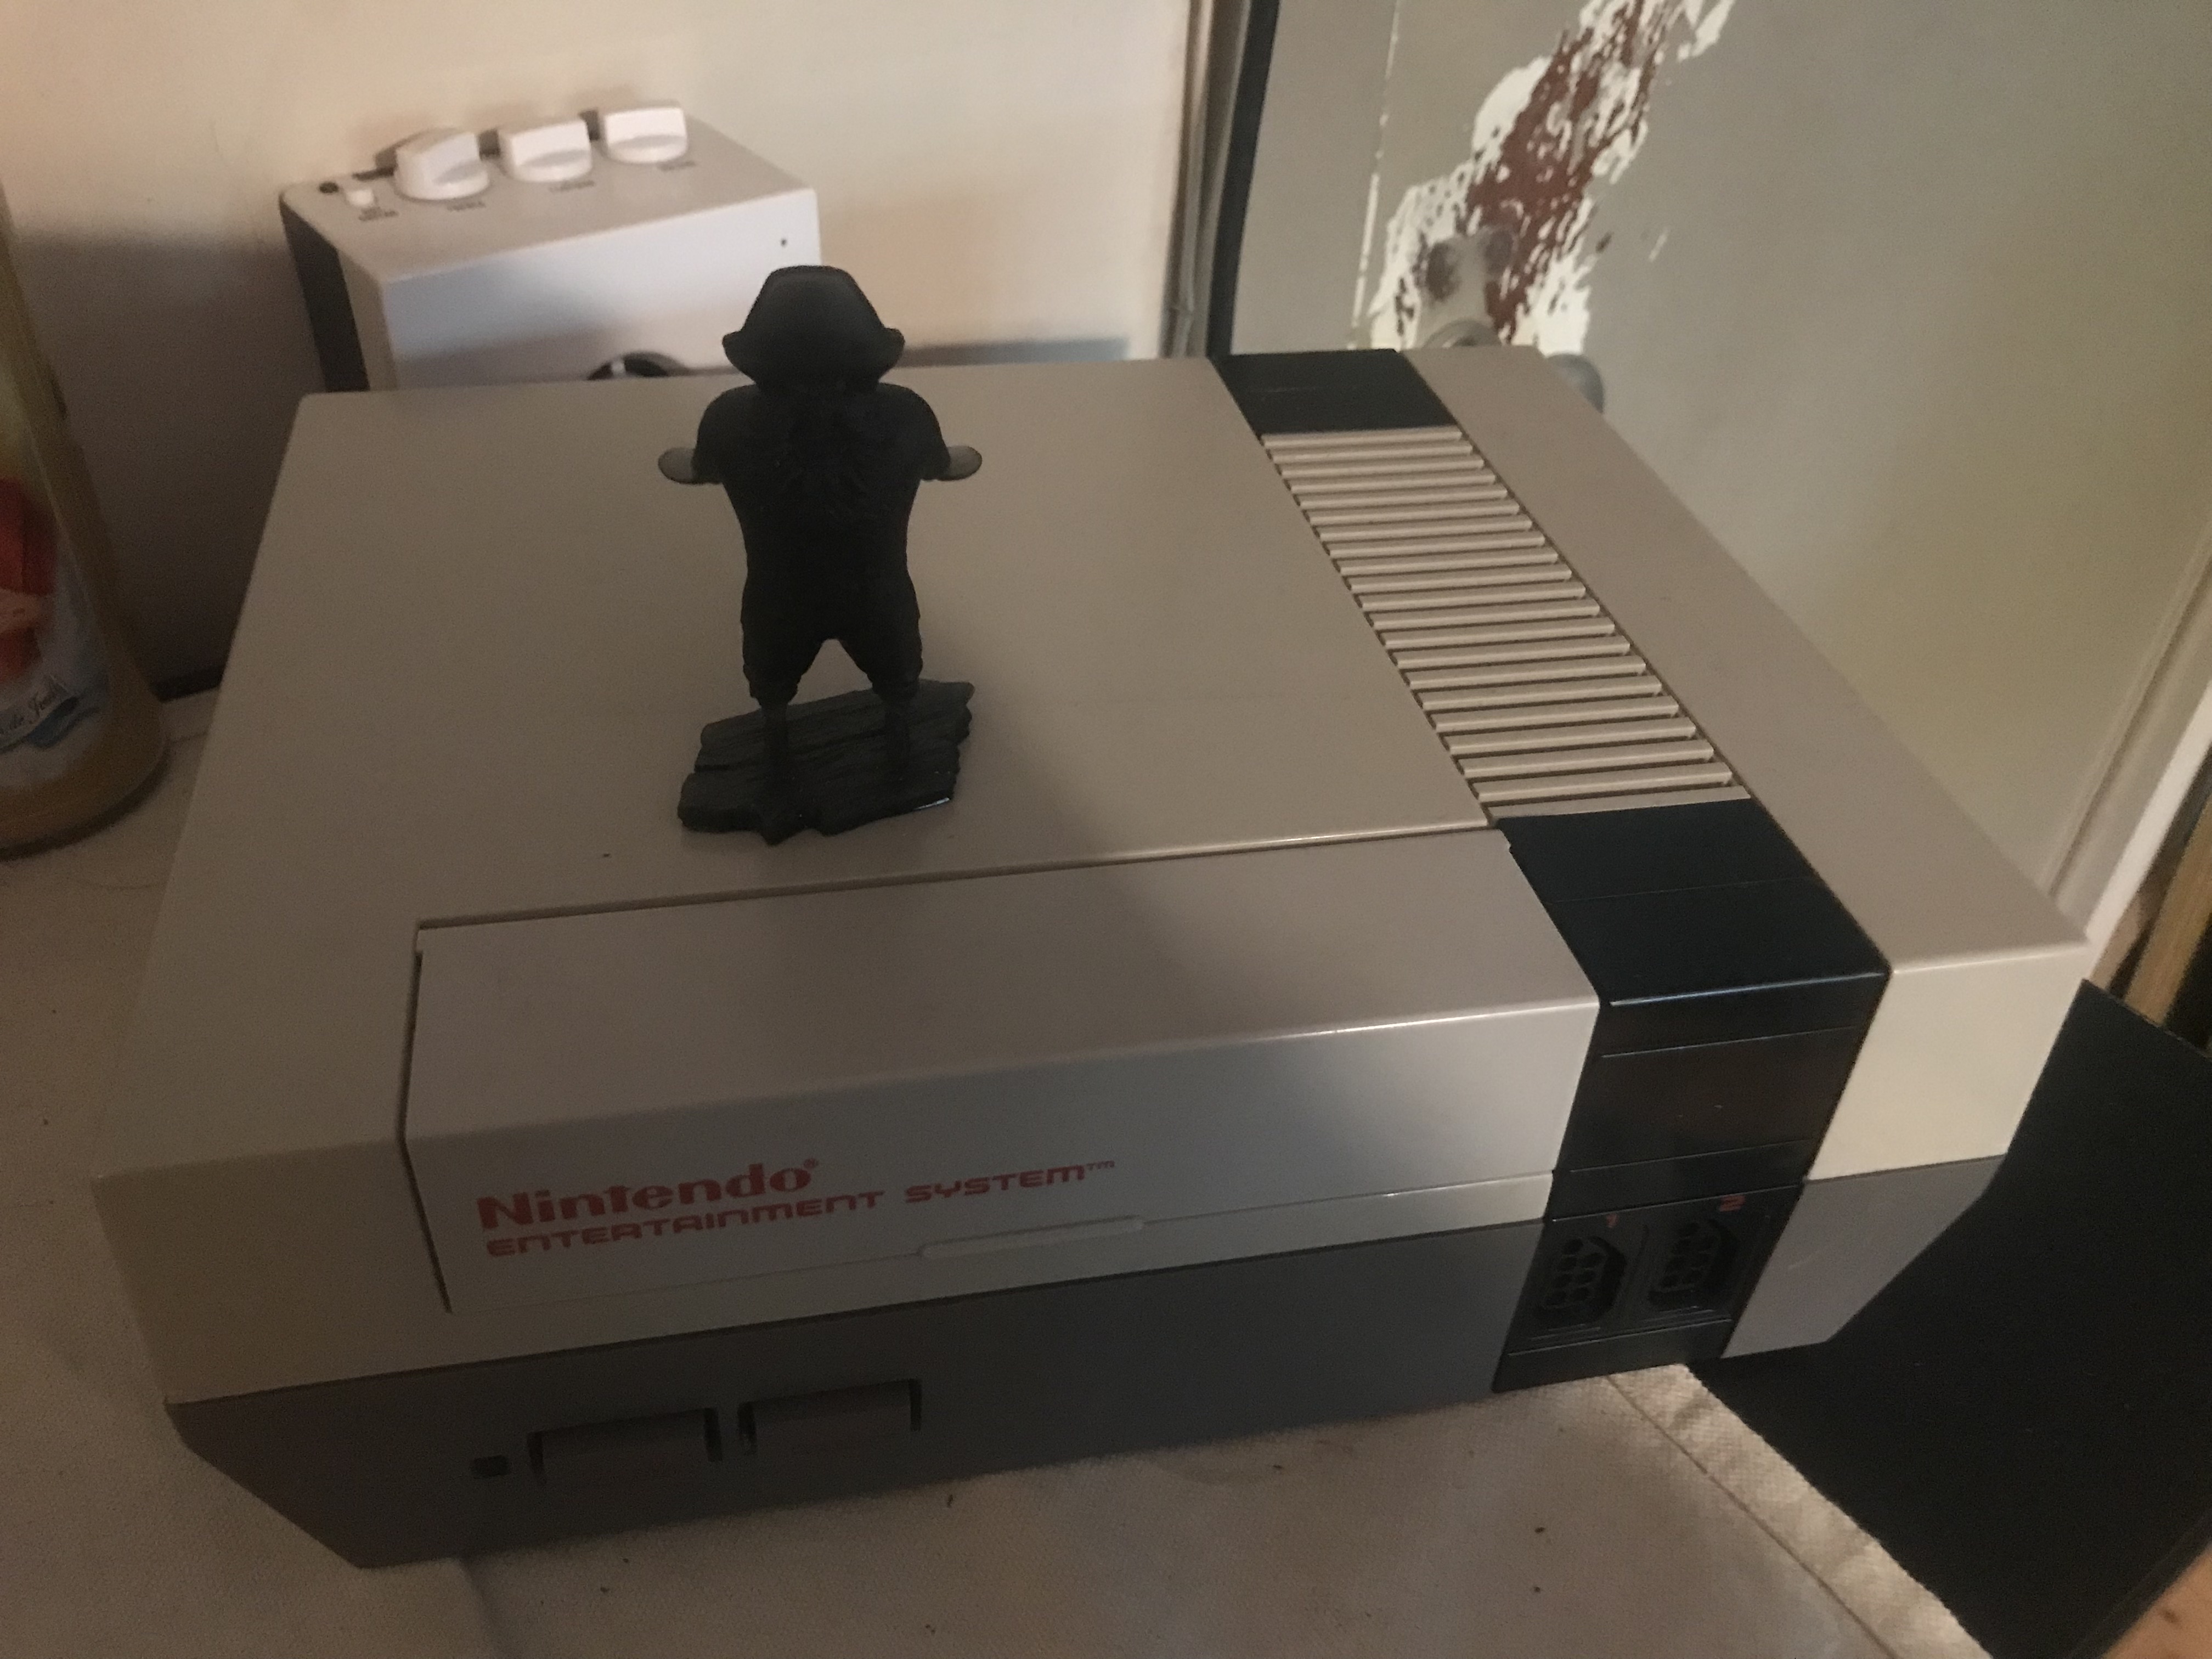
Empty case, only the top and bottom and the buttons. perfect for a Raspberry pi project….
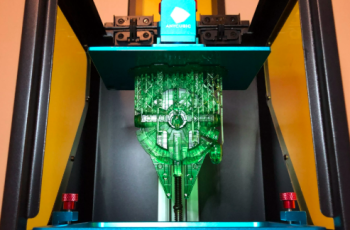
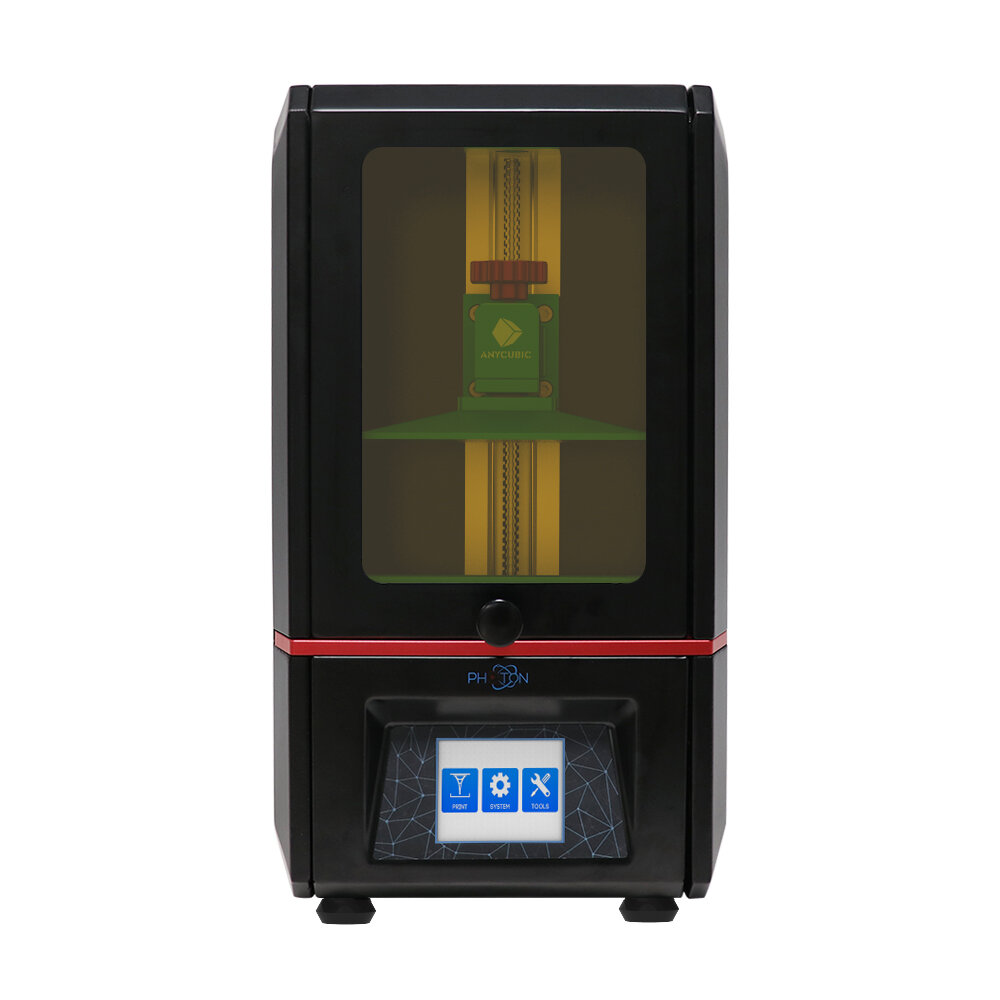
The last weekend I started printing heavy on my Anycubric Photon.
And it felt if i was making Amiibo’s
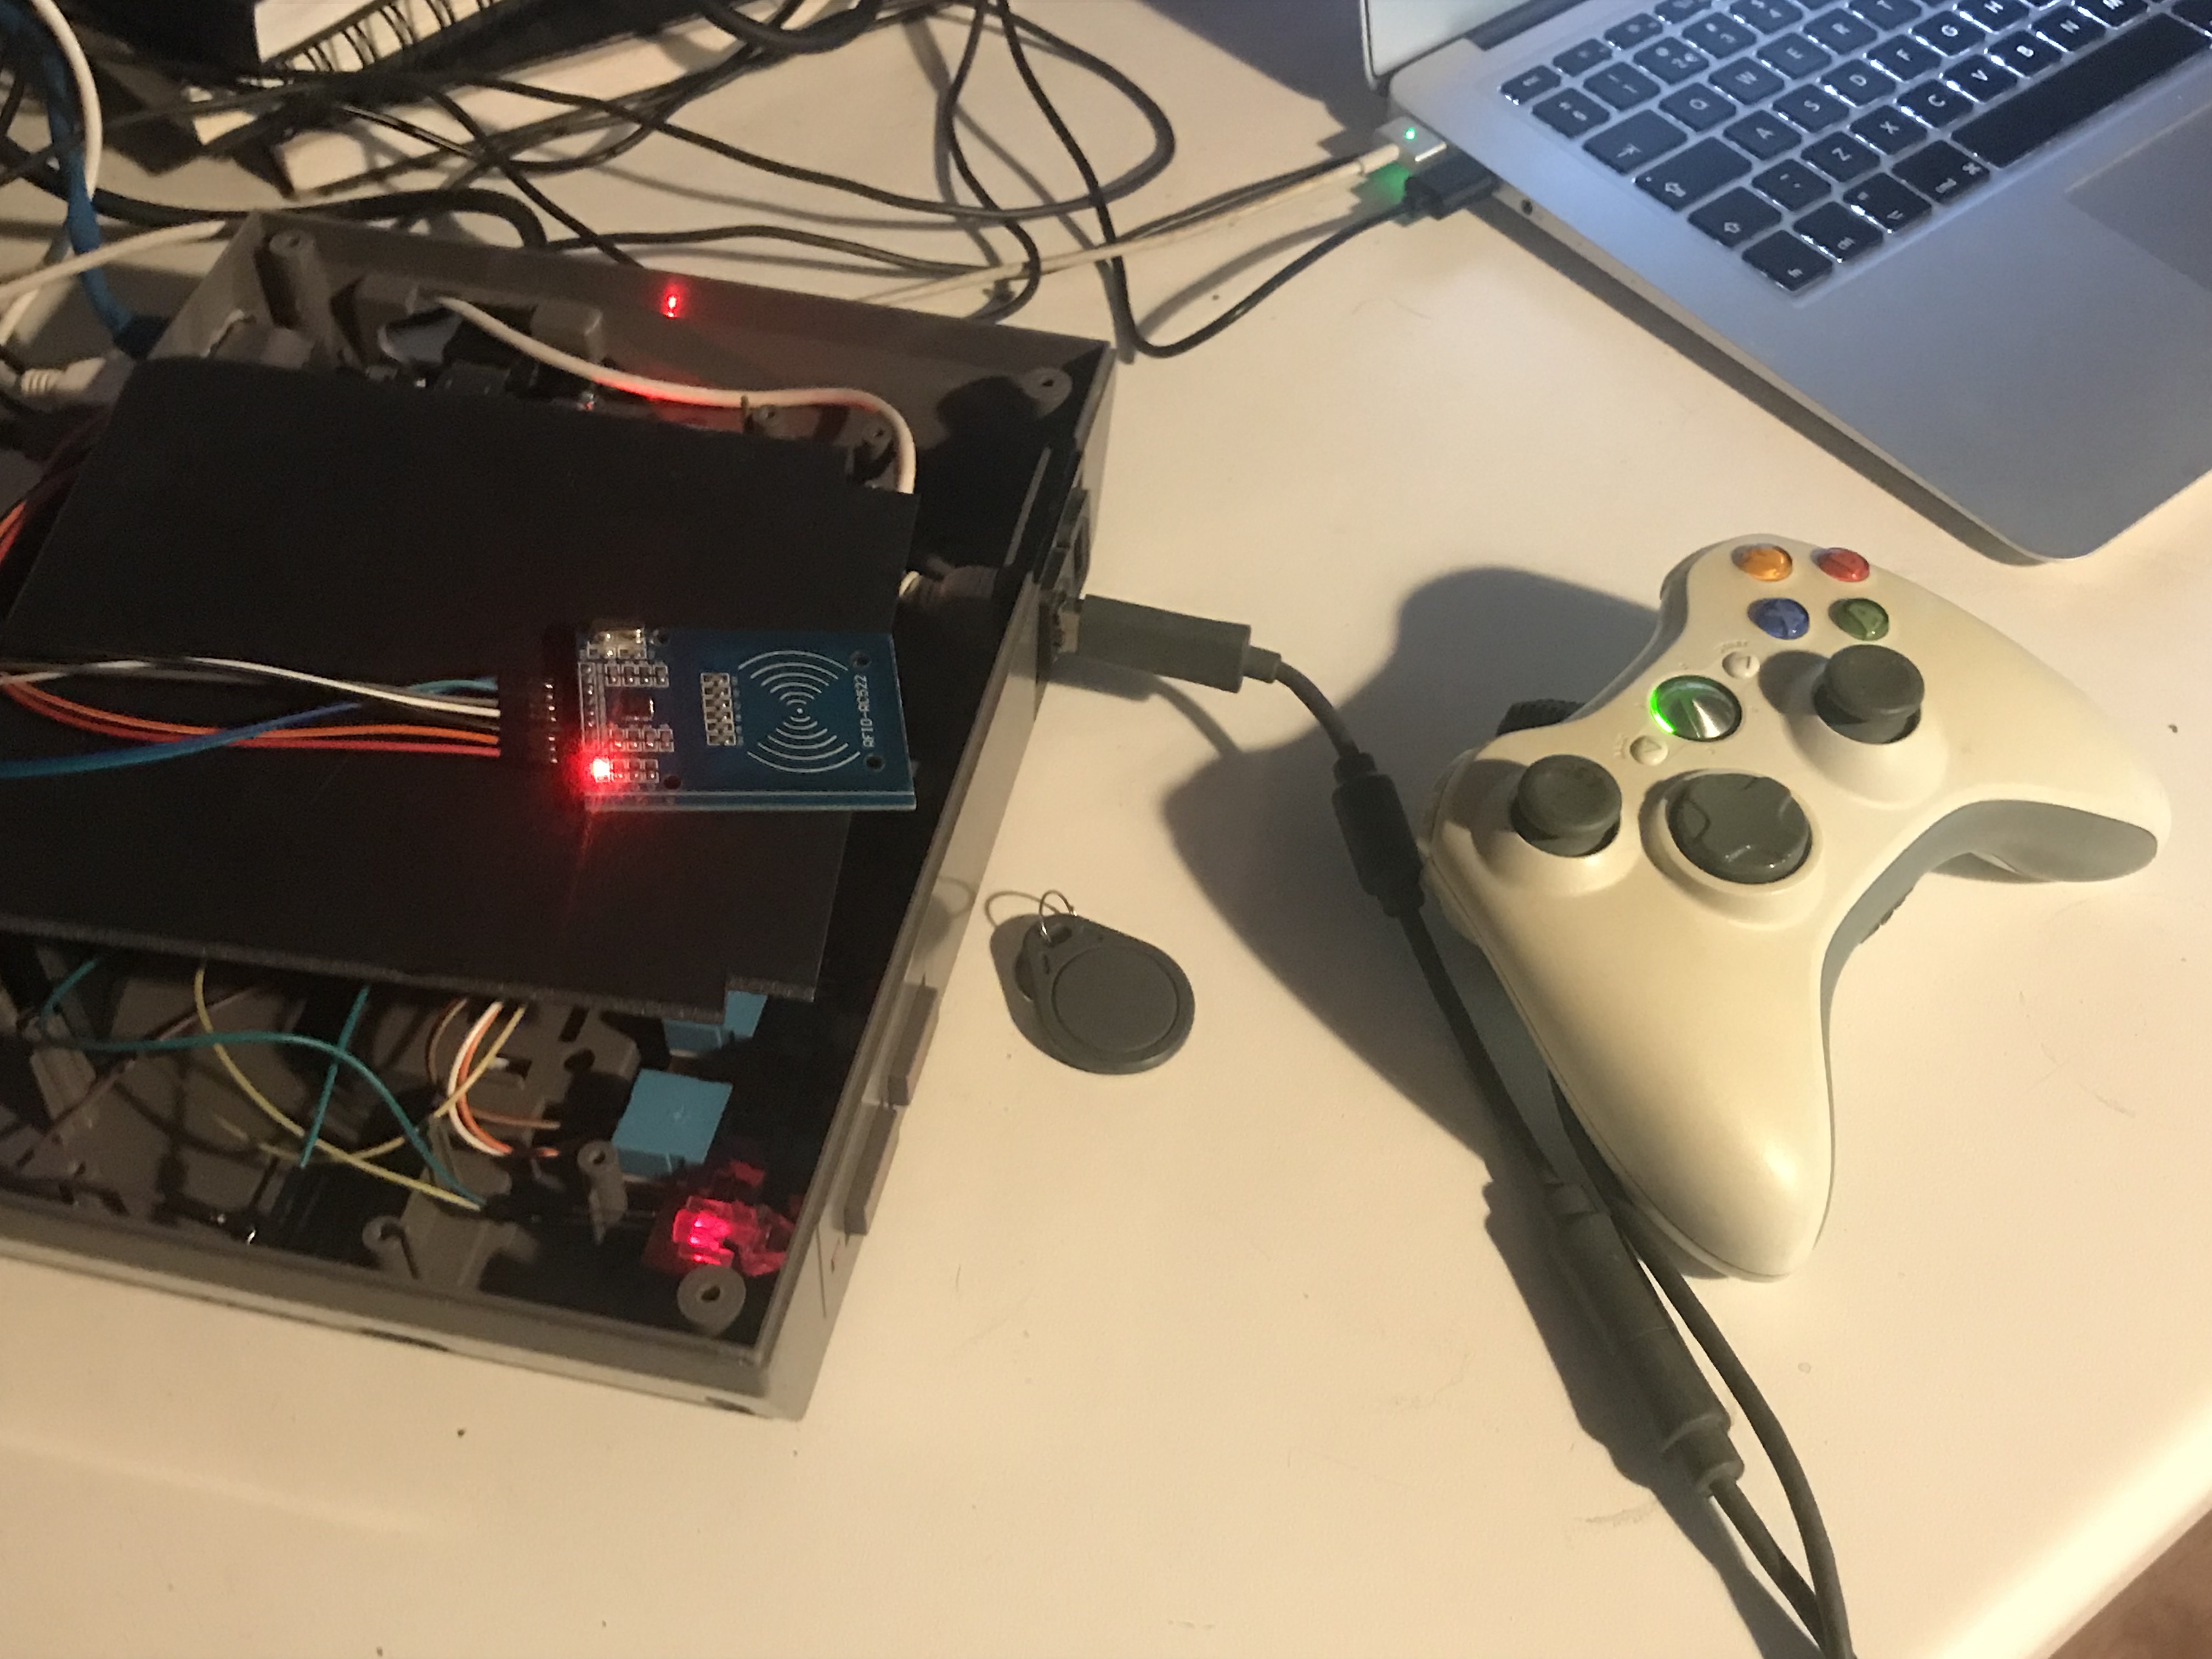
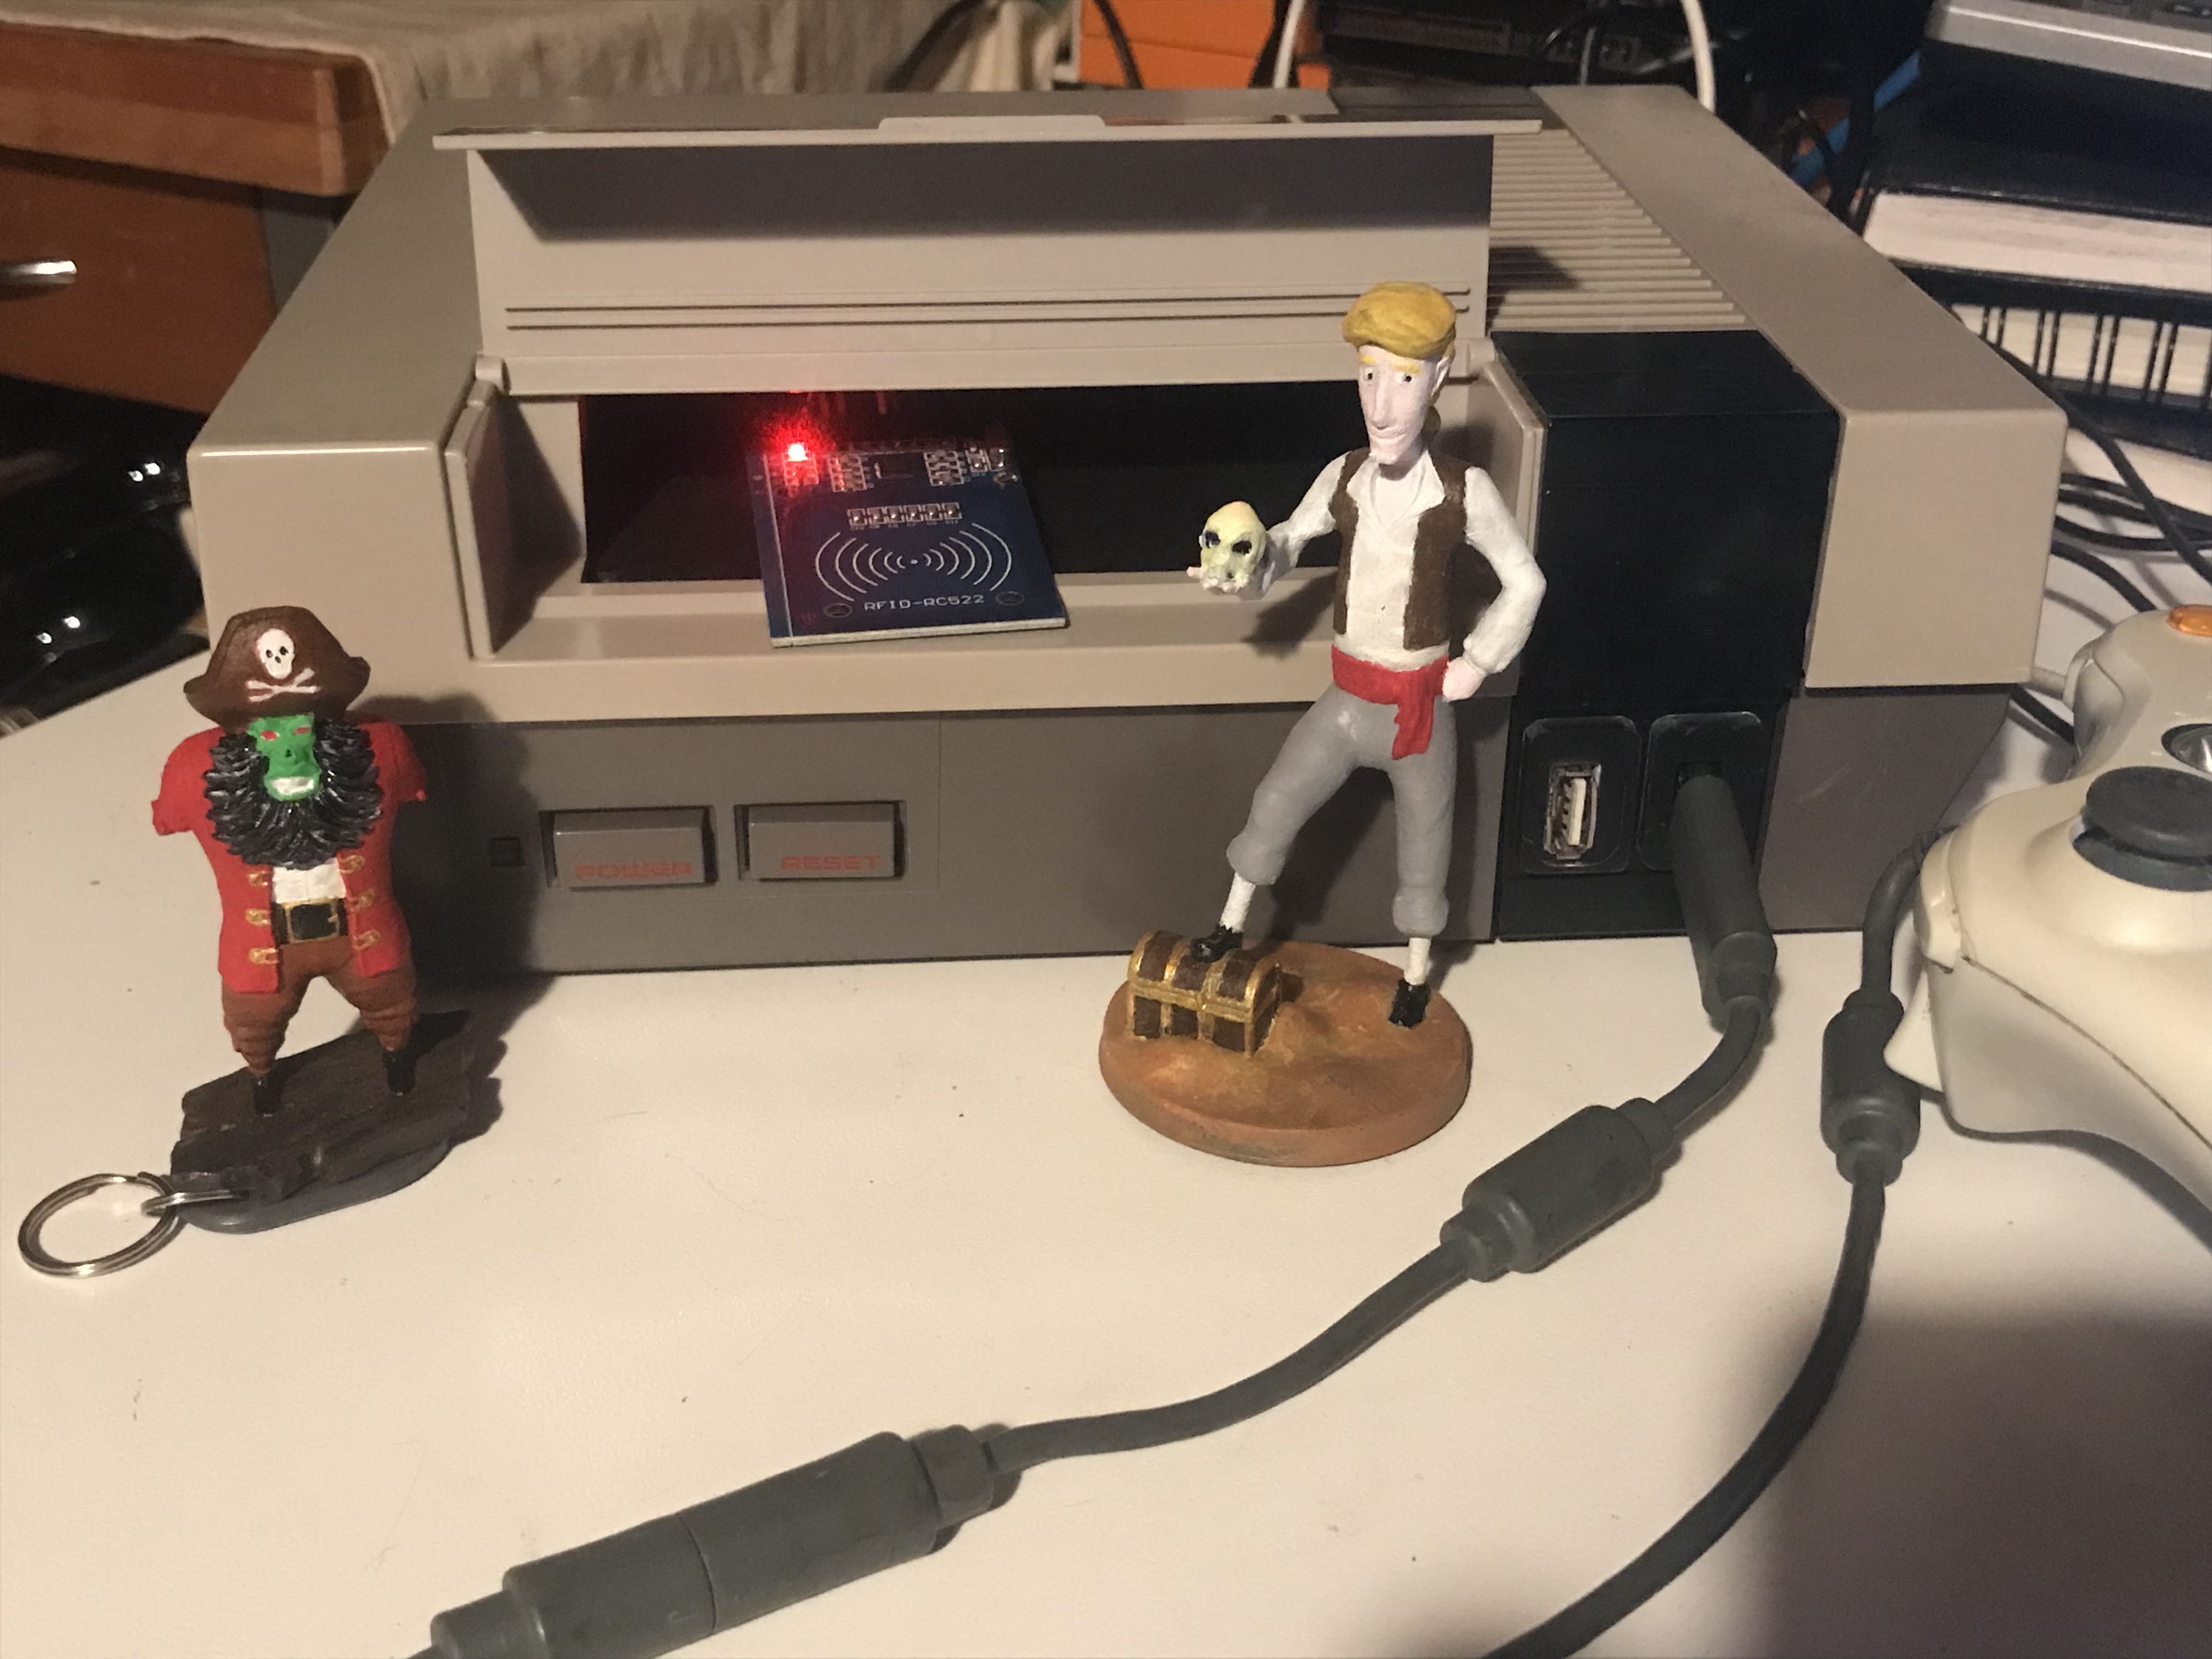
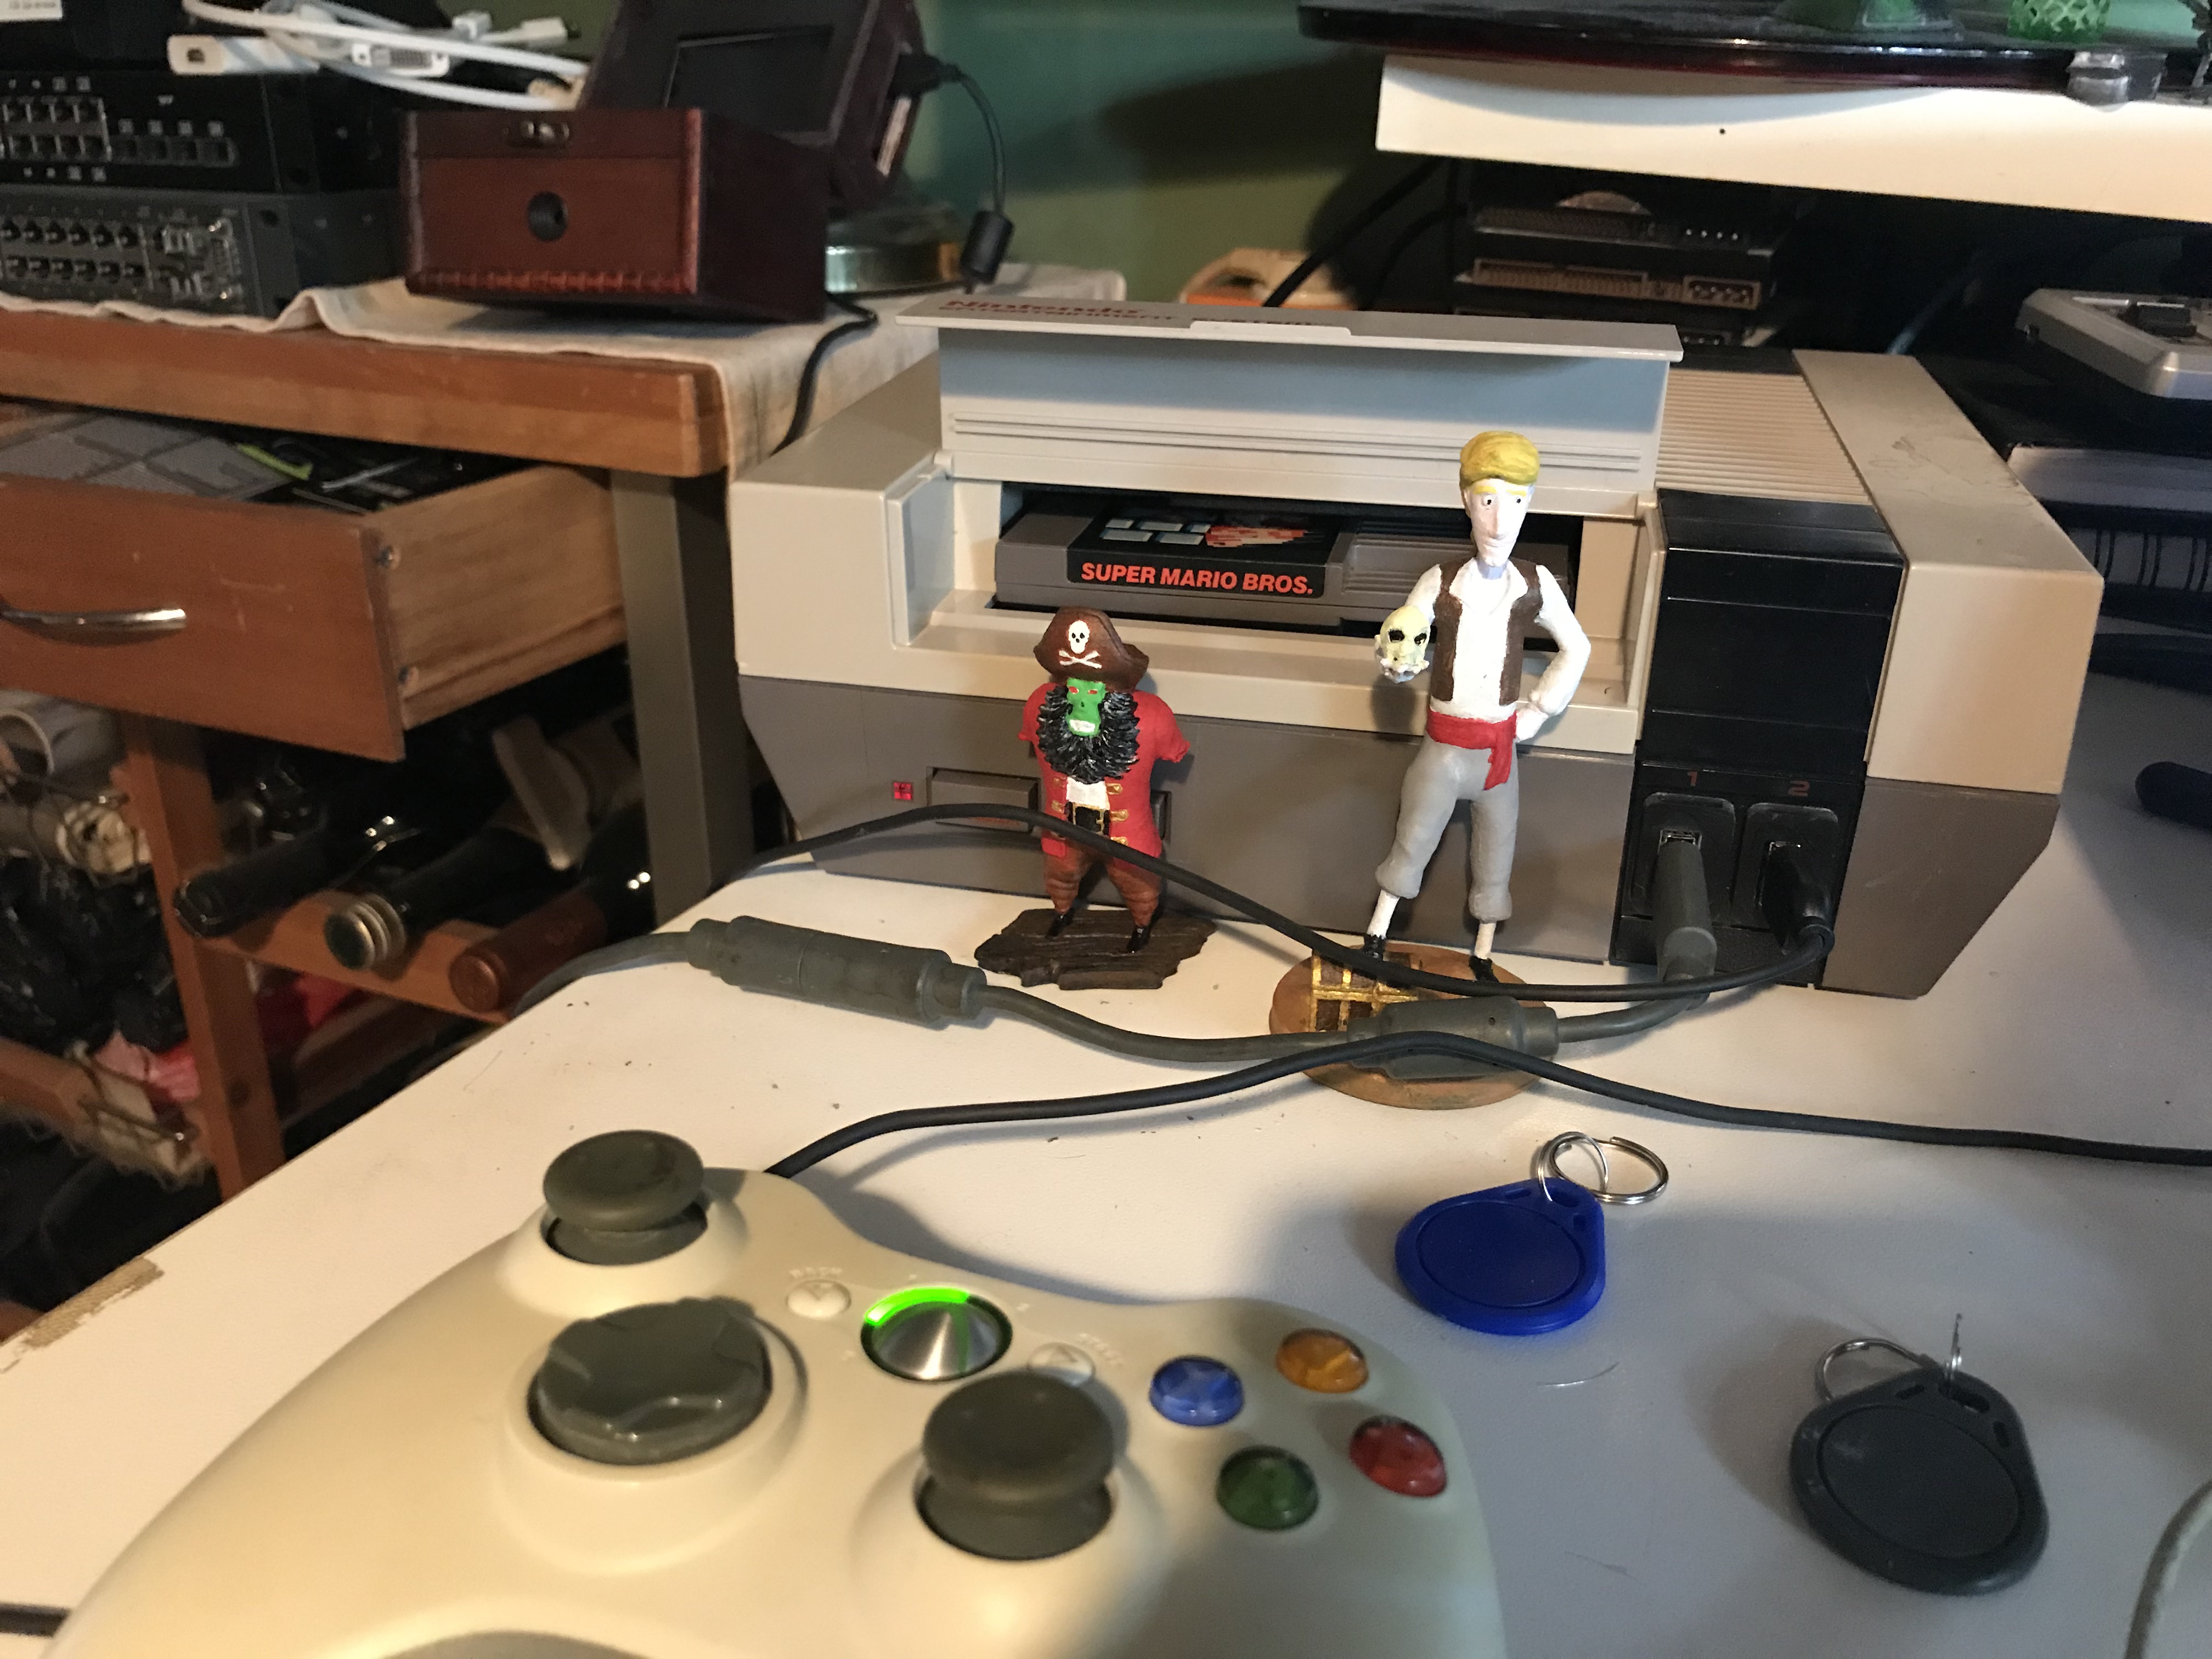
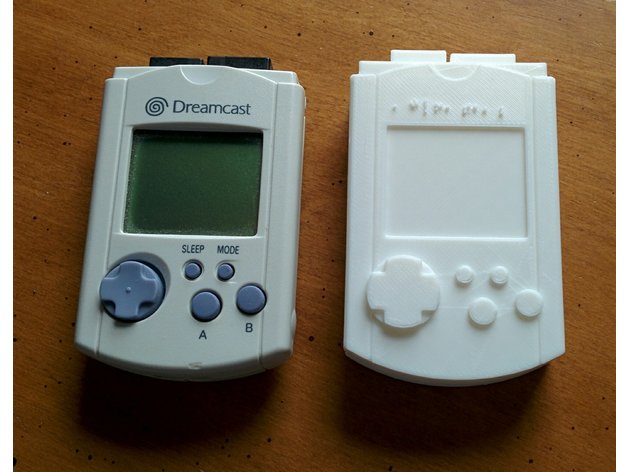
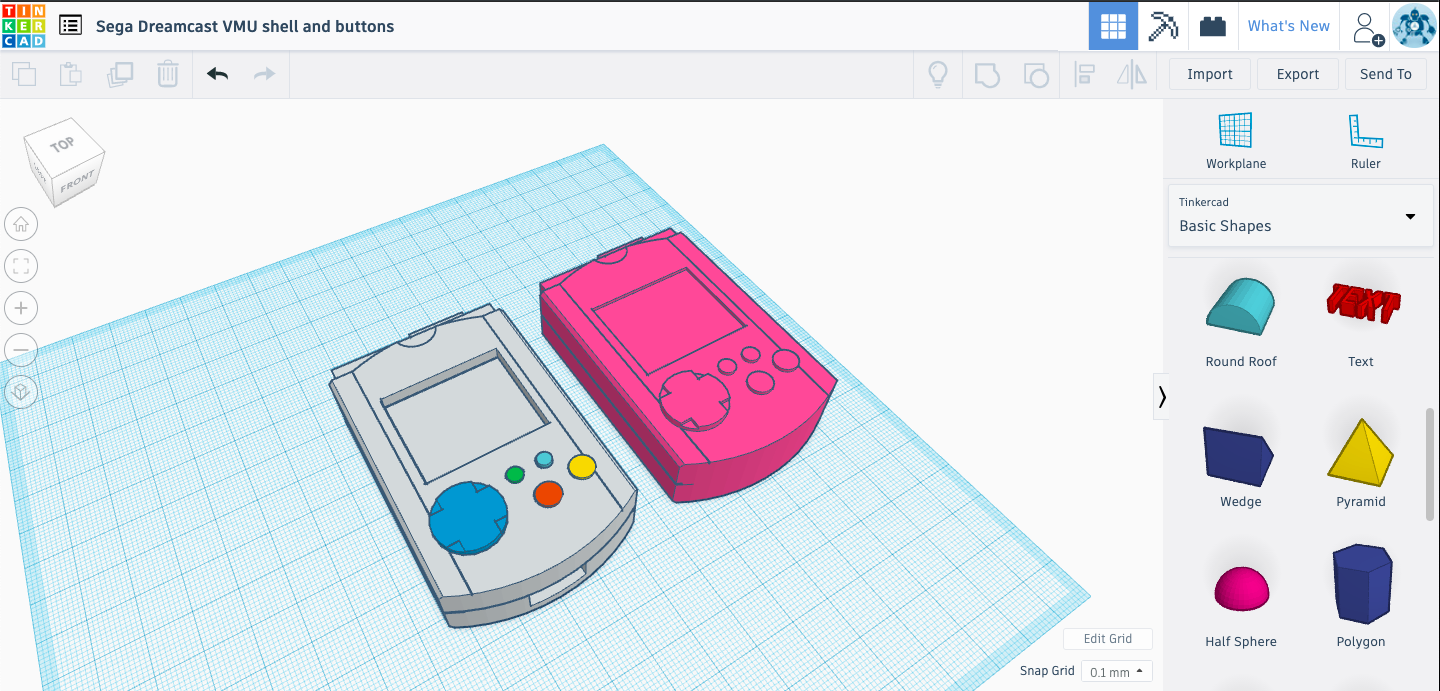
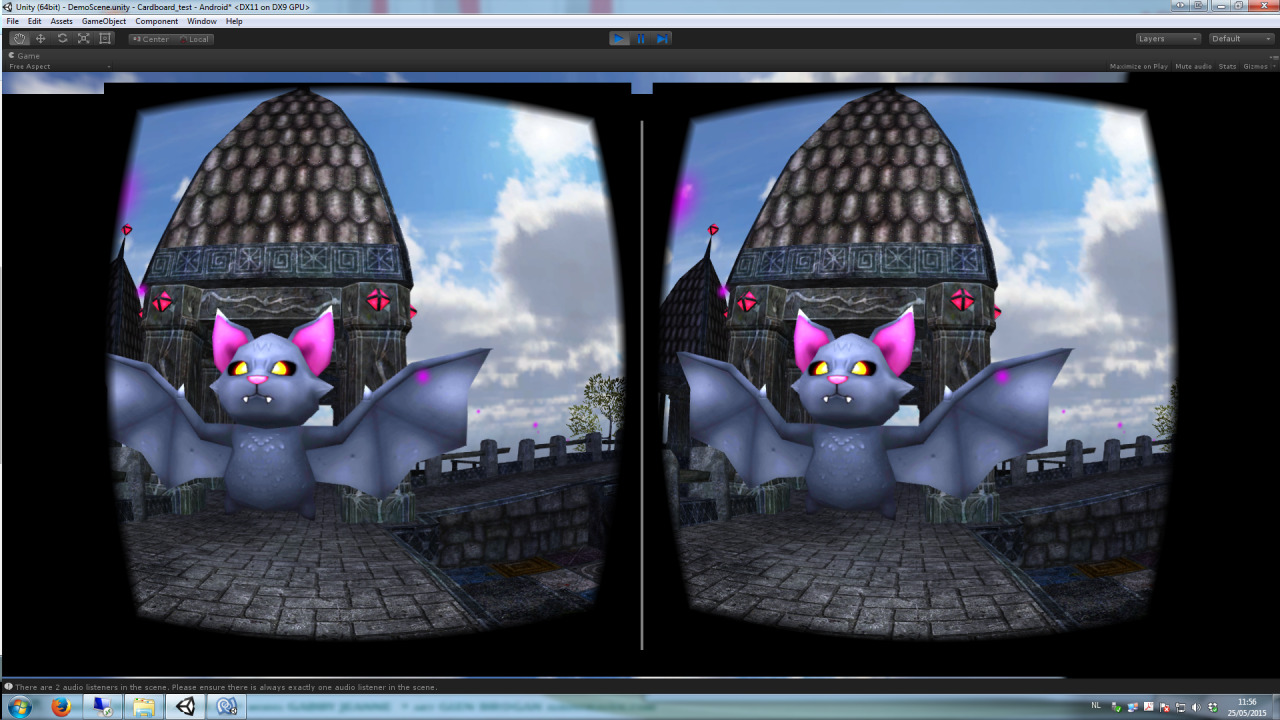
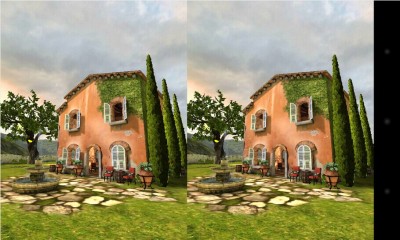
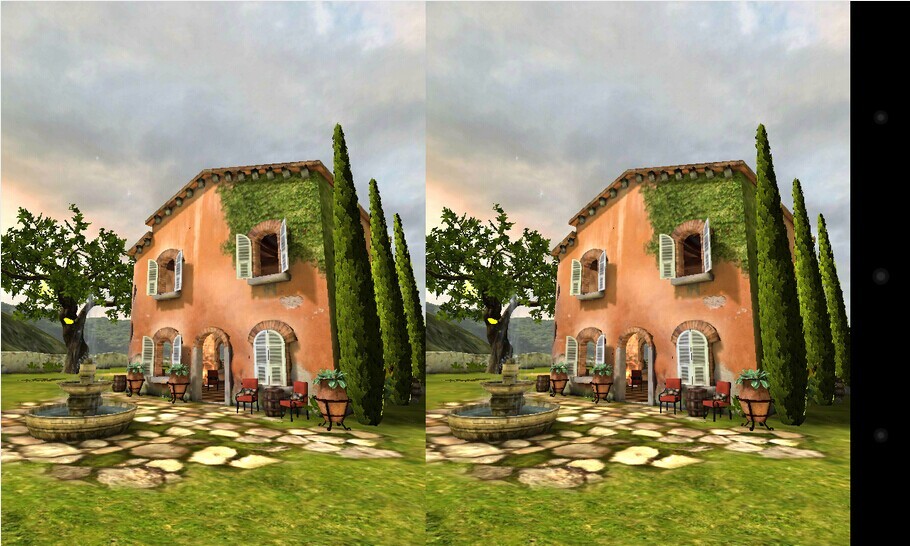
After seeing the second picture above I got inspired to make a new RetroPie console.
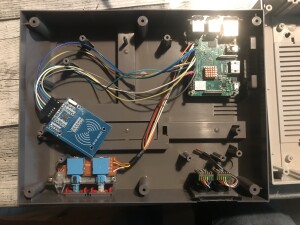
Needed to be RFID and controller…
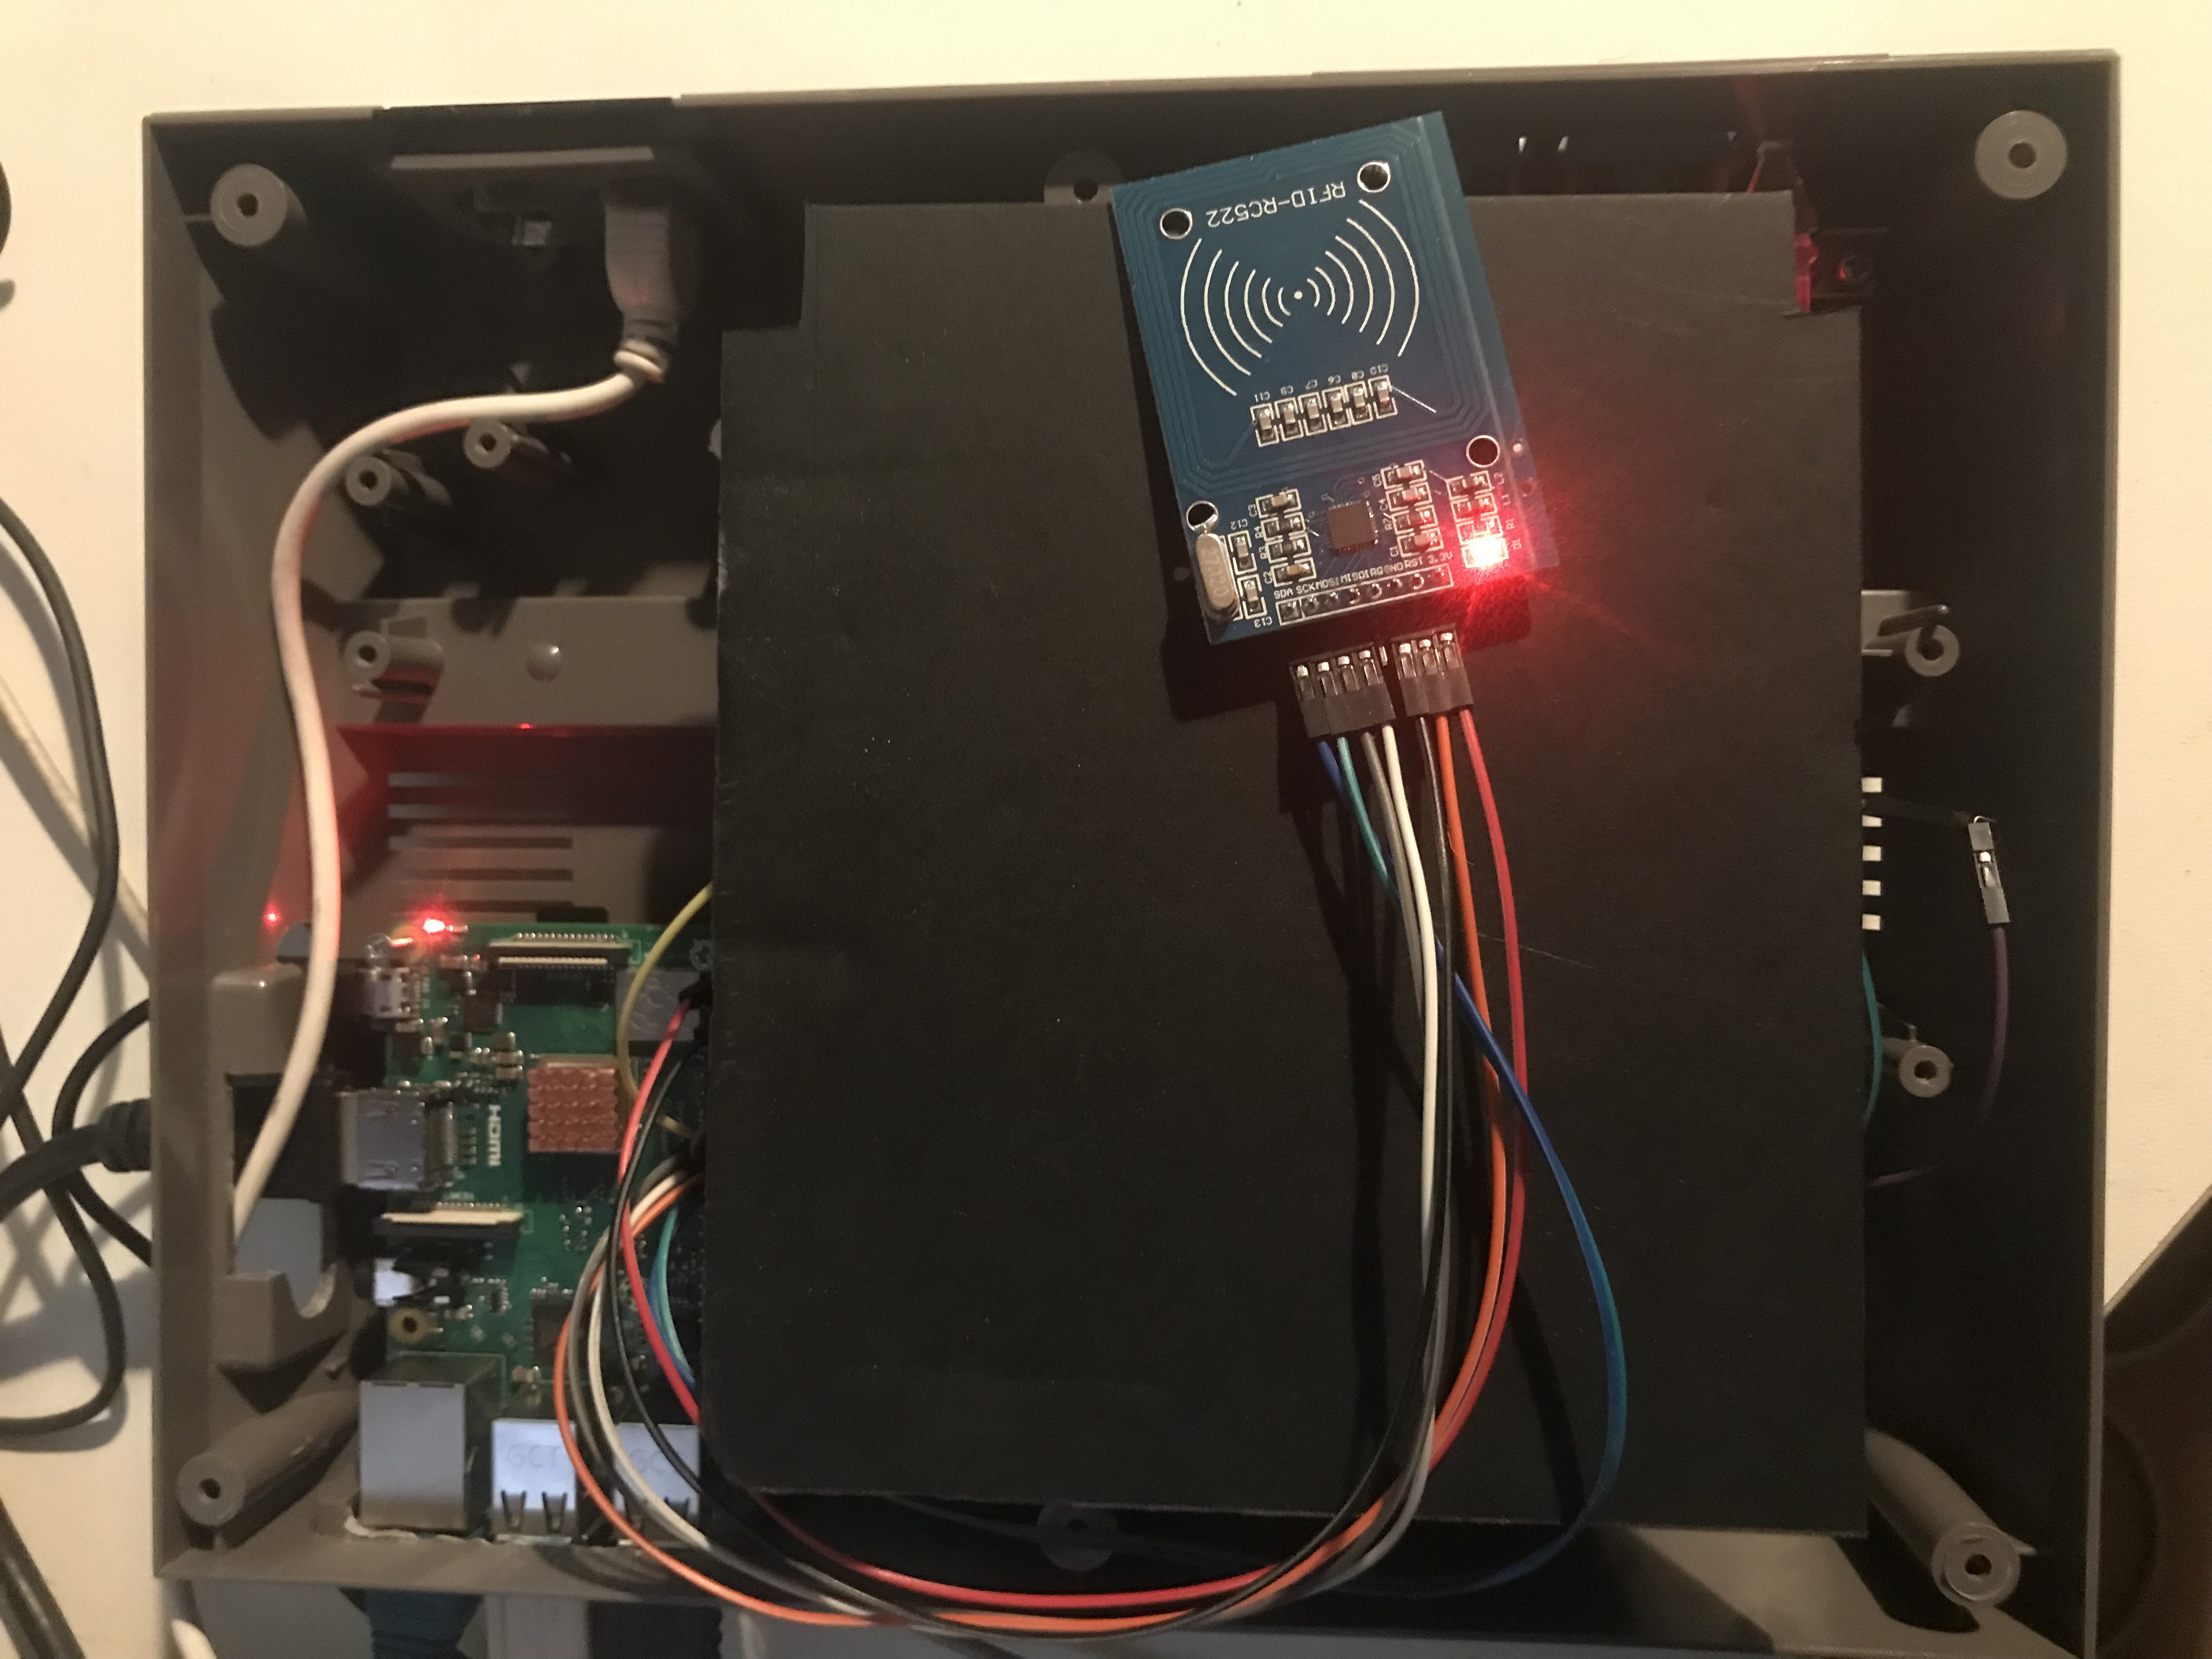
Left the NES case and the semi setup Right a working setup only no working code at that point.
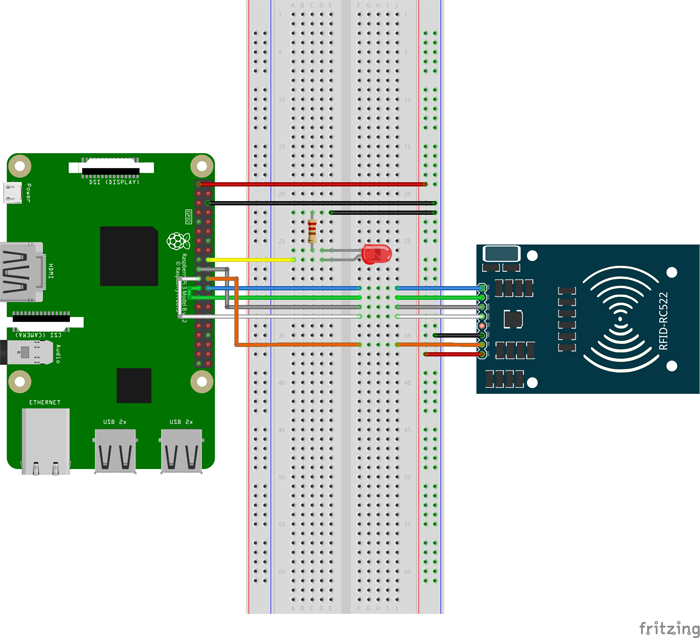
Even the RFID would’t read the cards because of the SPI-PY its sort of broken.
If you do that! Then and only then, you can get the RFID-RC533 working under latest Jessy or RetroPie latest build.
Then you can install the MFRC522 Library and start reading some card data.
To get it working the way I wanted was a pain in the @ss. There is some info on runcommand:
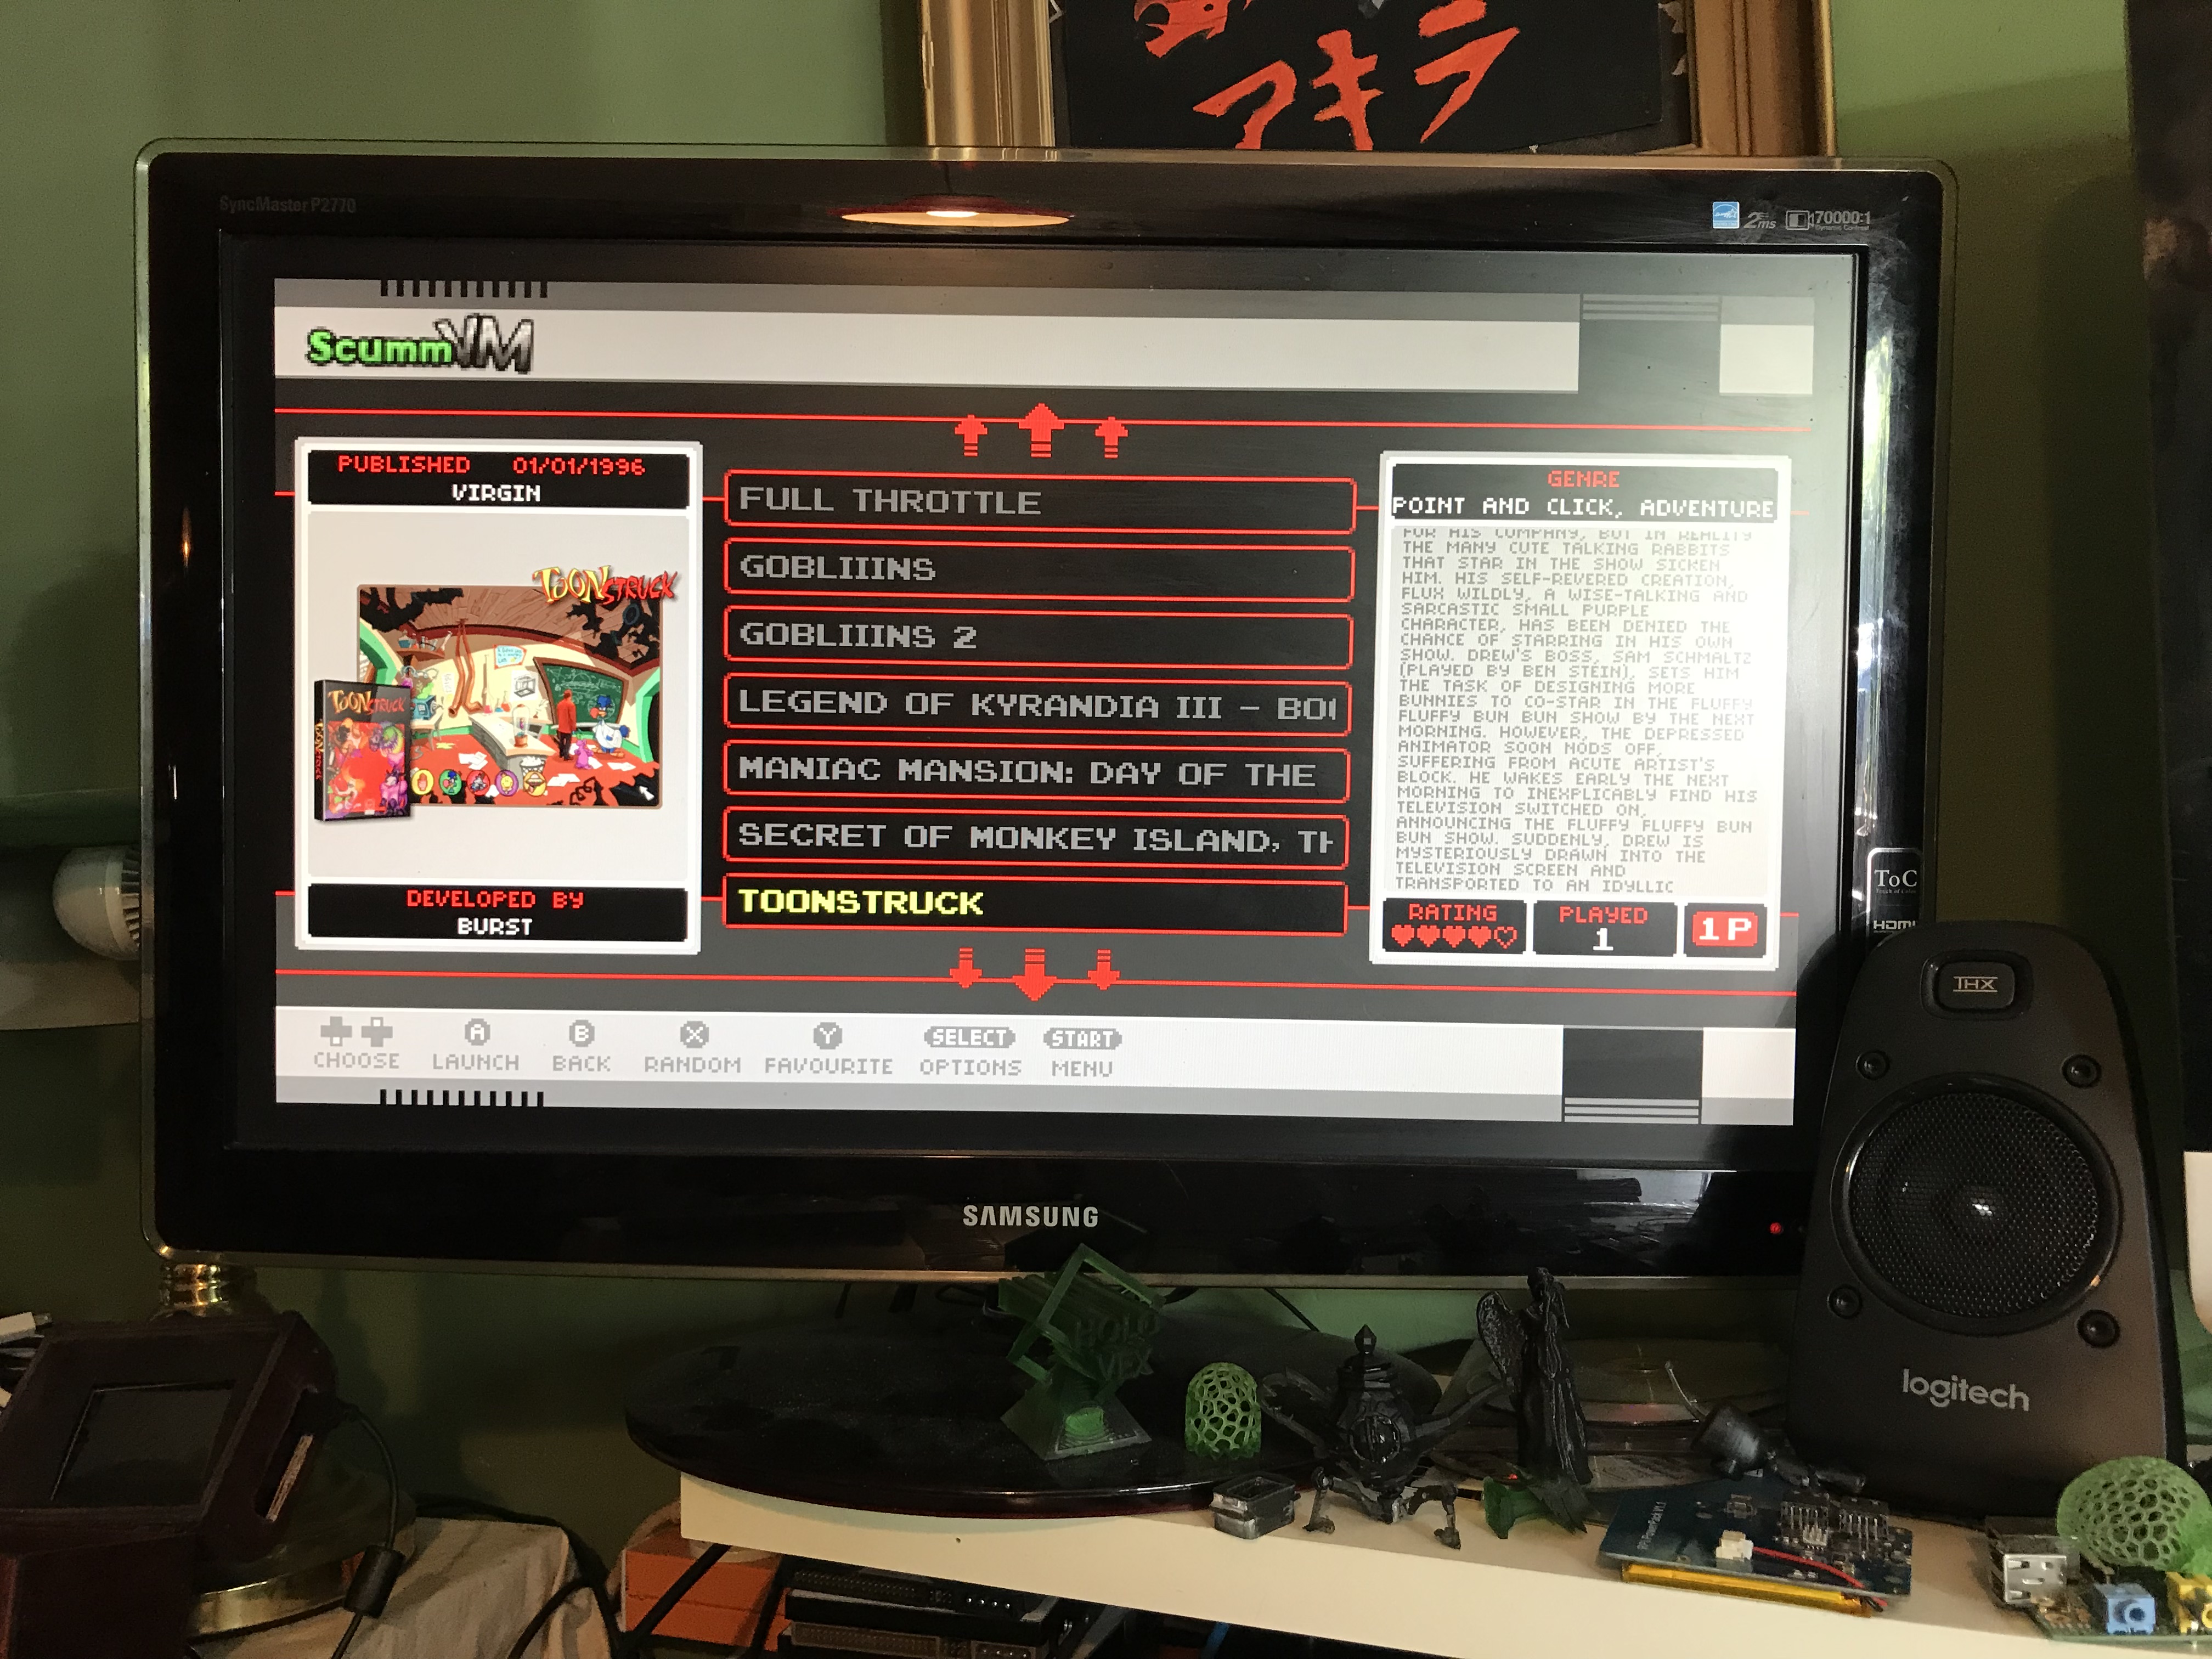
But no info on Scummvm and i wanted to launch Monkey Island 1 SE talkie version I made back in the day.
When the Talkie Mod came out.. Been looking for a console that could play those 2 new Talkie versions.
And ScummVM is vers 2.0 on Raspberry so it would work.
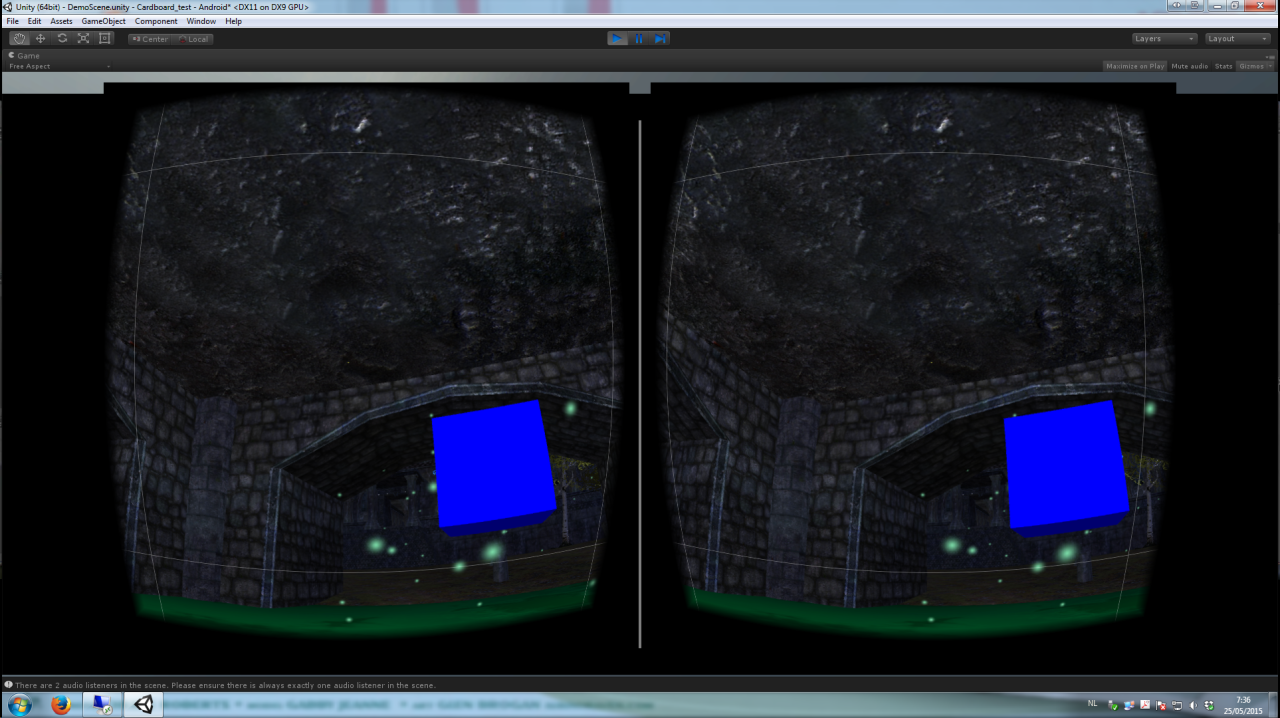
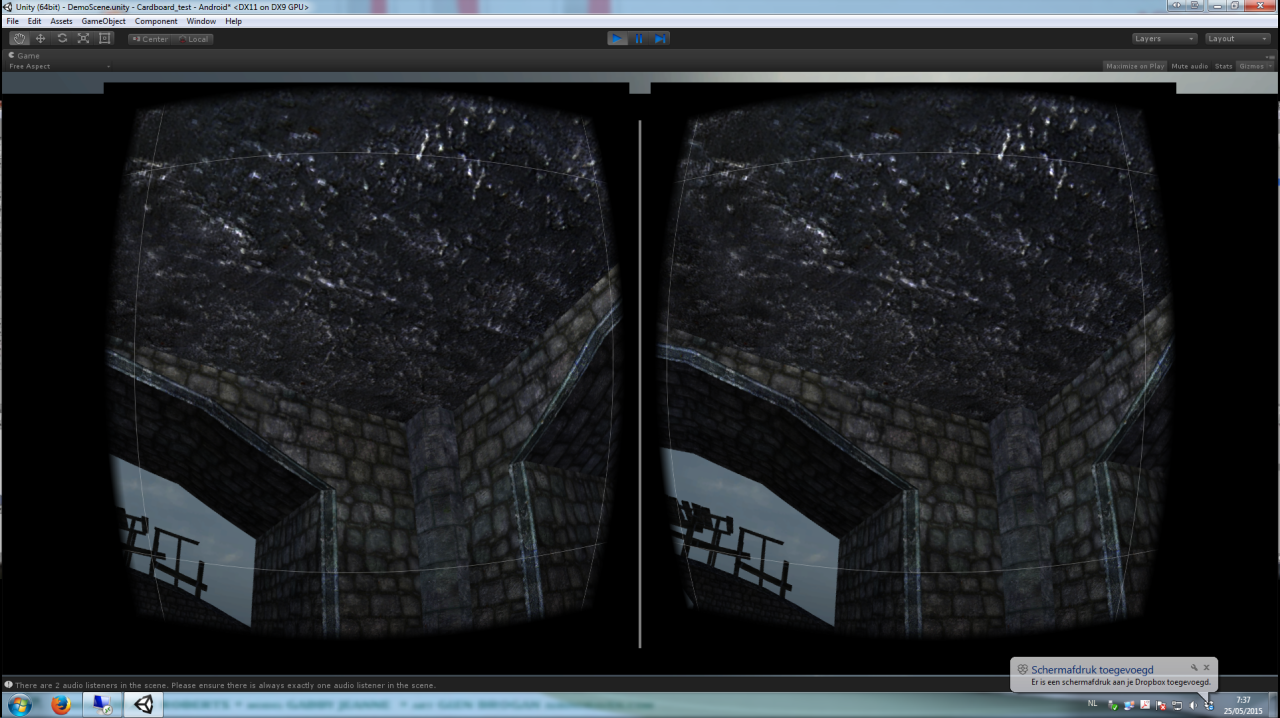
Here is a Video showing off how it works and change between Monkey Island and EmulationStation.
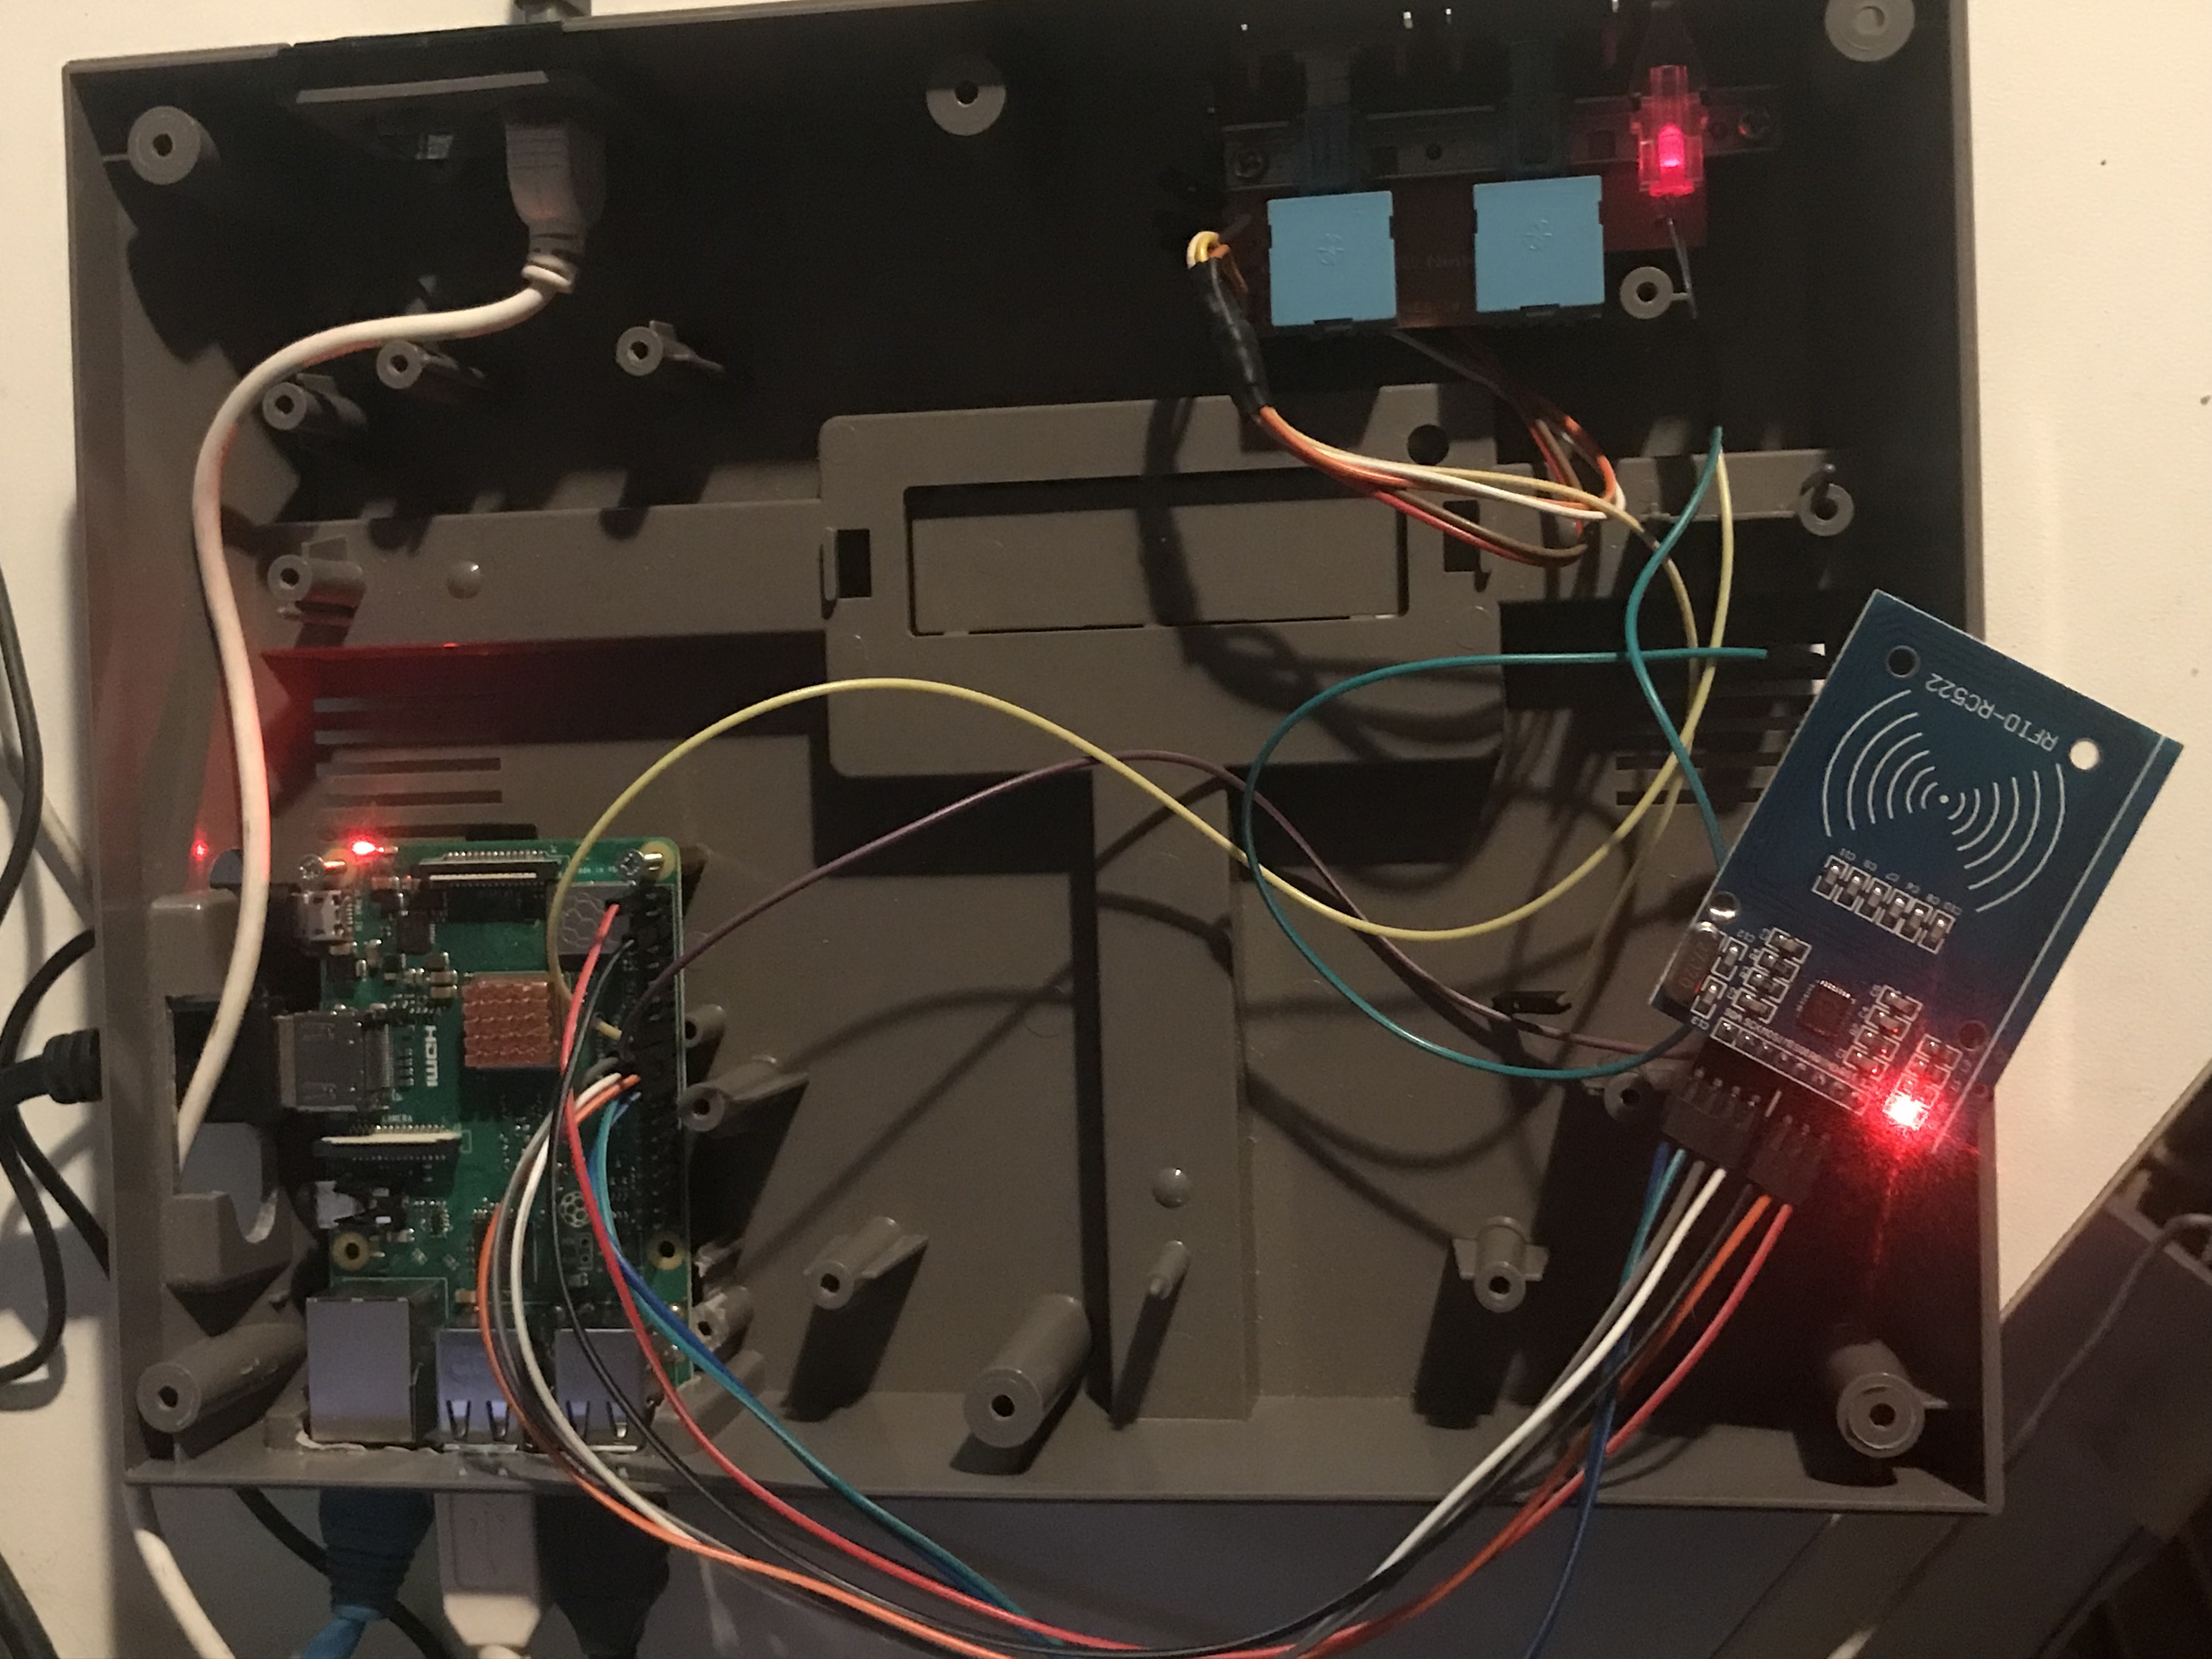
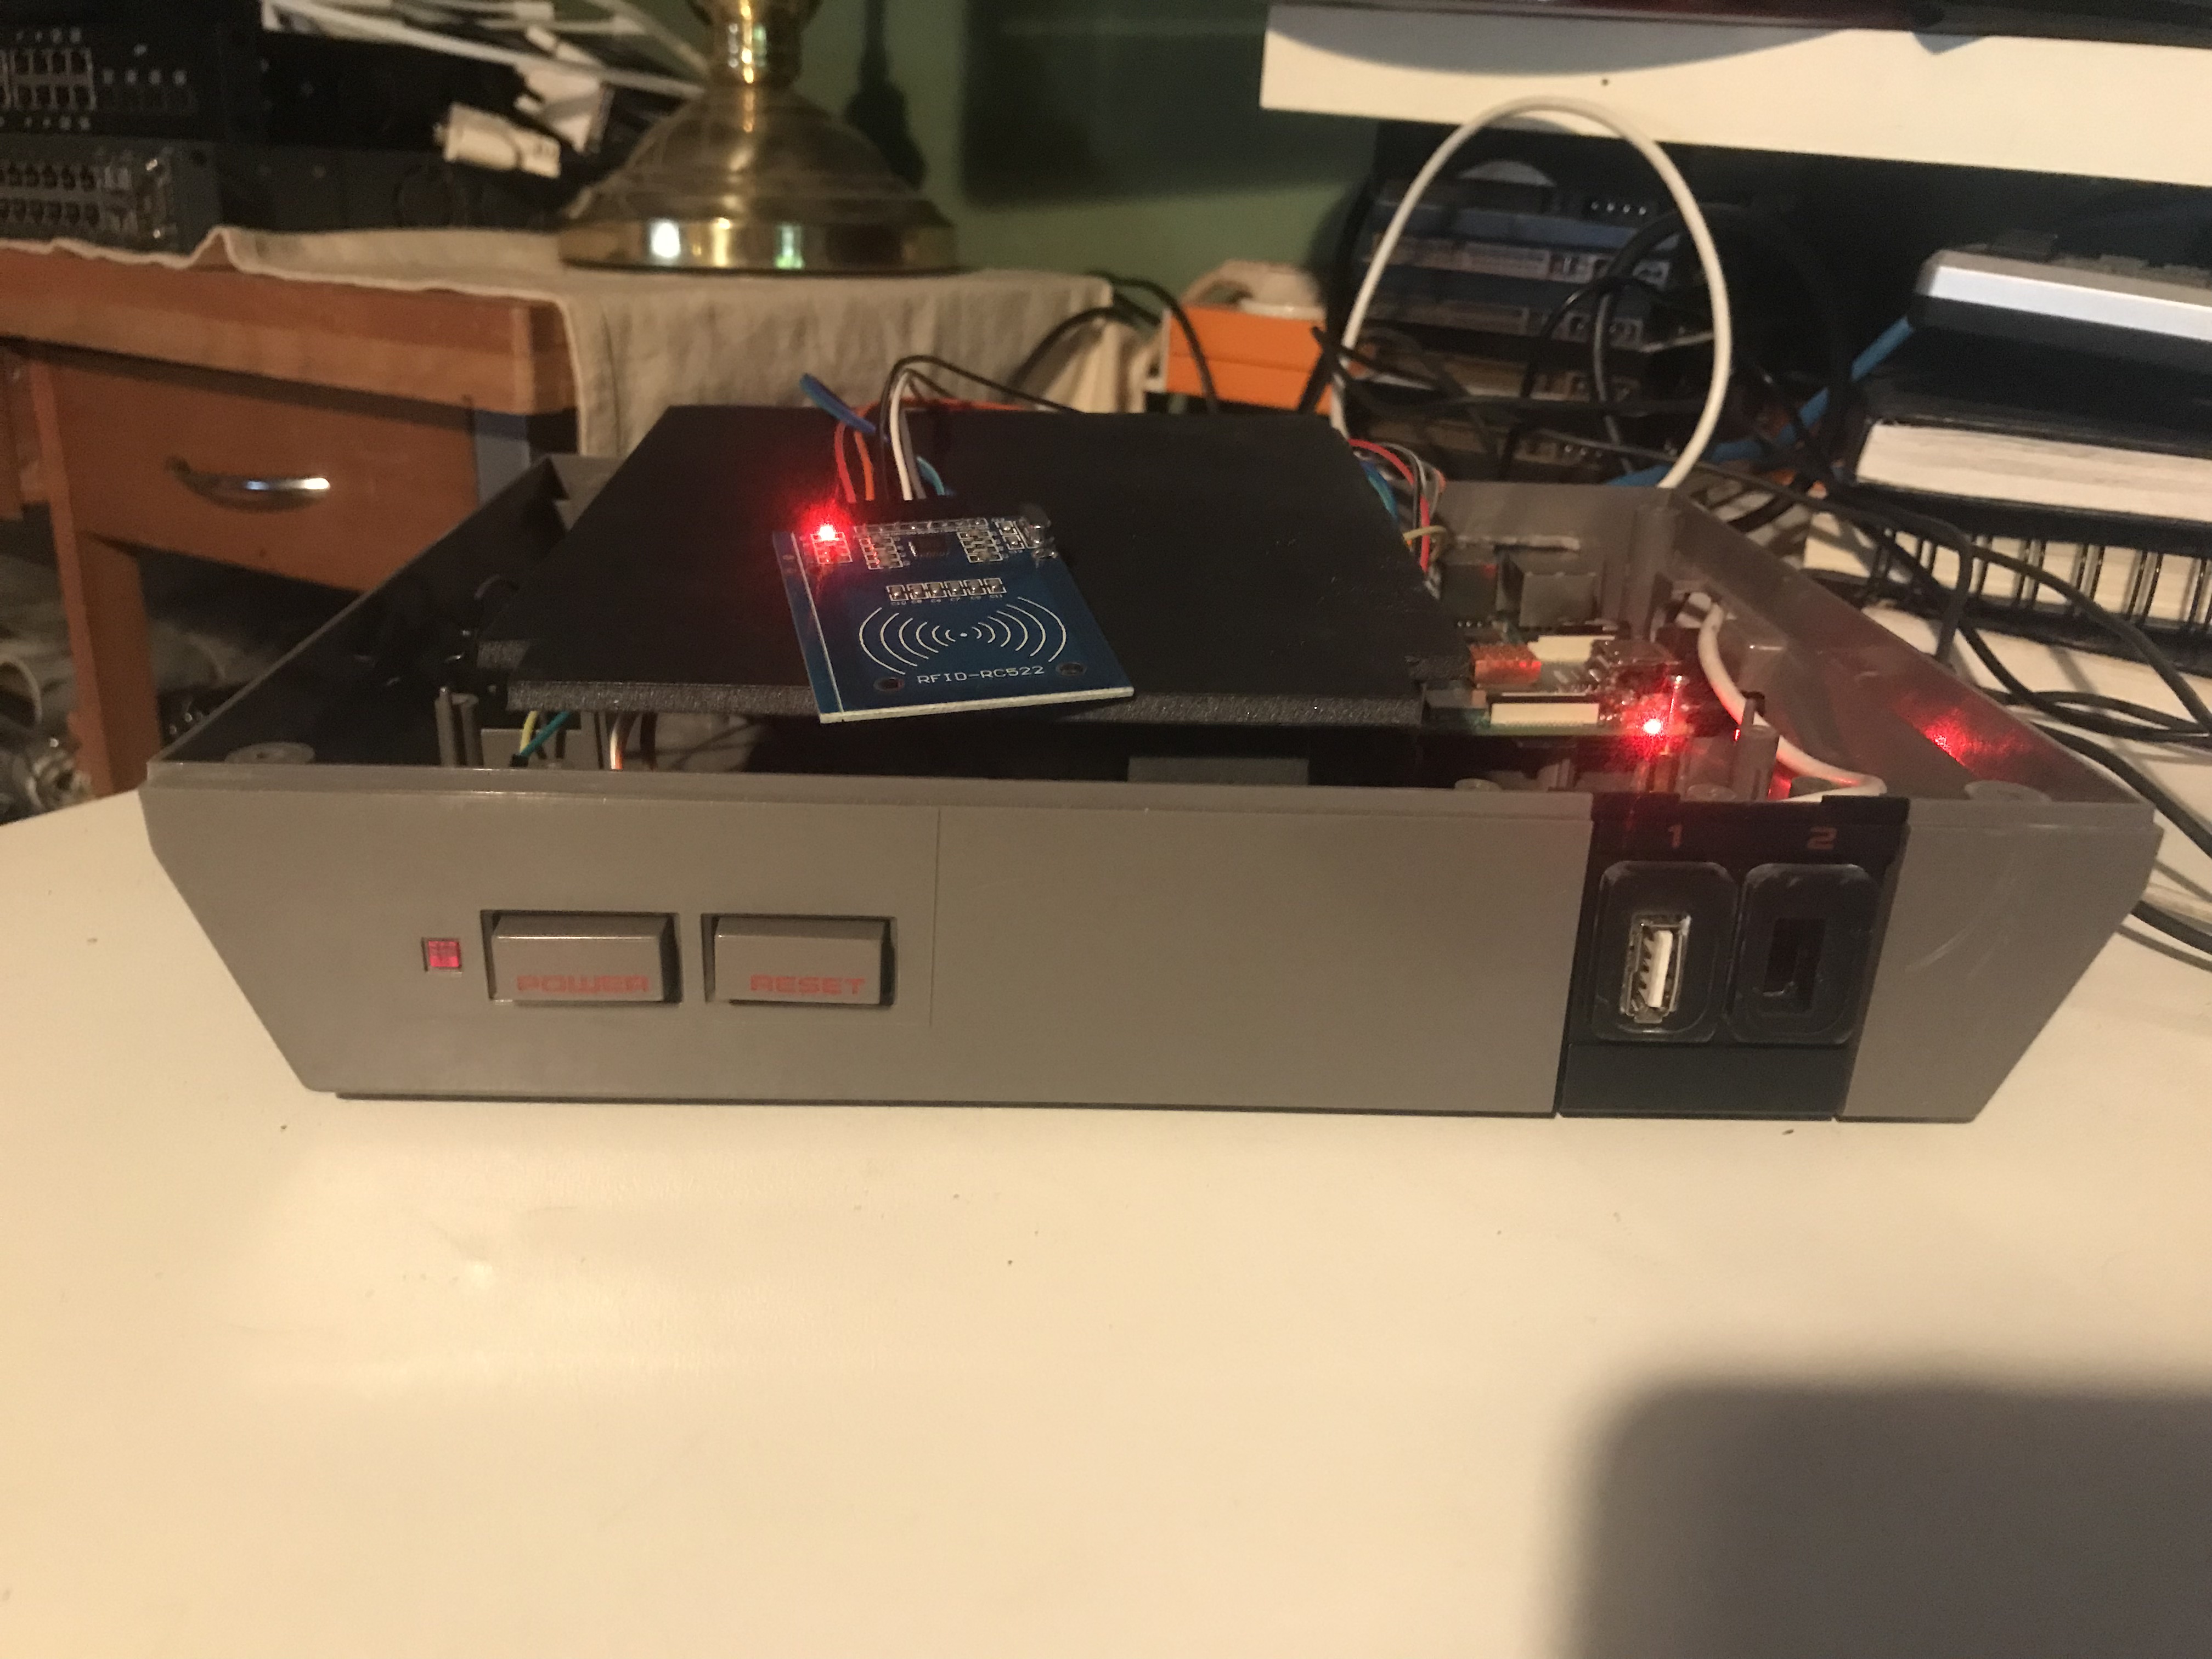
More detailed view of how it works: Look at the LED LOL
Some close up photo’s
A almost done, want to mount the RFID on top. I want to keep the opening to load maybe custom NES cartridges.
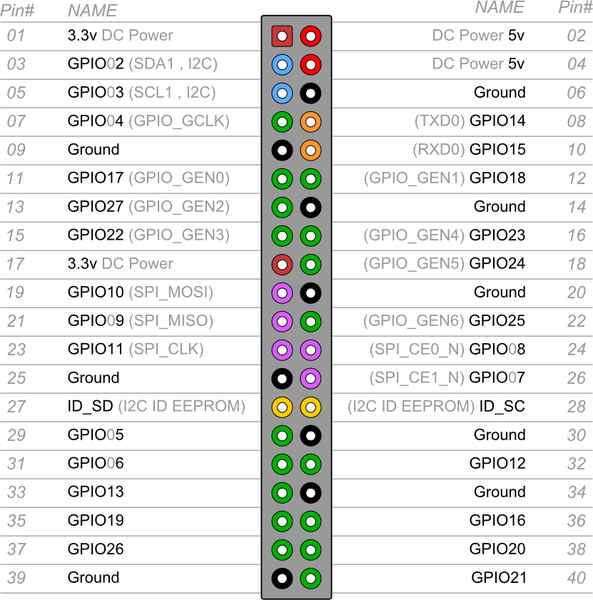
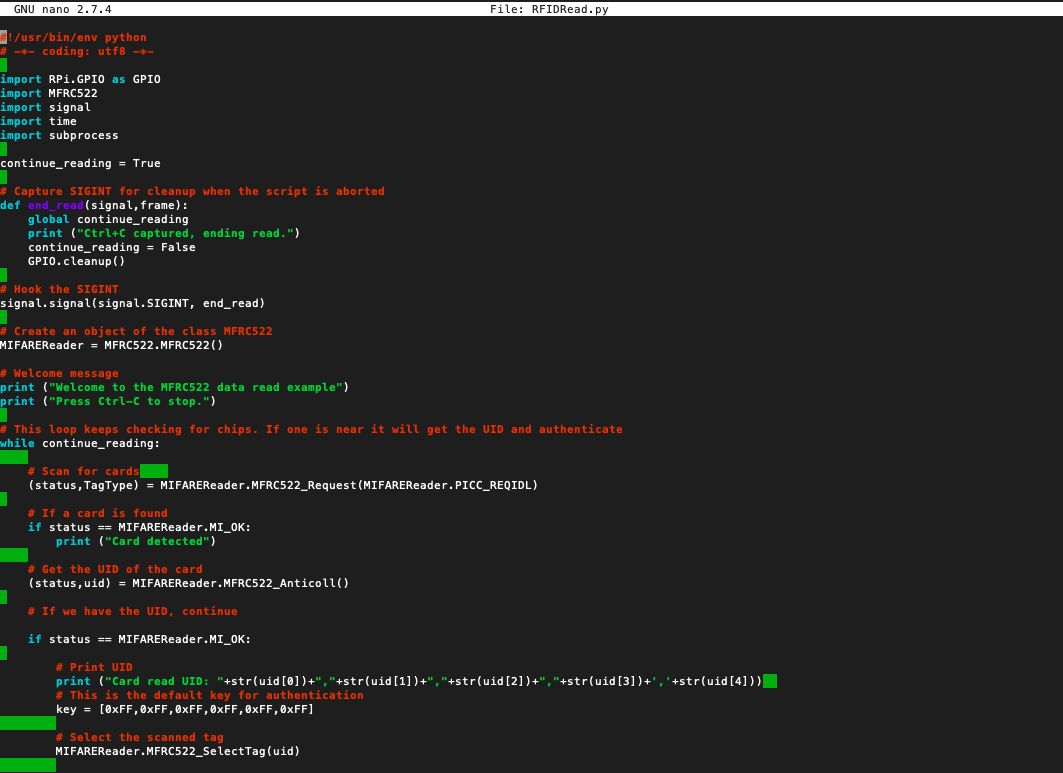
I made 2 bash scripts and 1 pyton script (reworked its the RFID reader):
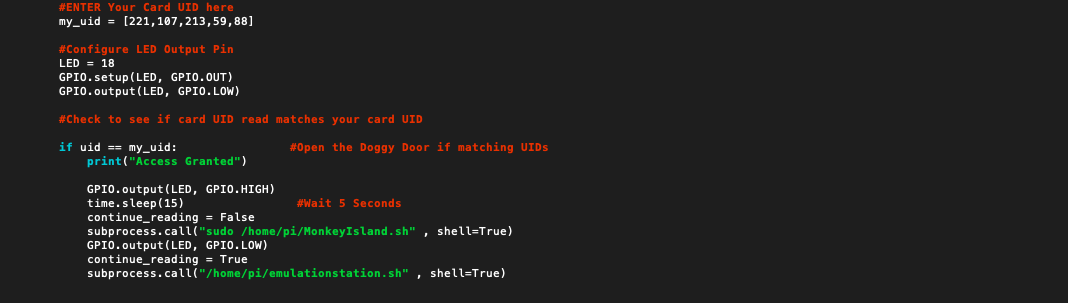
Only added the import subprocess so i can run shell code.Change your UID to the card you want to use to boot a game. (my card is 221,107,213,59,88)
The Time.sleep(15) needs to be removed to boot the game quicker but left it in because want to try loading splach screen or something. The Led is to indicate if the game is stopt or not. Then it will boot EmulationStation again.
The python program stops but is been rebooted with EmulationStation.
The bash scripts:
This will kill EmulationStation and load the gameThis will restart EmulationStation and my Python script will check for a RFID card
And to make it boot at run you need to make this change:
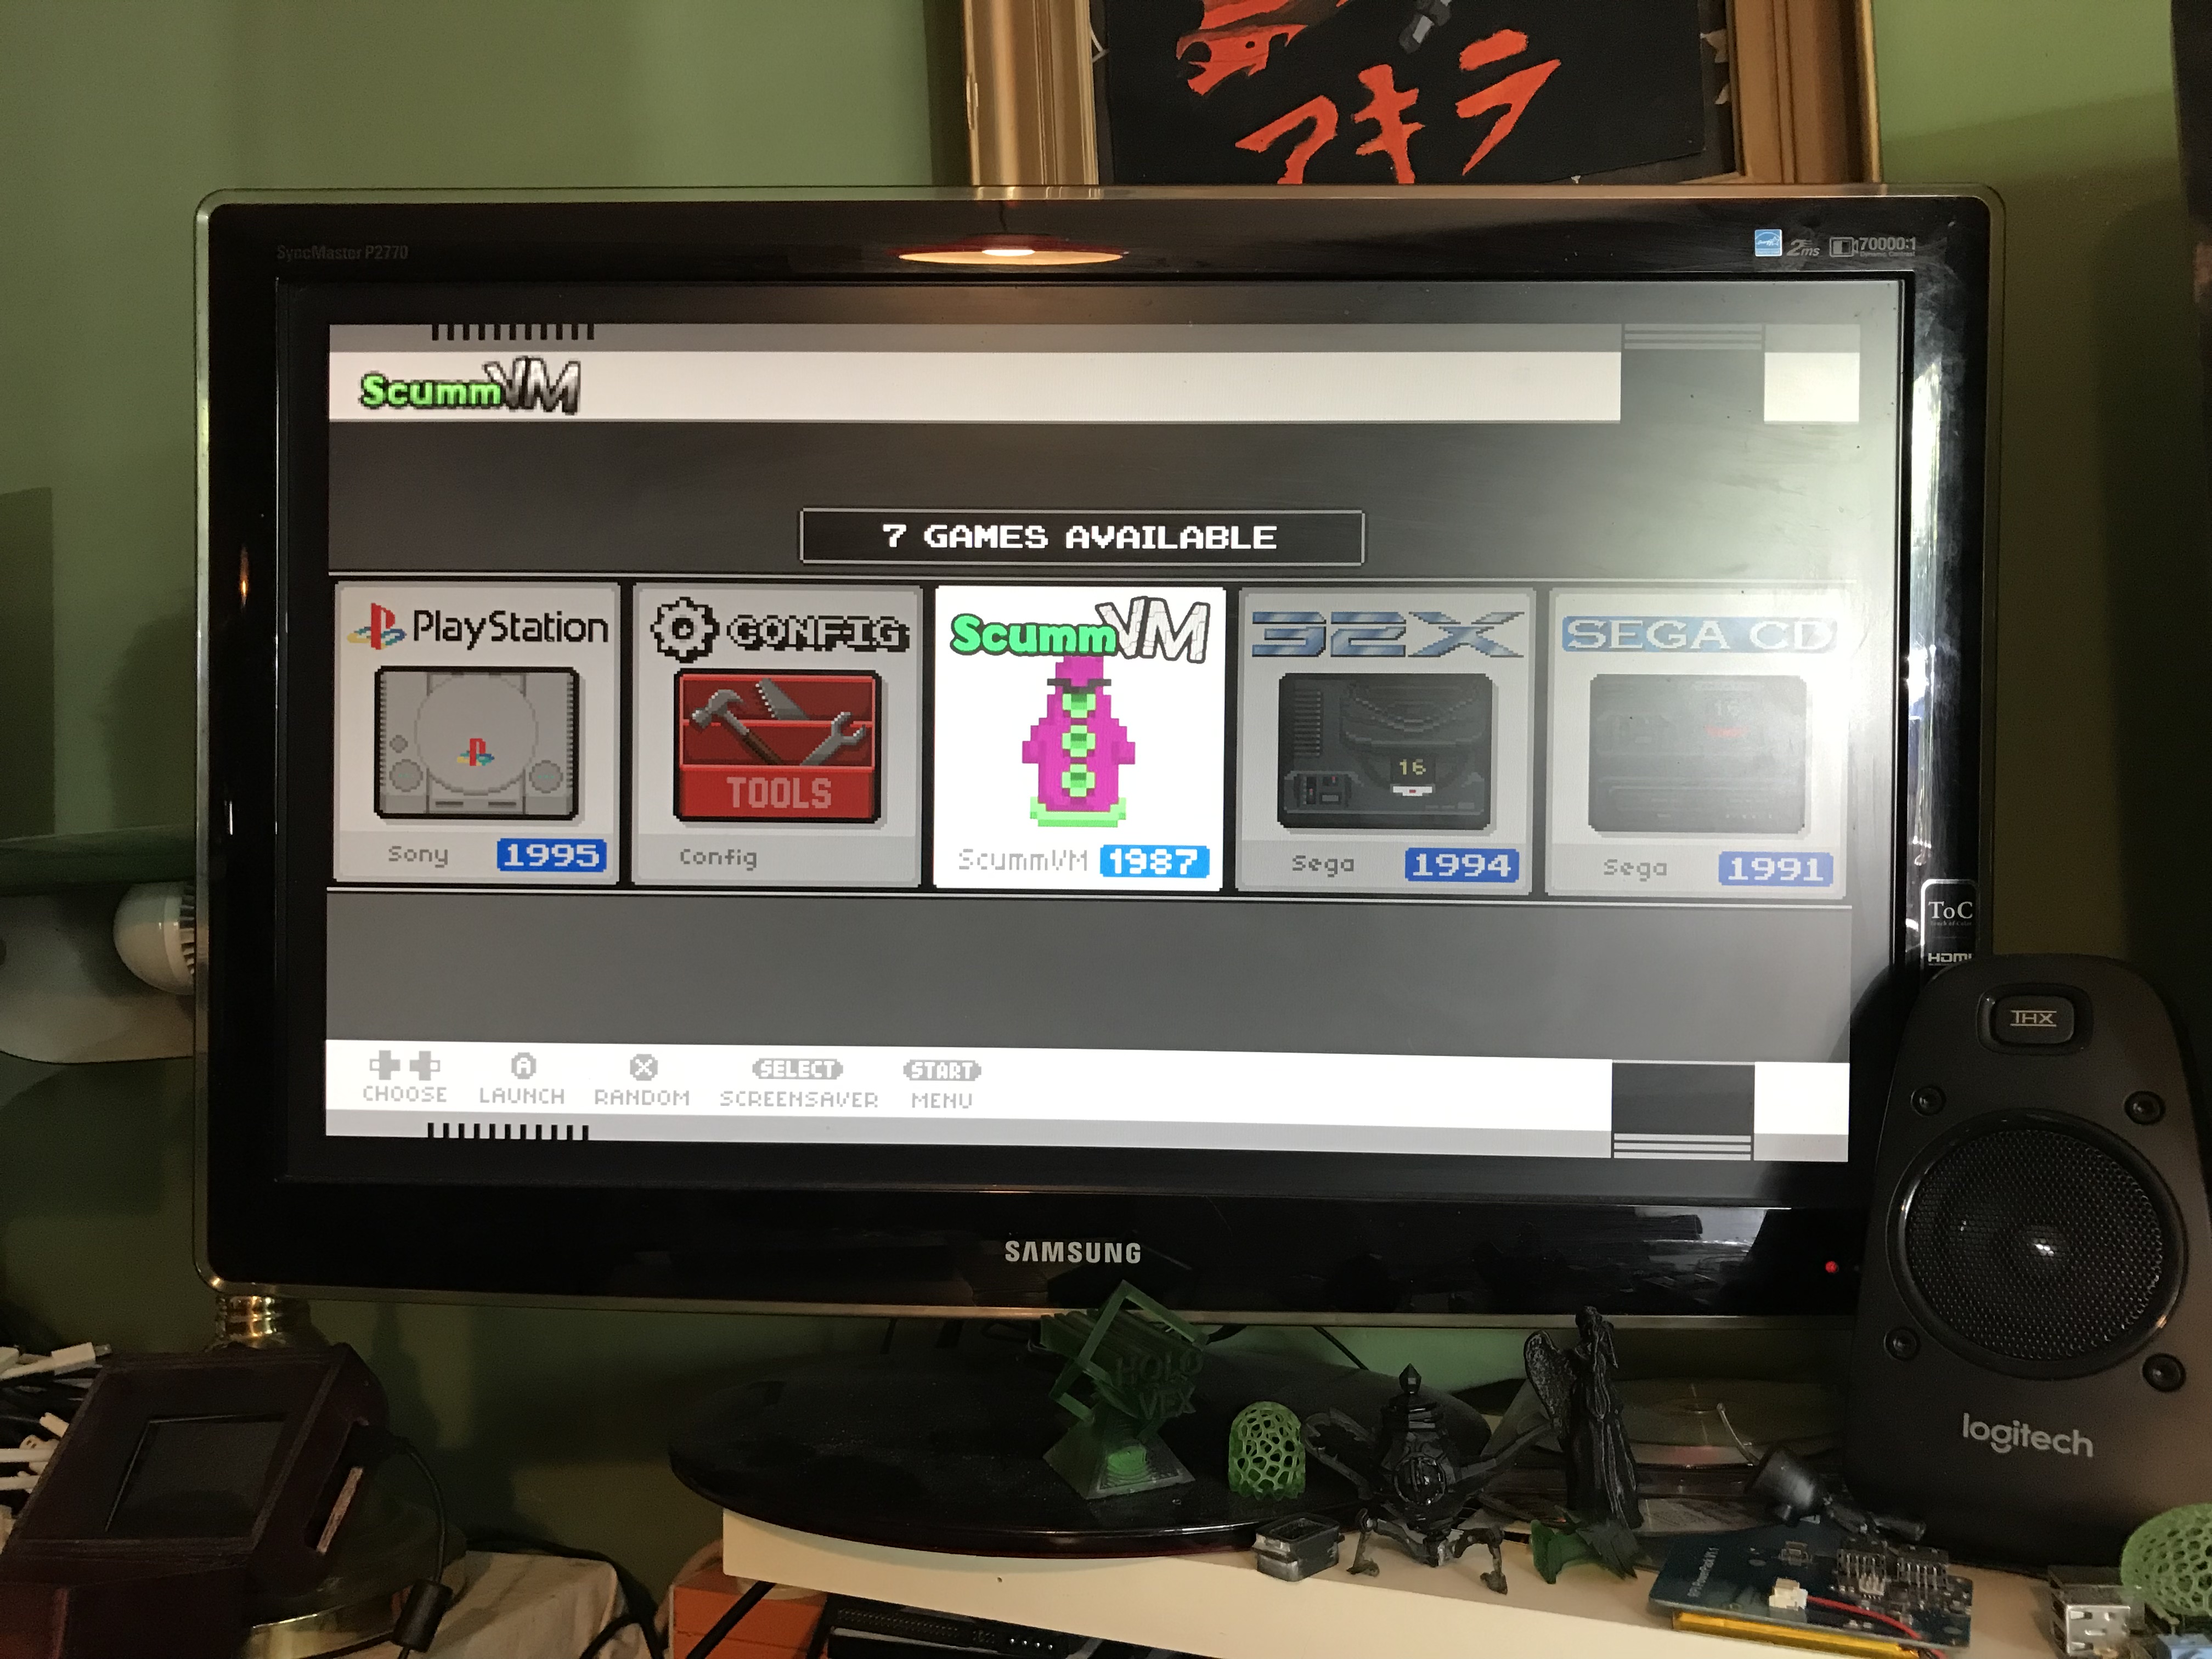
And for the skin i used the NES-Mini theme.
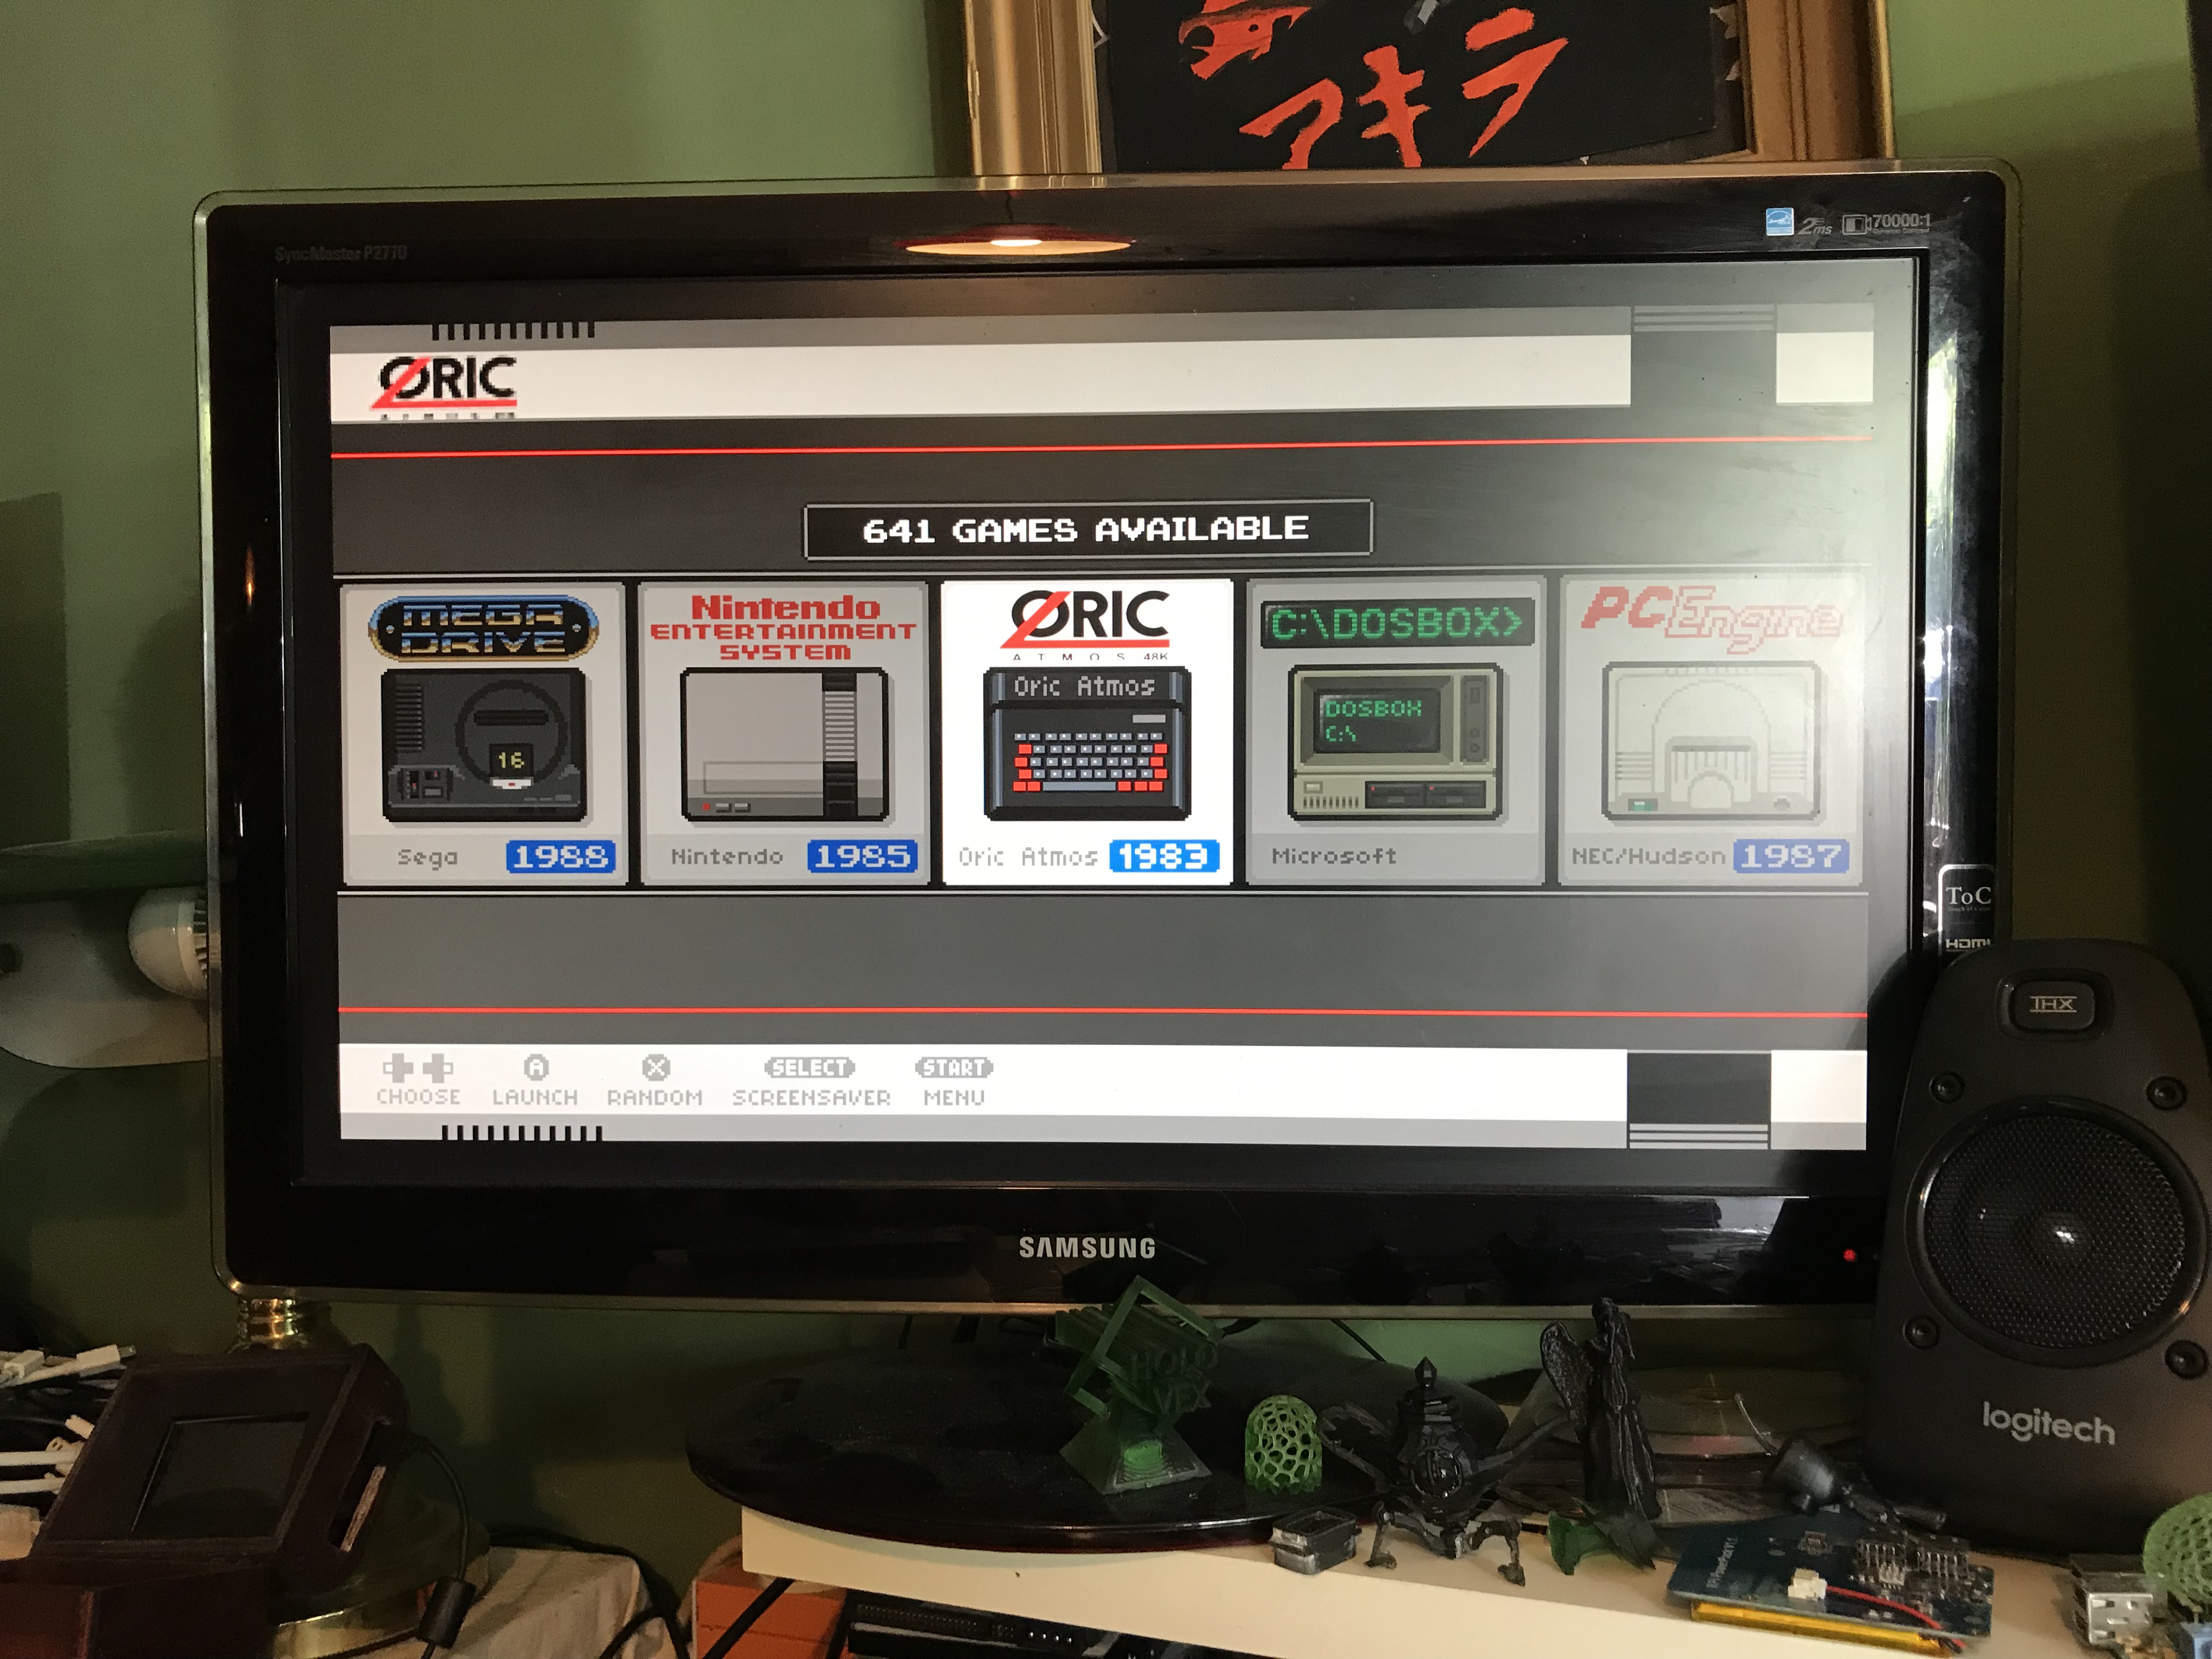
But it was missing 2 themes, i used ScummVM and the Oric emulator on my Pi.
So i made them download link below:
ScummVM:
Download link: ScummVM.
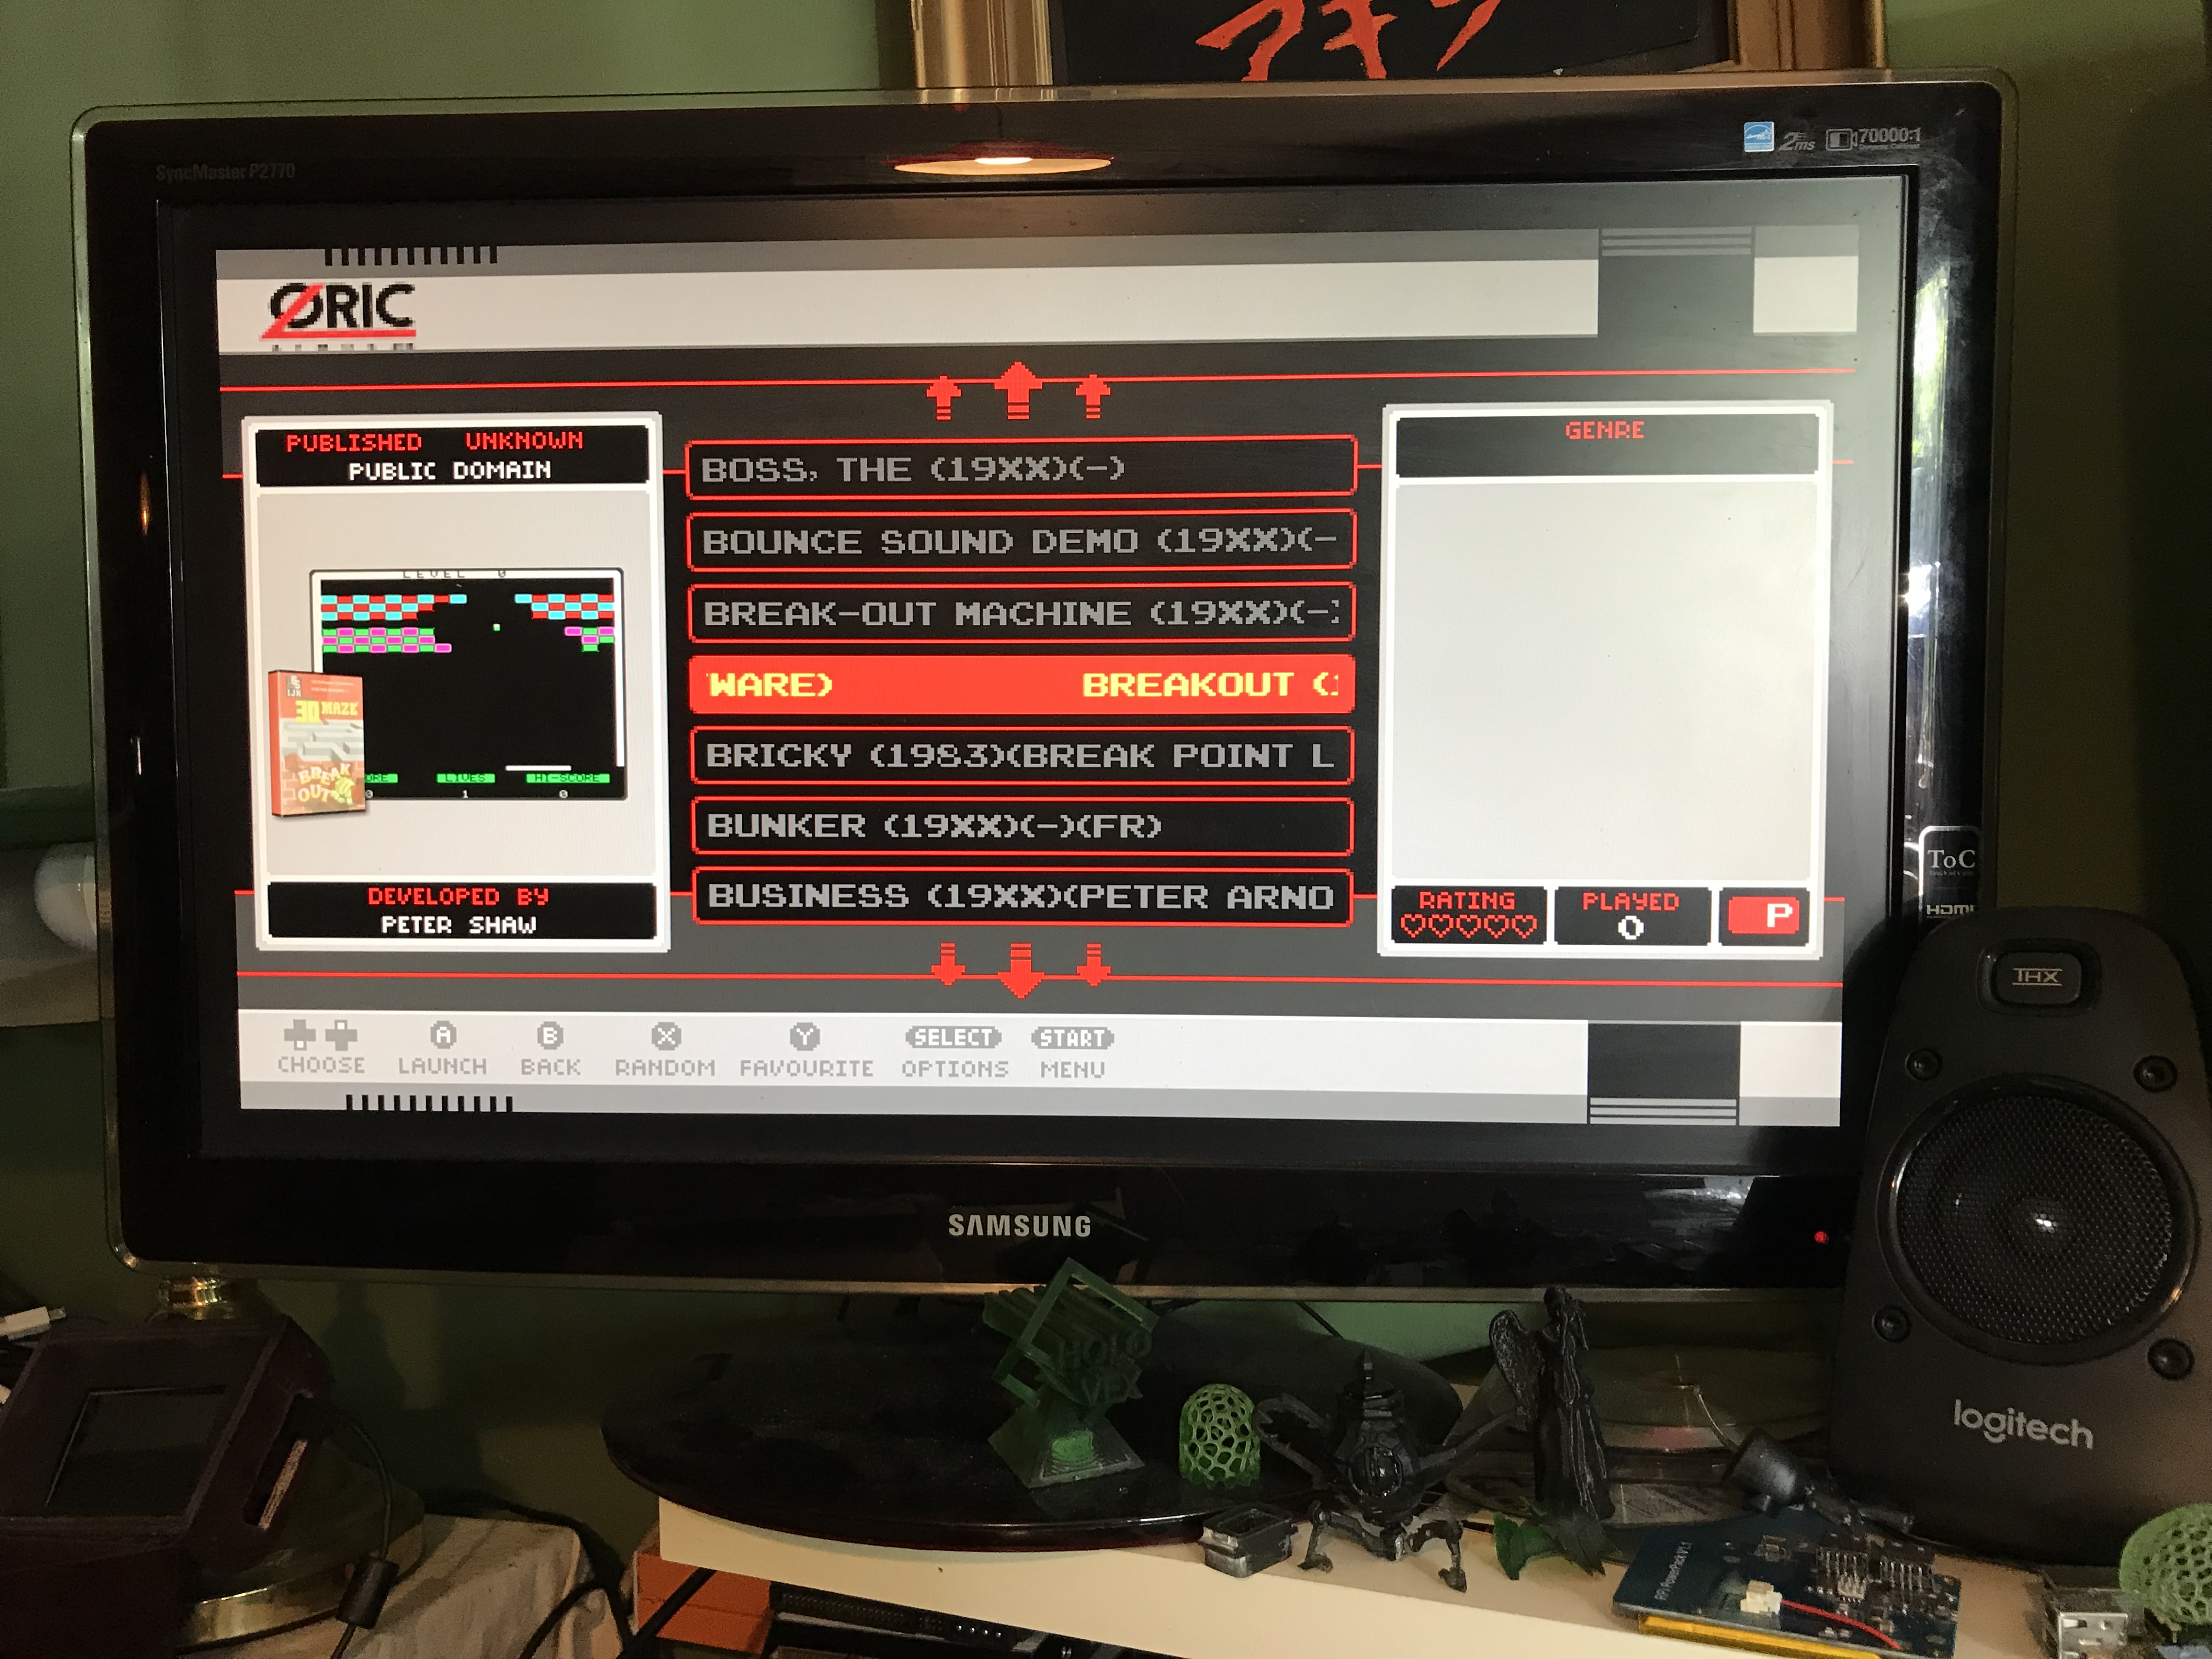
Oric Atmos :
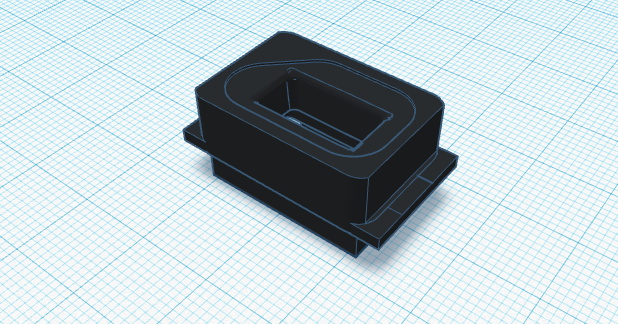
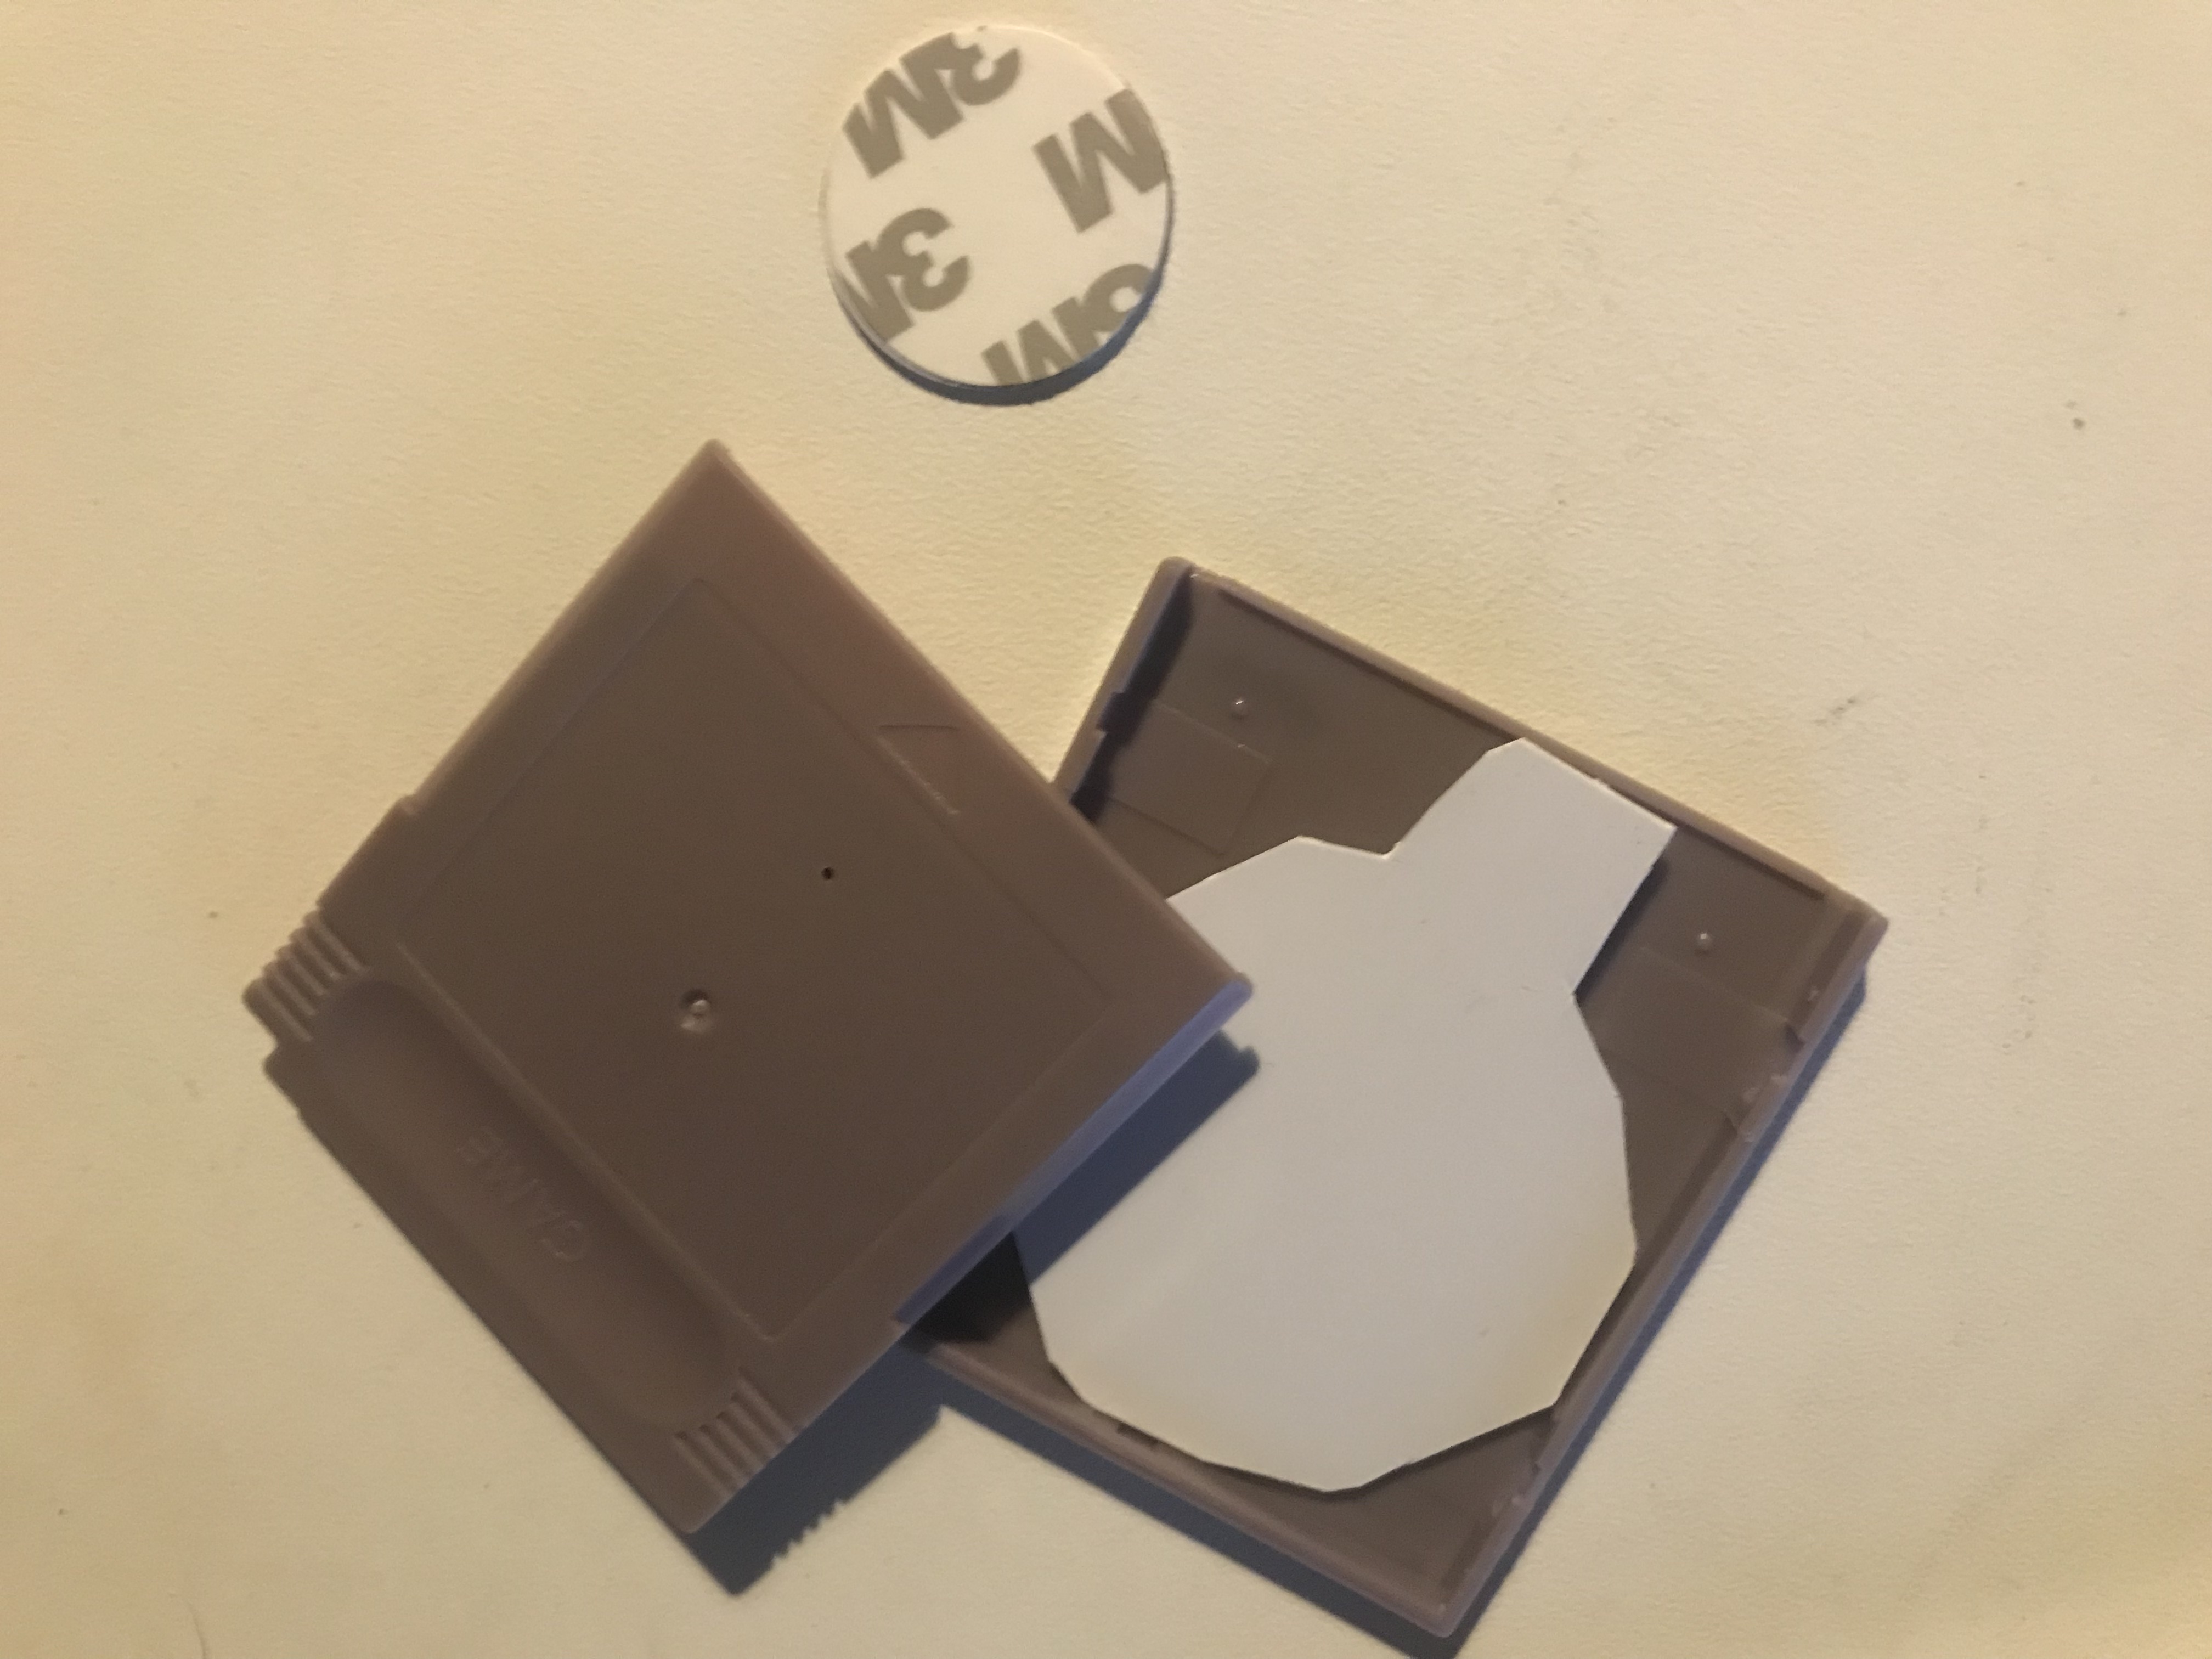
The RFID fits perfect in the box that i made, now i can insert real NES cartridges 😀
So if i buy empty nes cartridges i could insert a rfid tag and load that game
Tried that and works 😉
(cartridges and RFID tag)
Things to do:
Mount RFID on top case, make everything more durable.
Optimise the code, use some sort of database to use more UID’s and game titles.
Get more RFID tag’s, print more modes of old games… (open source Amiibo’s)
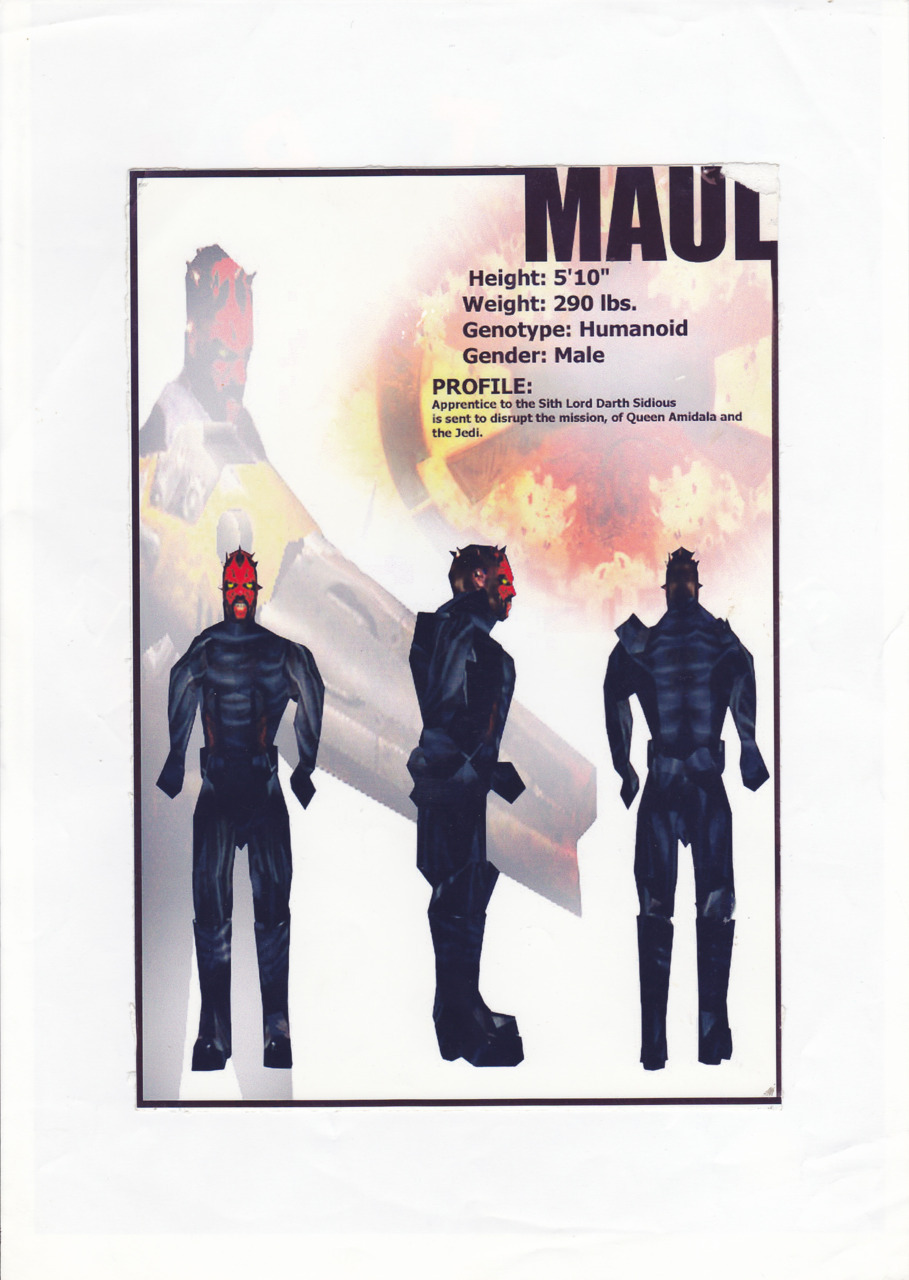
Apprentice to the Sith Lord Darth Sidious is sent to Disrupt The mission of Queen Amidala and the Jedi
Unzip Maul.pk3 and put them in the baseq3 folder.================================================================
Model Name: Darth Maul
installation directory: baseq3\
Author: <—–[NIGMA]—–>
Skin Author: NIGMA
Email Address: bart_is@hotmail.com
Model description :Apprentice to the Sith Lord Darth Sidious is sent to Disrupt The mission of Queen Amidala and the Jedi
Other info : None
Additional Credits to :
================================================================
* Play Information *
New Sounds: no
CTF Skins: no
* Construction *
Editor used : 3DS Max 3, Adobe Photoshop, Skin Mapper.
* How to use this model *
Unzip maul.pk3 and put them in the baseq3 folder.
* Copyright / Permissions *
QUAKE(R) and QUAKE III Arena(R) are registered trademarks of id Software, Inc.
This model may be freely distributed in any form, UNALTERED. Which means, you can’t pull the readme file out of the zip, or add your own stuff to it and pass it along.