
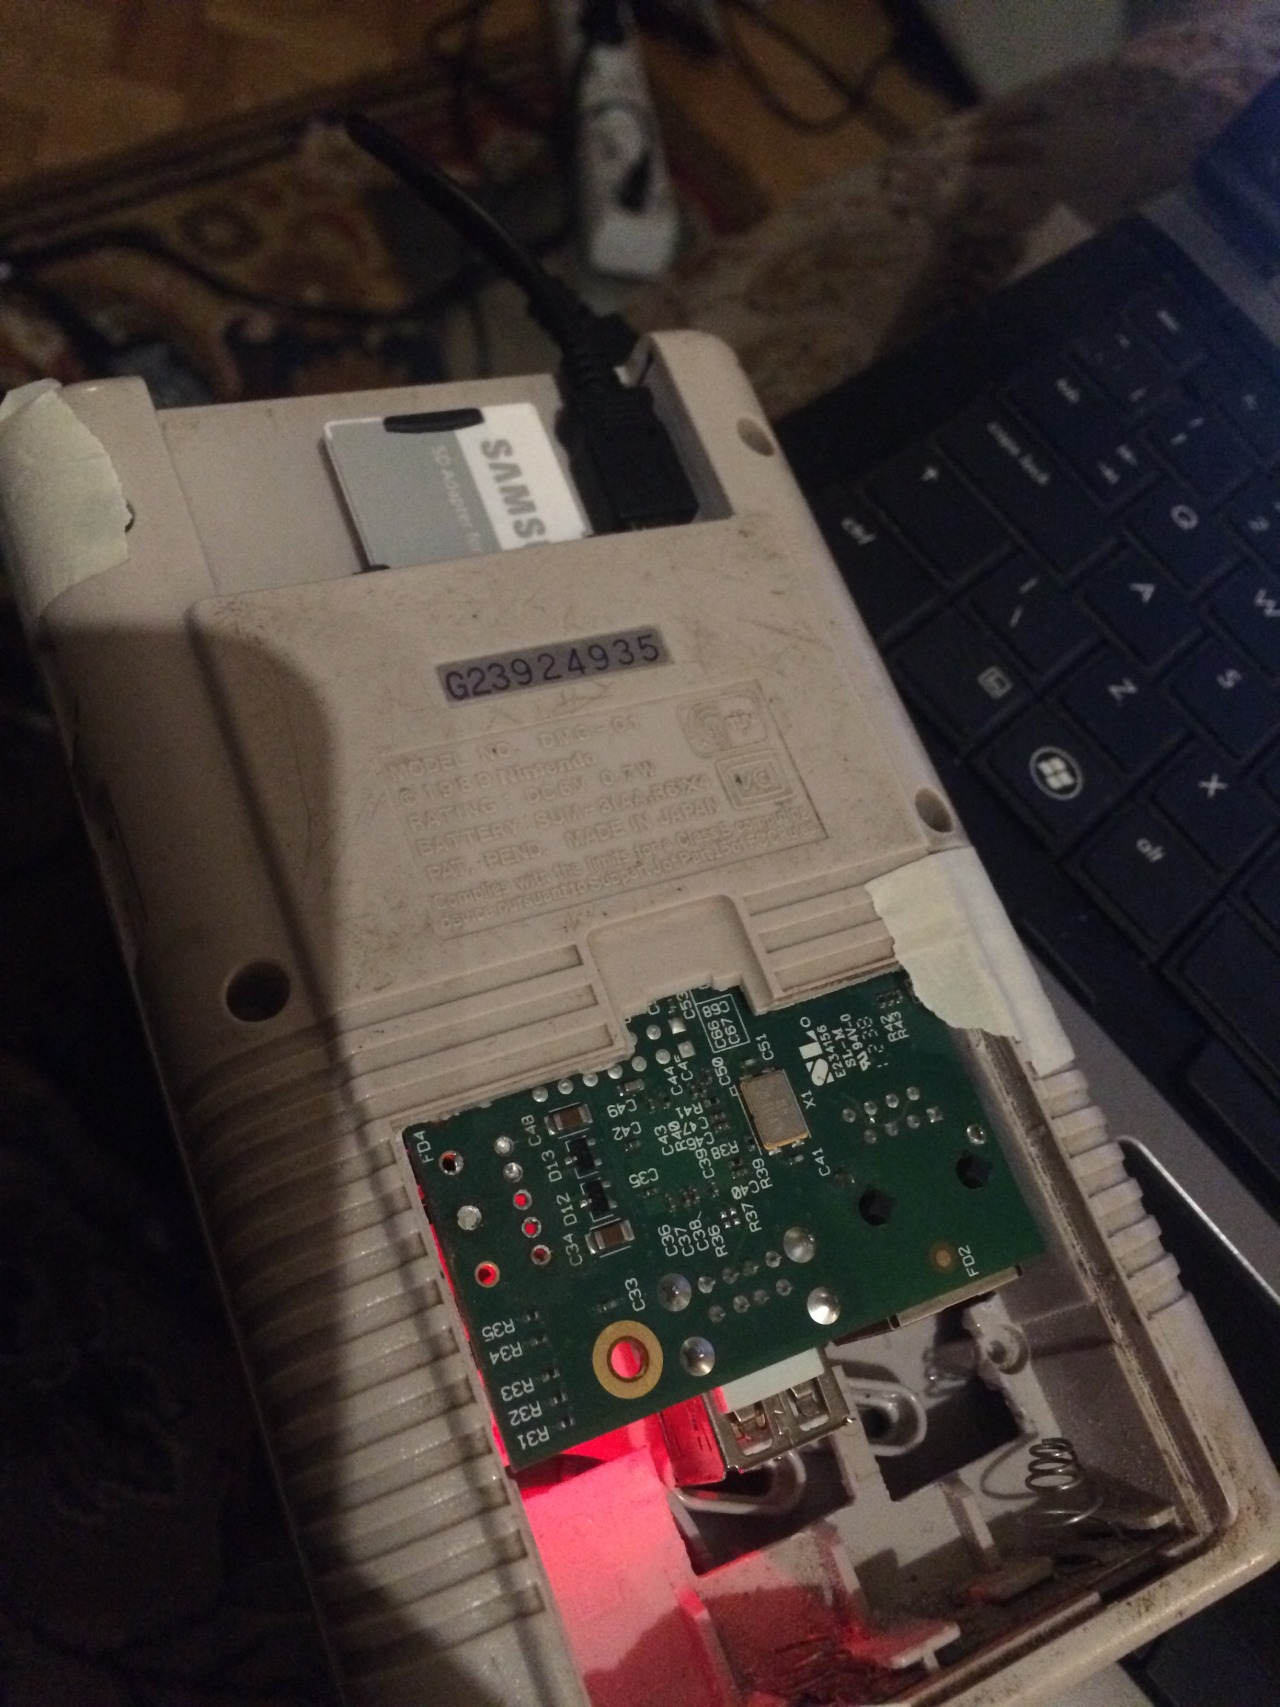
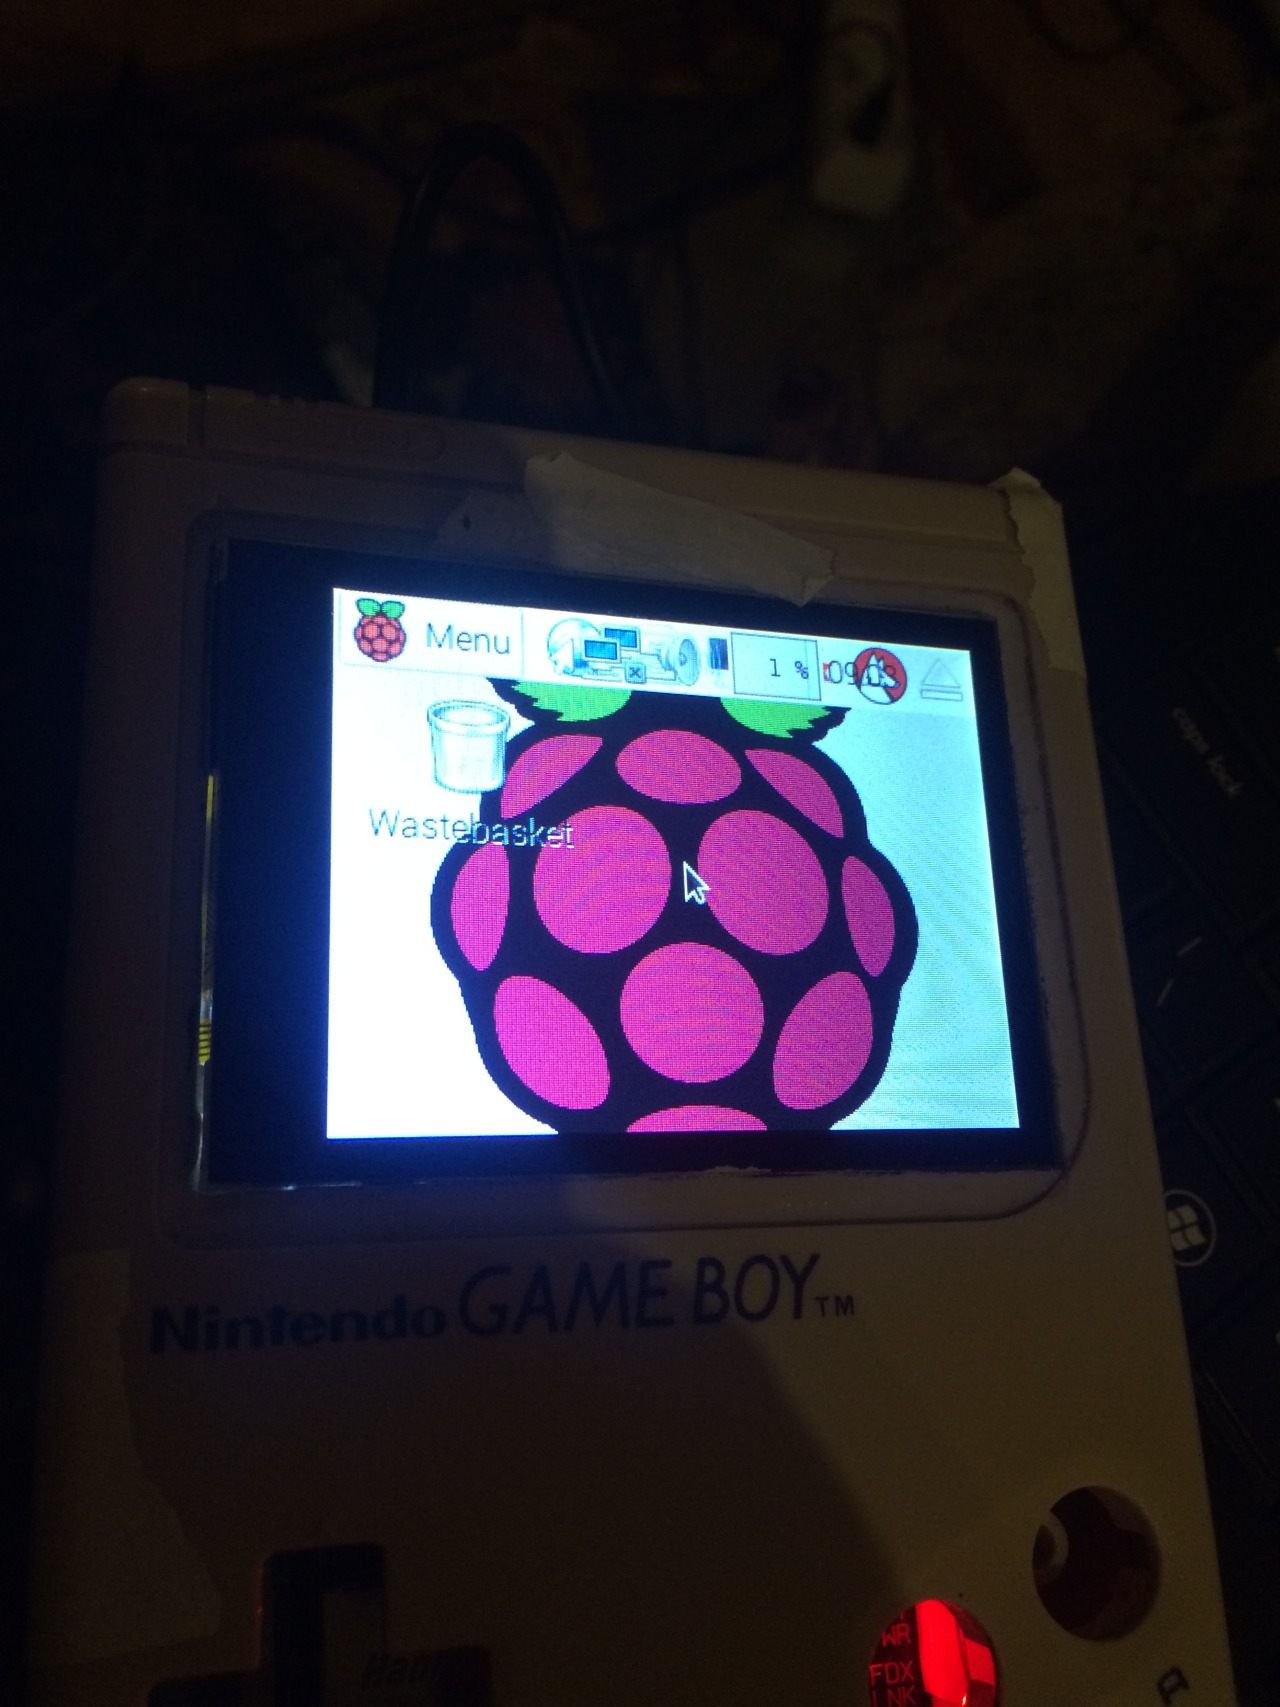
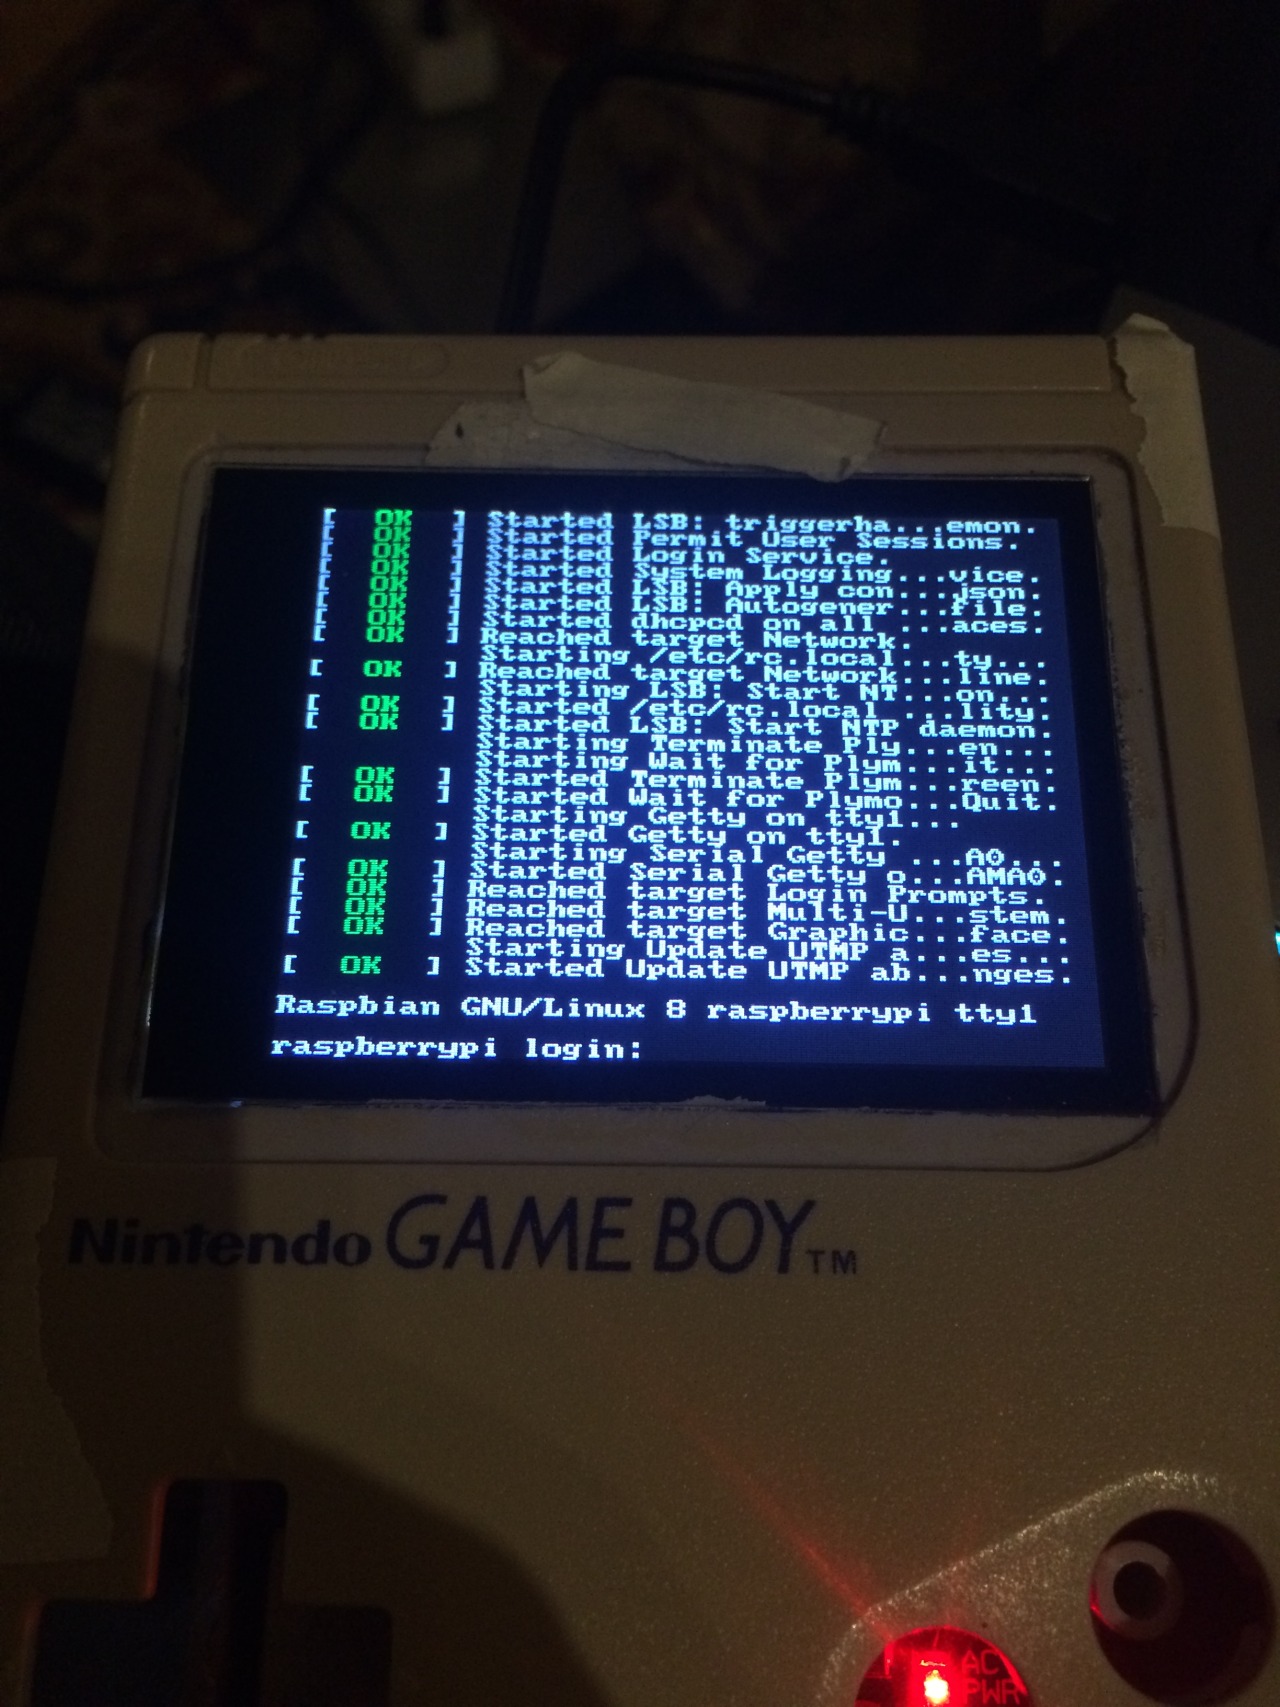
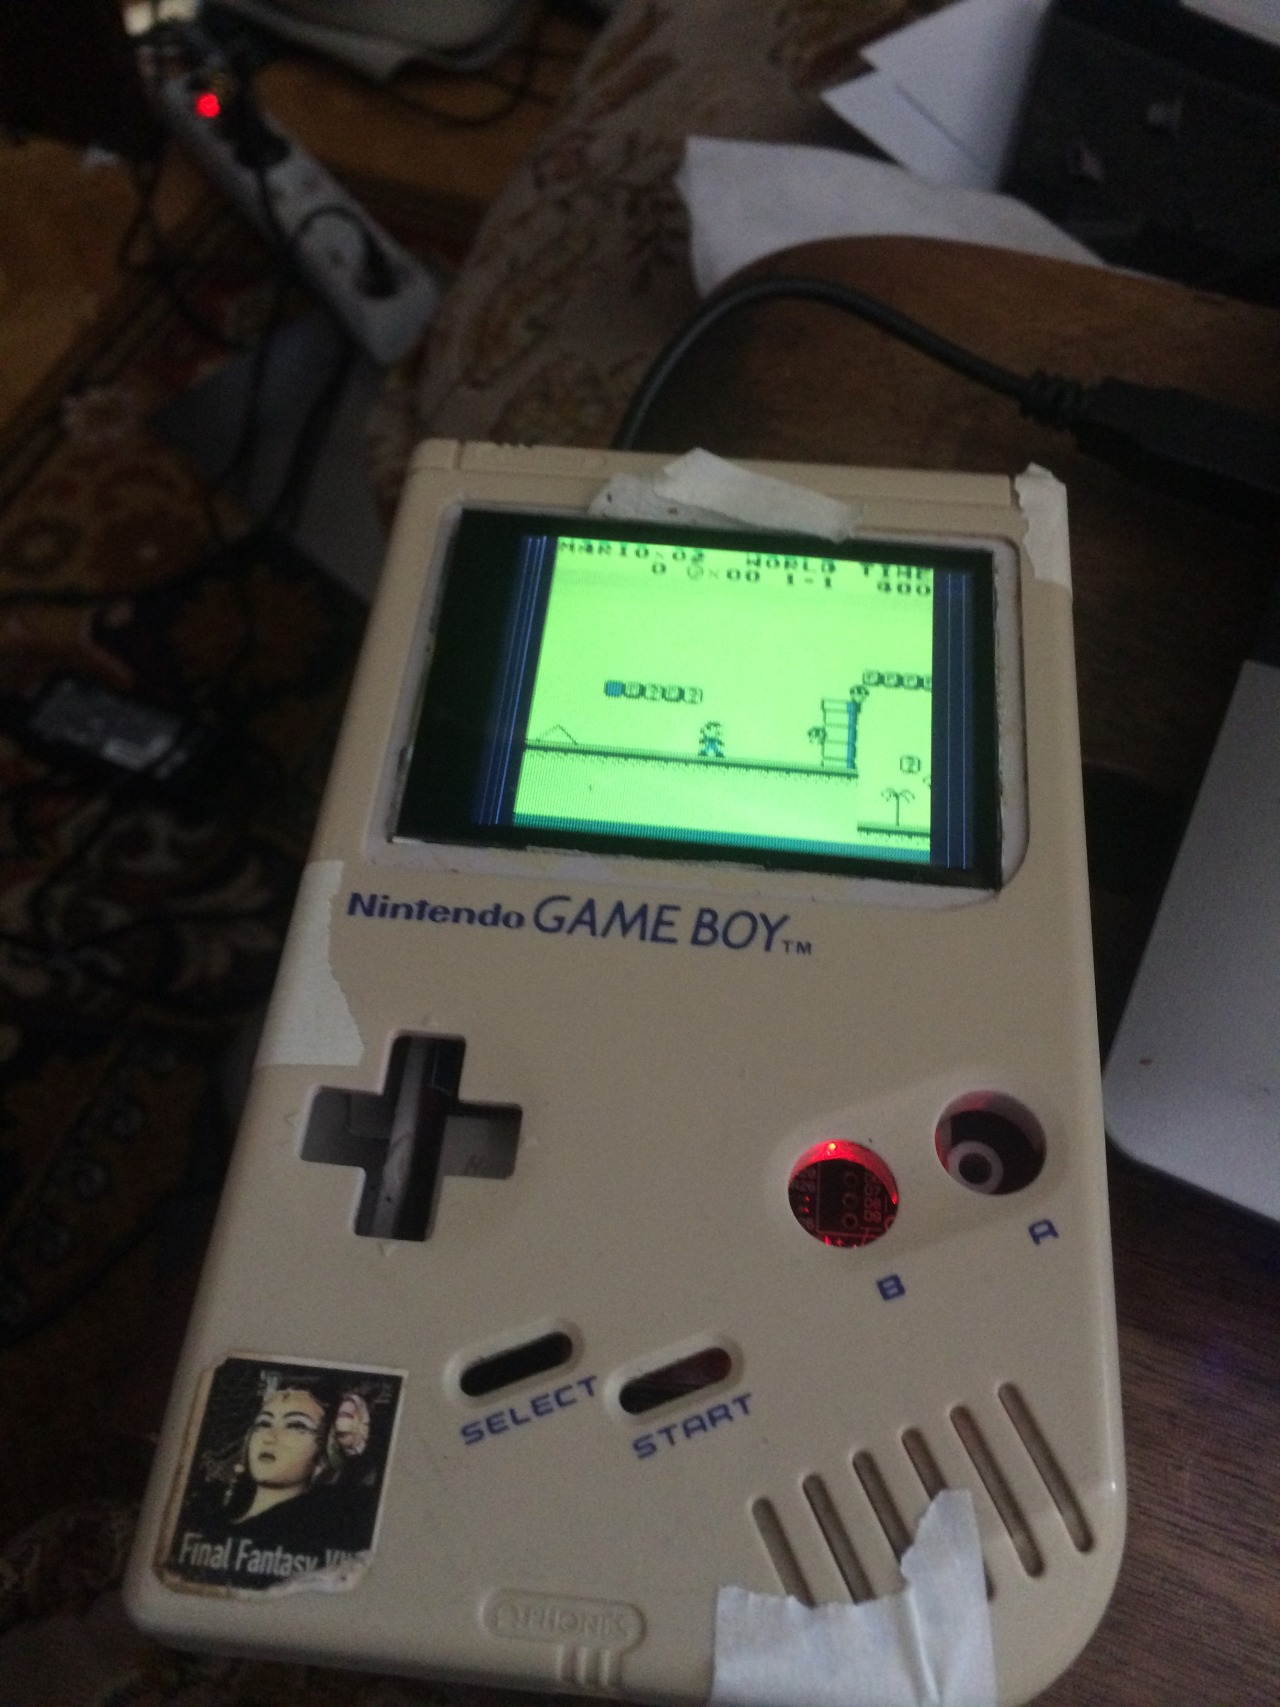

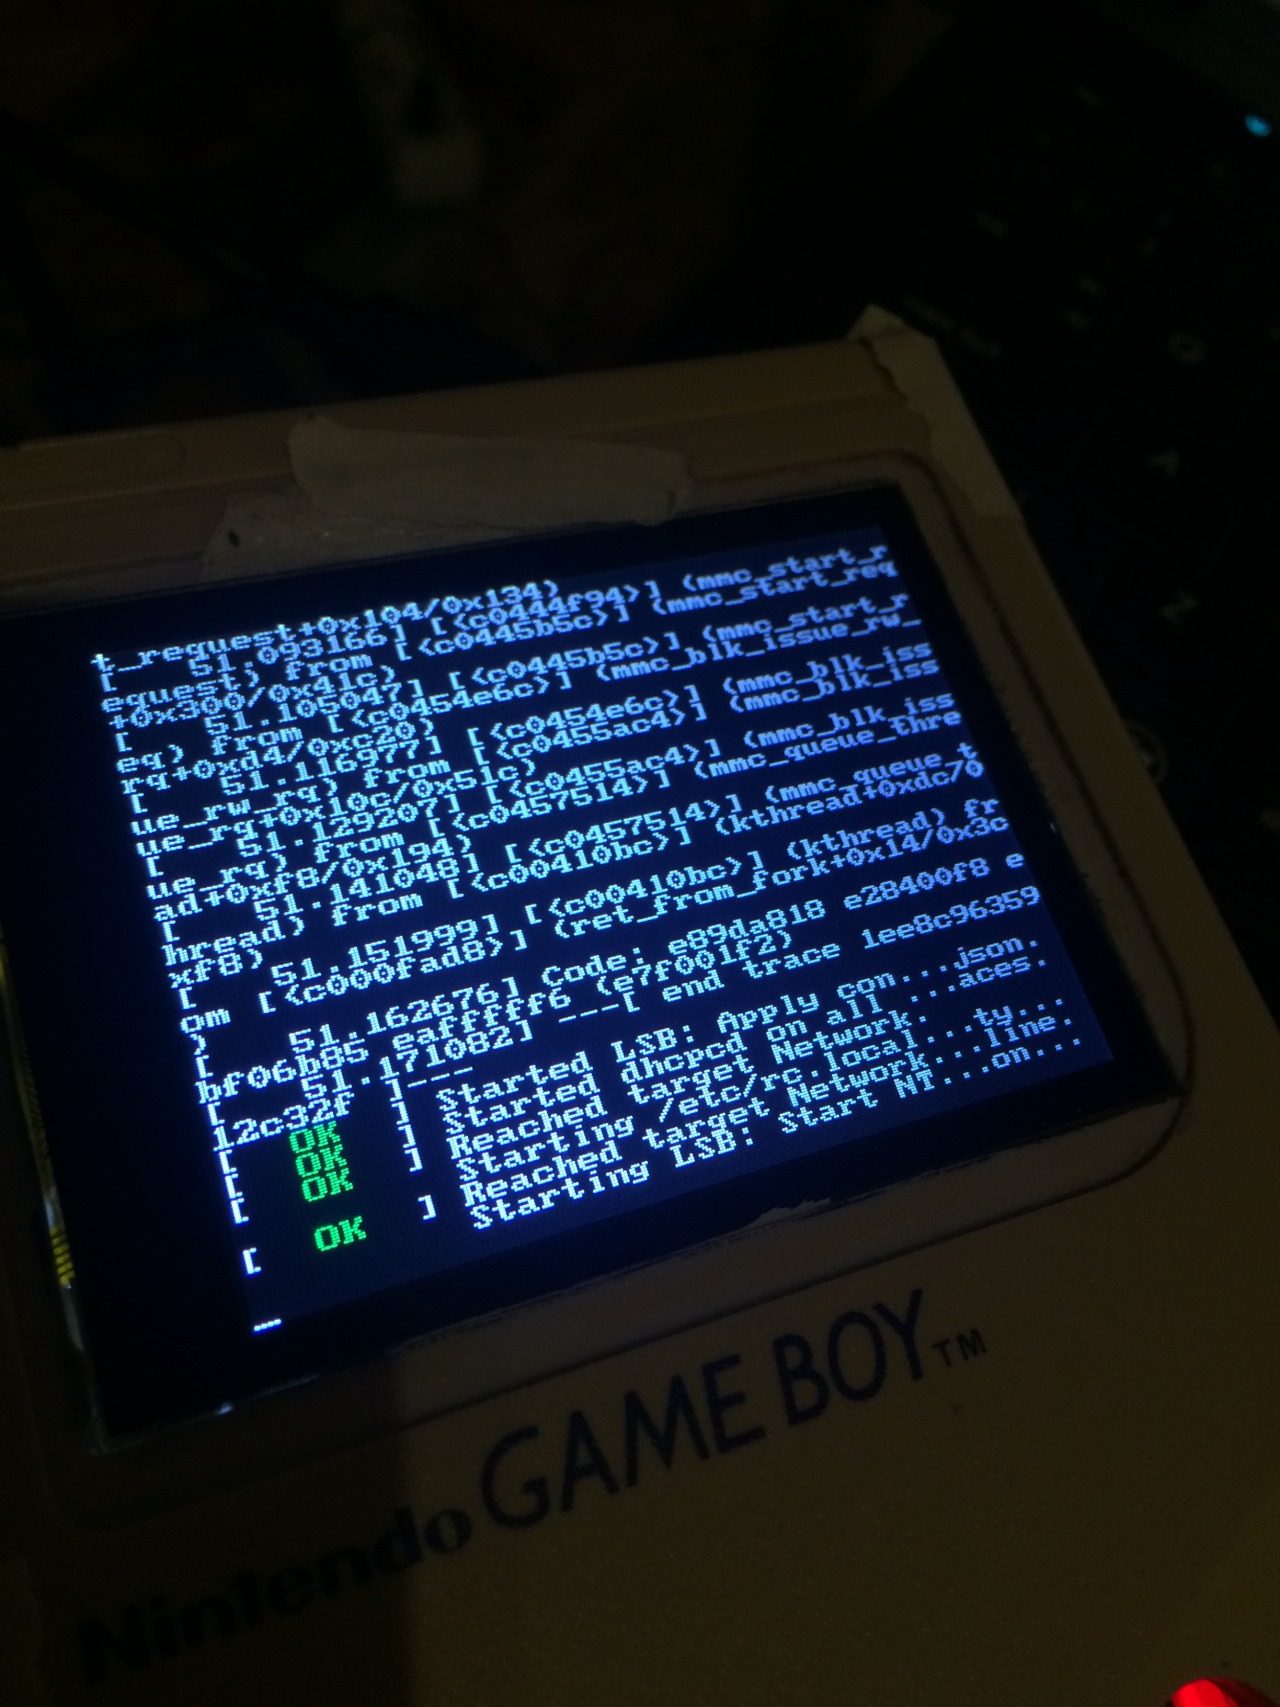
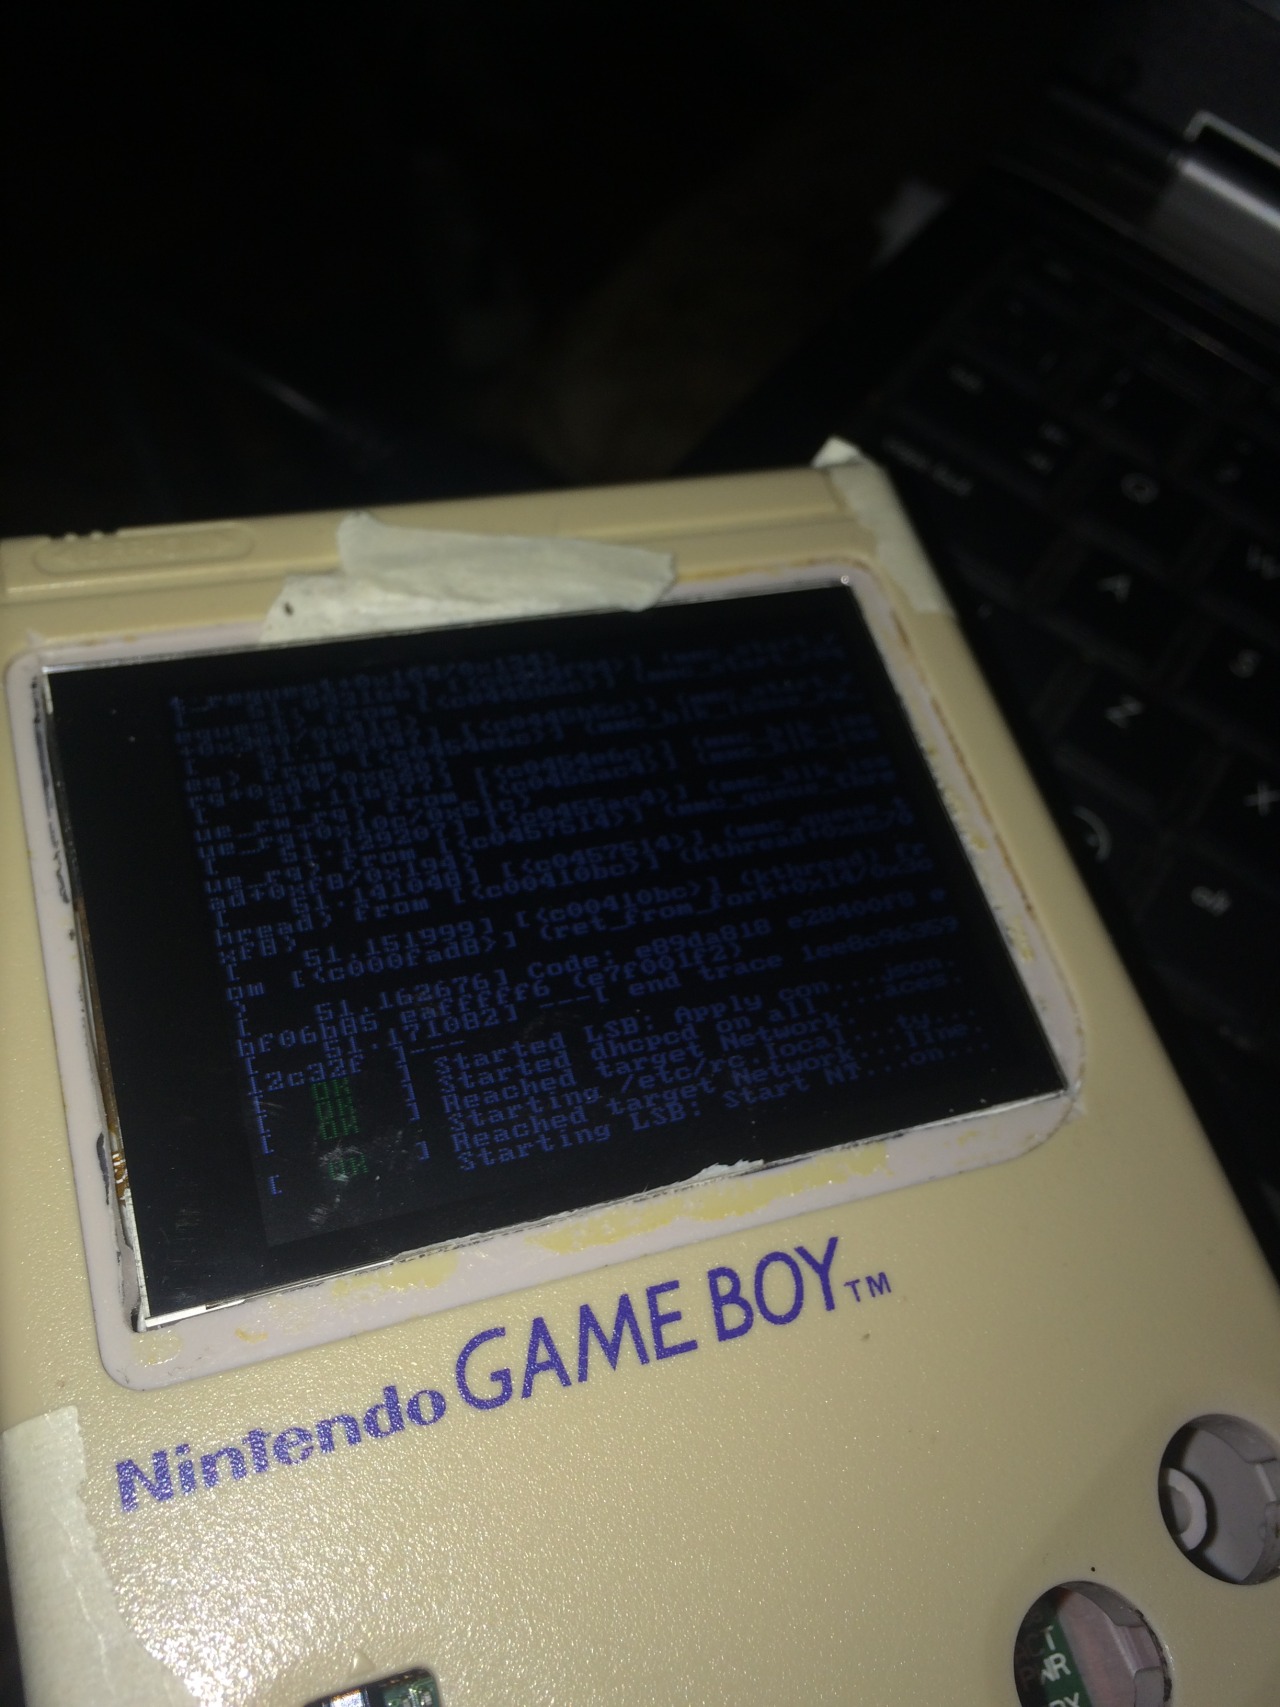
Some progress pictures for my Gameboy Pi
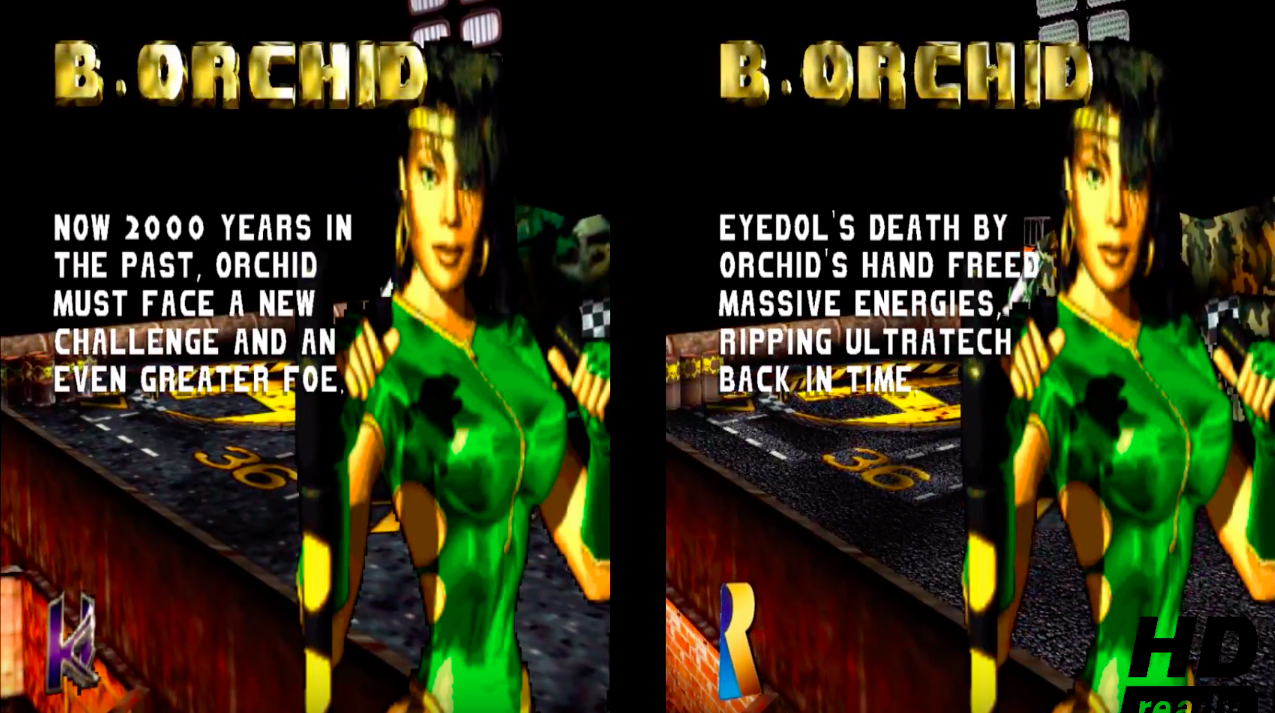
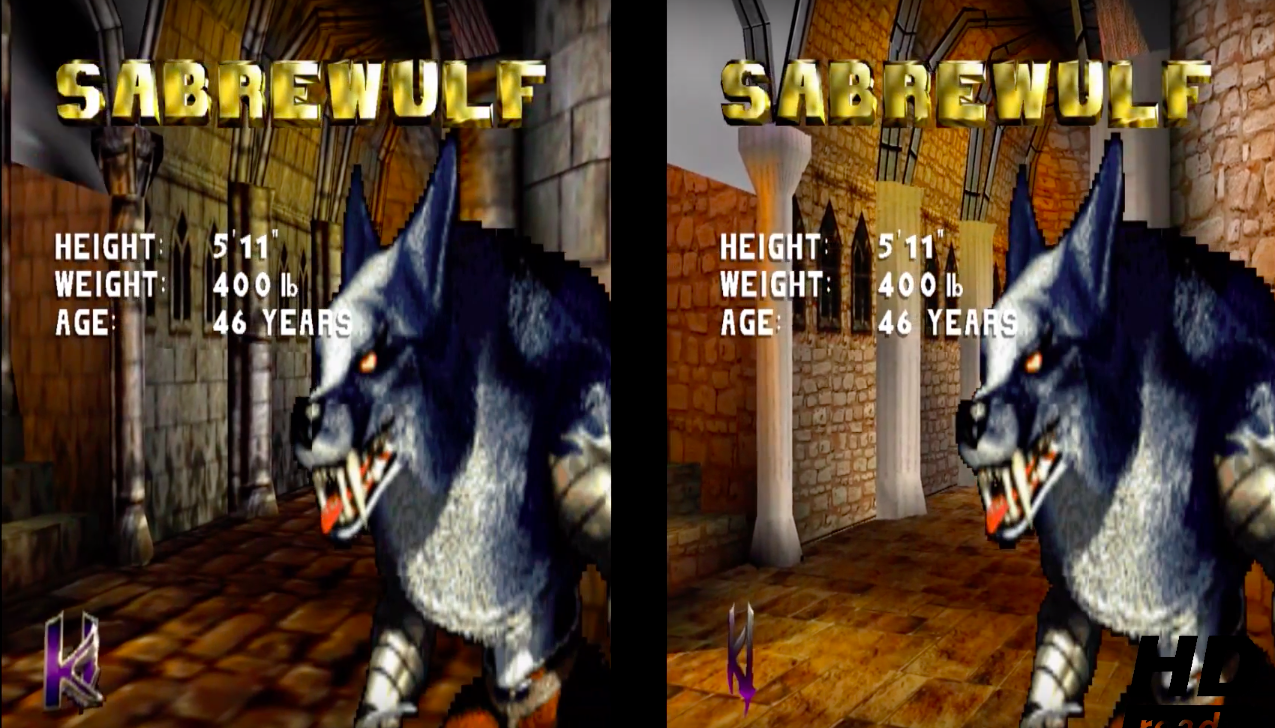
Here are some screenshots of my HD upscale mod:
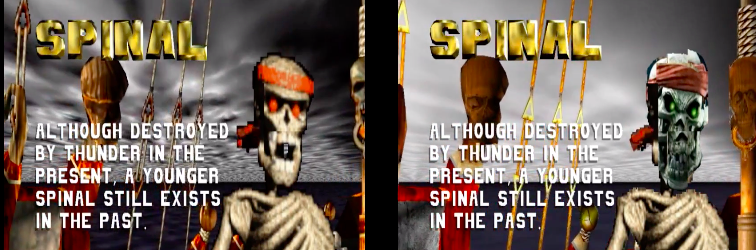
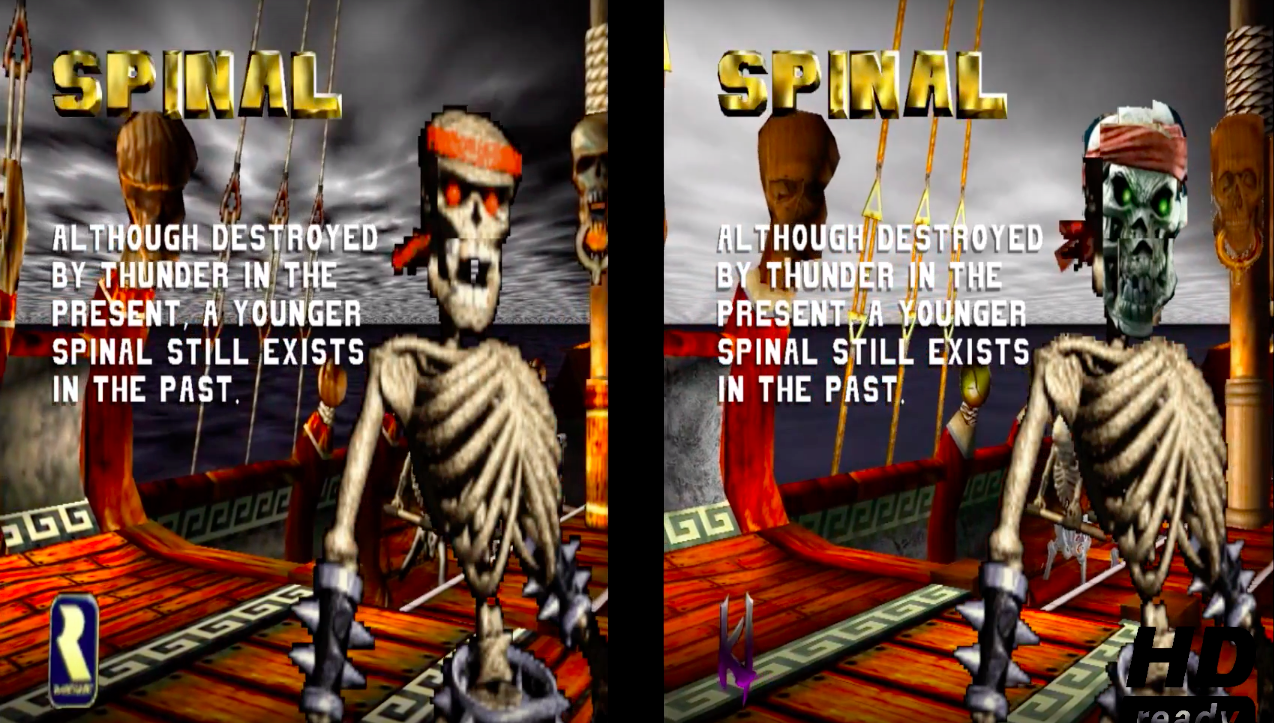
The characters is very hard because they are made up out of a lot of little sprites look at 7:57 to see my try on spinal… 😀
the backgrounds can be done:
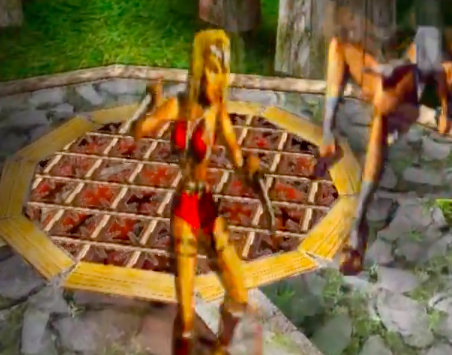
letters also: see the names in game

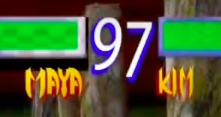
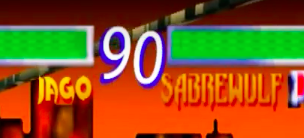
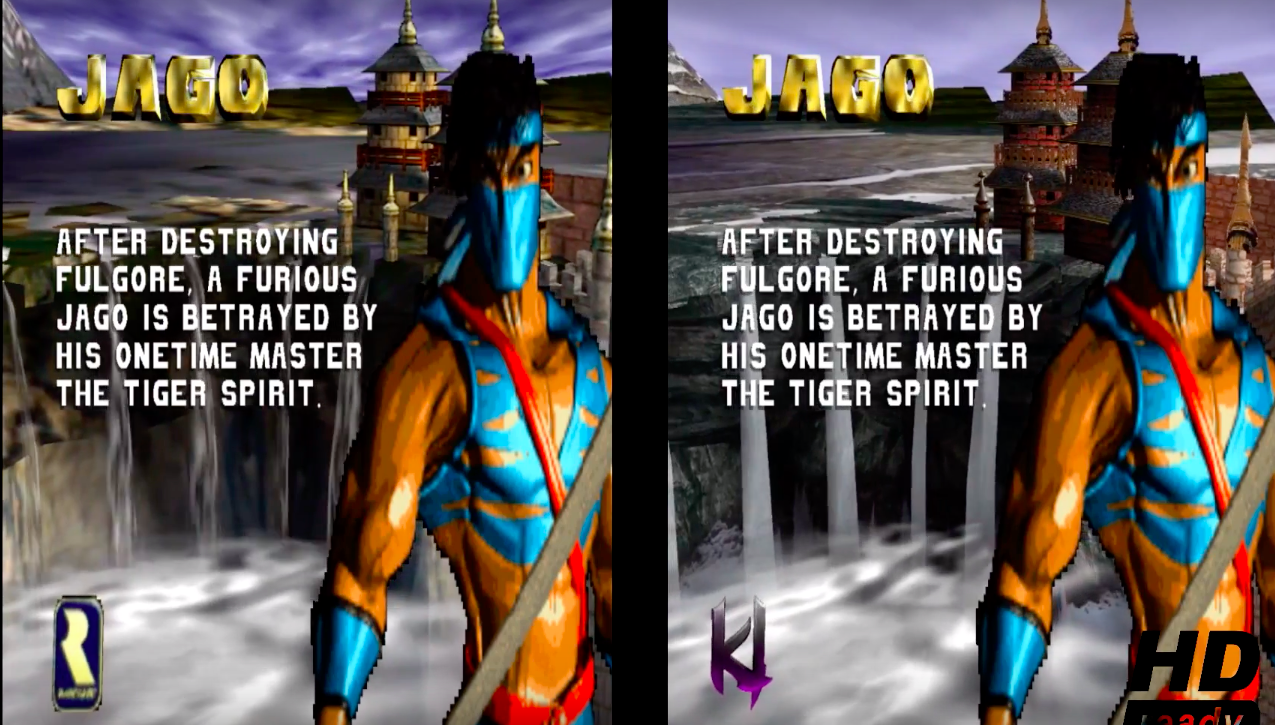
Jago HD Sabrewulf not yet


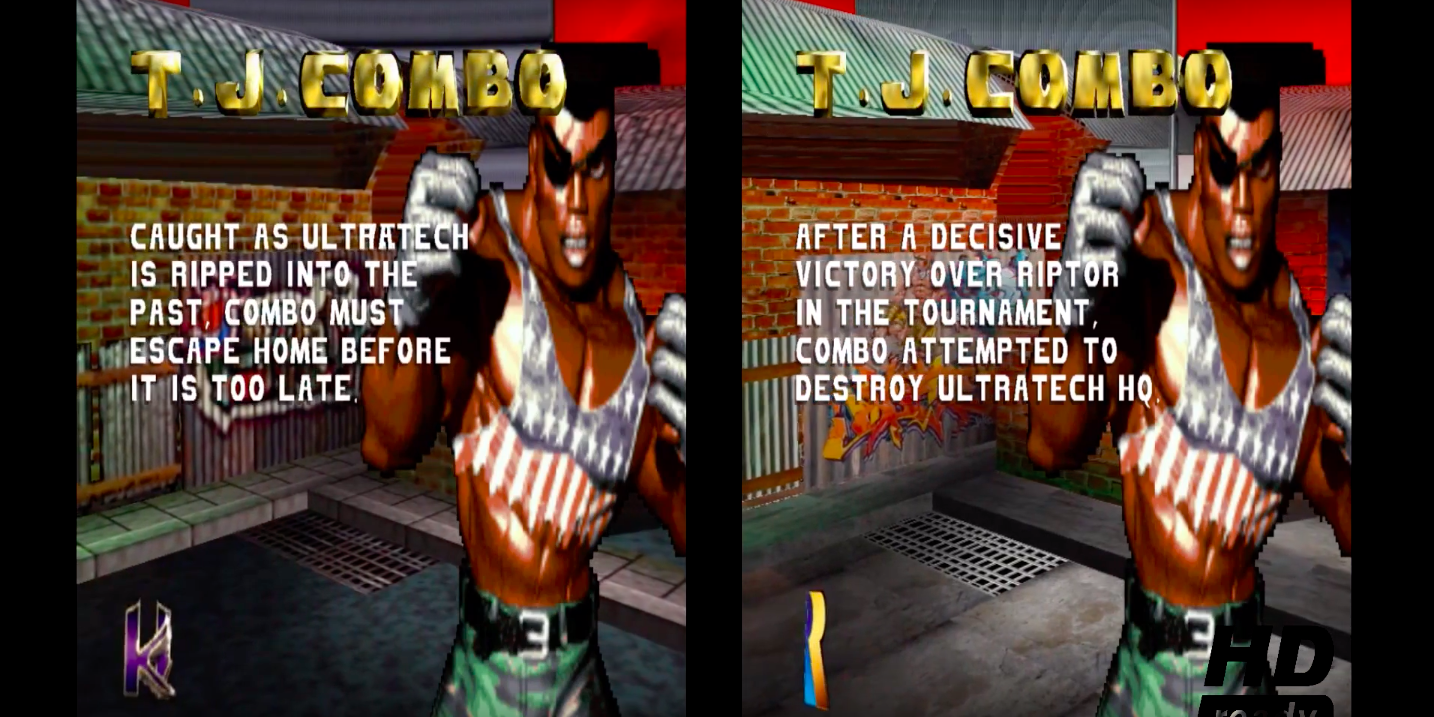
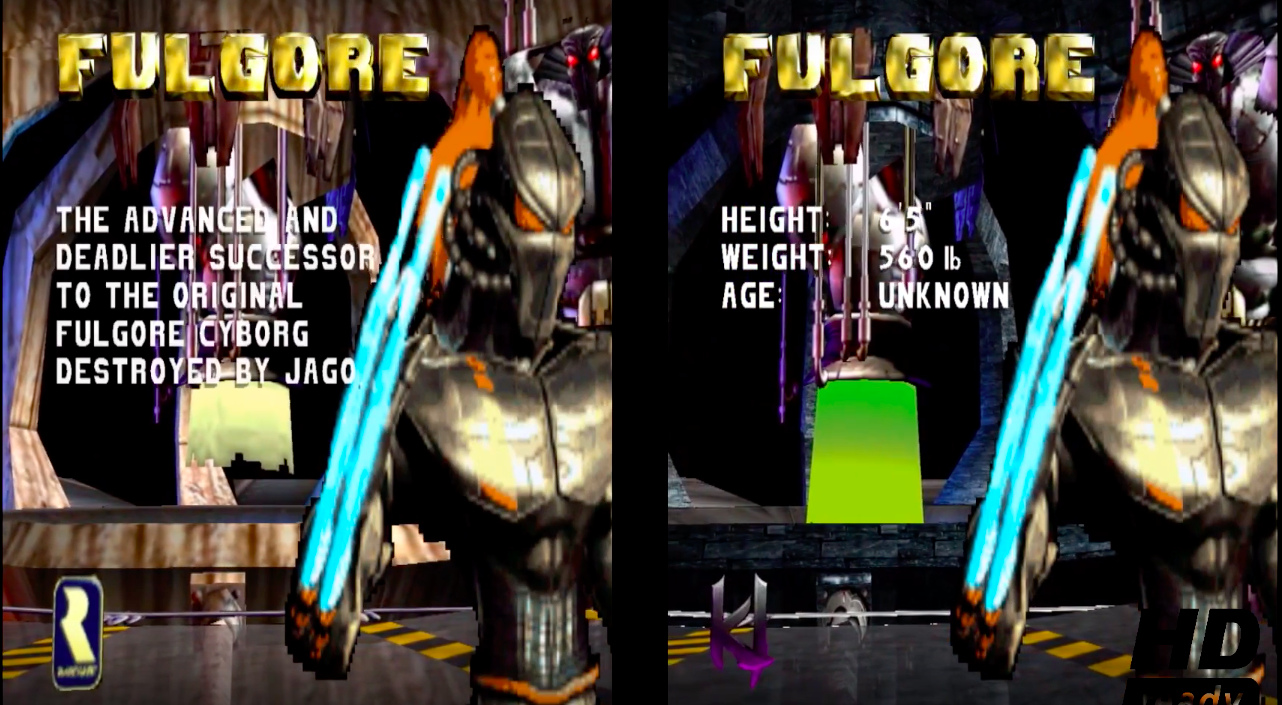
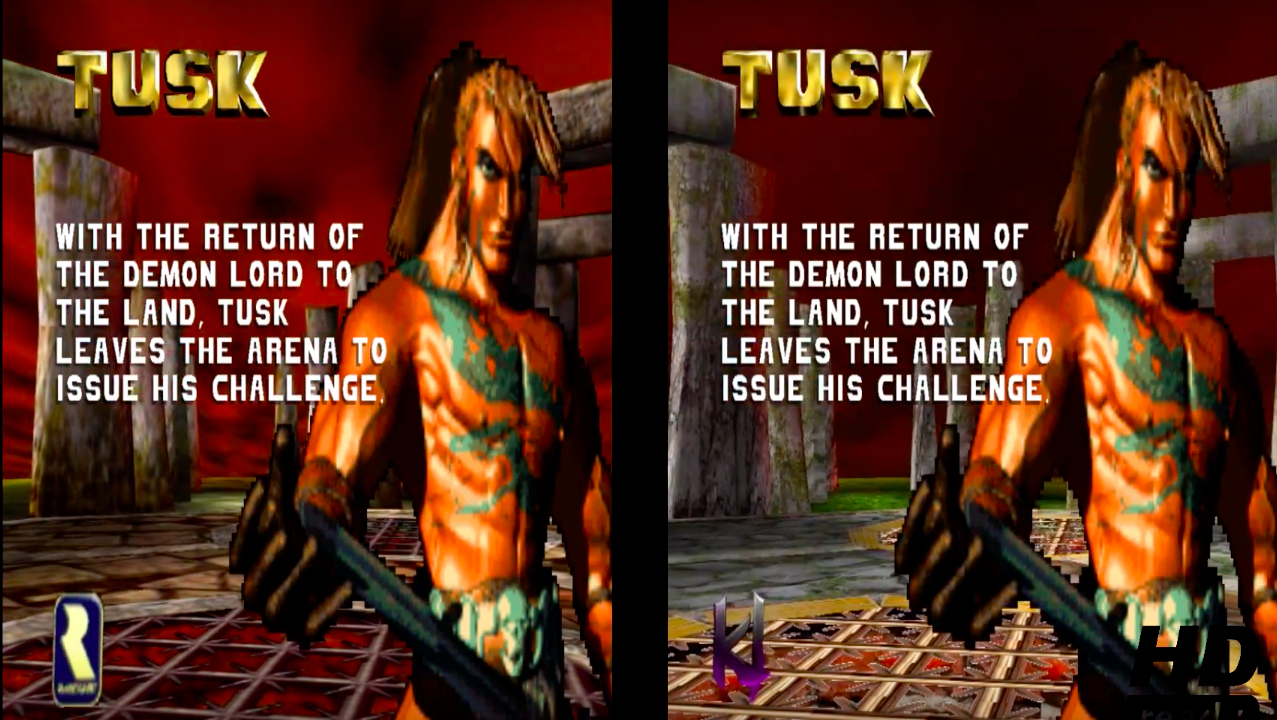
Difference between original and new bit to red above 😀
More screenshot taken form the youtube video.


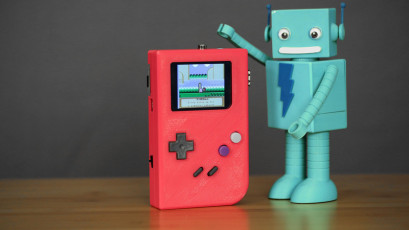

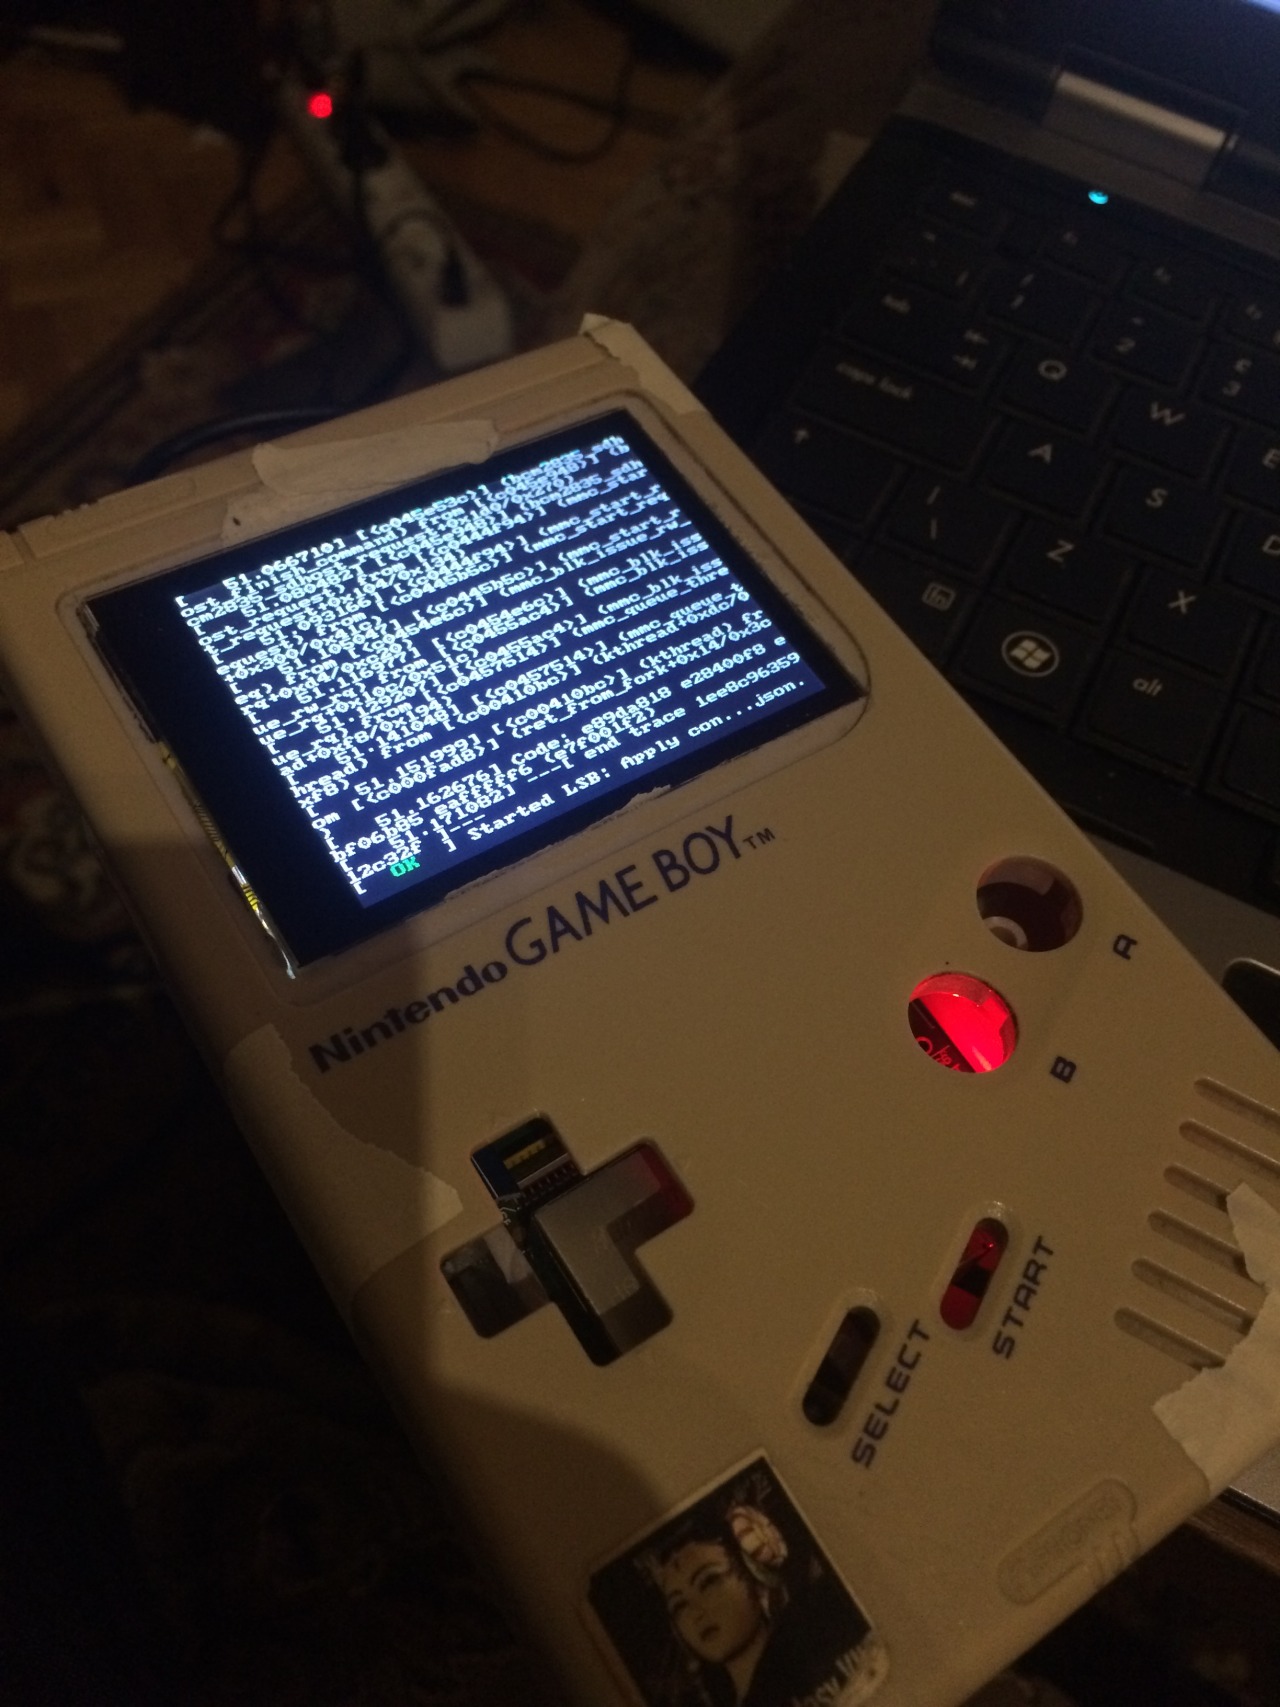
Some progress pictures for my Gameboy Pi
Gameboy Pi install:
Make sd img from 2016-03-25-28c.img
Then install retropi:
sudo raspi-config
Enable ssh
Resize SD
Disable boot Gui boot Console:
sudo reboot.
sudo apt-get update && sudo apt-get upgrade
sudo apt-get install -y git dialog
cd
git clone –depth=1 https://github.com/RetroPie/RetroPie-Setup.git
cd RetroPie-Setup
chmod +x retropie_setup.sh
sudo ./retropie_setup.sh
Install binary-based.
Install fb
sudo apt-get install cmake
sudo apt-get install libbsd-dev
Create file: /usr/share/X11/xorg.conf.d/99-fbdev.conf
sudo nano /usr/share/X11/xorg.conf.d/99-fbdev.conf
add in nano
Section “Device”
Identifier “myfb”
Driver “fbdev”
Option “fbdev” “/dev/fb1”
EndSection
Exit Nano
sudo apt-get install cmake
git clone https://github.com/AndrewFromMelbourne/raspi2fb
cd raspi2fb/
mkdir build
cd build
cmake ..
make
sudo make install
sudo cp ../raspi2fb@.service /etc/systemd/system/
sudo systemctl daemon-reload
sudo systemctl enable raspi2fb@1.service
sudo systemctl start raspi2fb@1
TEST
sudo nano /etc/rc.local
add before exit 0
sudo systemctl daemon-reload
sudo systemctl enable raspi2fb@1.service
sudo systemctl start raspi2fb@1
END TEST
sudo dpkg-reconfigure console-setup
Select “UTF-8”, “Guess optimal character set”, “Terminus” and “6×12 (framebuffer only).”
sudo nano /boot/config.txt
Add
framebuffer_width=810
framebuffer_height=540
hdmi_force_hotplug=1
hdmi_group=2
hdmi_mode=87
hdmi_cvt=320 240 51 1 0 0 0
dtoverlay=pitft28-capacitive-overlay,rotate=90,speed=80000000,fps=51
gpu_mem=44
sudo nano /etc/emulationstation/themes/carbon/carbon.xml
fontSize to 0.05
Controls
cd
git clone https://github.com/adafruit/Adafruit-Retrogame
cd Adafruit-Retrogame
Edit the file retrogame.c, looking for the table called ioStandard (not the ioTFT table — that’s for other projects). Each line in brackets represents one pin on the GPIO header and a corresponding key code.
The full list of available keycodes can be found in /usr/include/linux/input.h
raspberry_pi_retrogame.png
After editing, compile and install the code with:
Copy Code
make retrogame
sudo mv retrogame /usr/local/bin
To make retrogame start automatically when the system boots:
Copy Code
sudo nano /etc/rc.local
Before the final “exit 0” line, insert this one line:
Copy Code
/usr/local/bin/retrogame &
Just one more file needs editing, so that EmulationStation recognizes retrogame as a keyboard:
Copy Code
sudo nano /etc/udev/rules.d/10-retrogame.rules
Copy and paste this line exactly into the new file:
Copy Code
SUBSYSTEM==”input”, ATTRS{name}==”retrogame”, ENV{ID_INPUT_KEYBOARD}=”1″
Reboot and you should now have “virtual” keys associated with GPIO buttons.
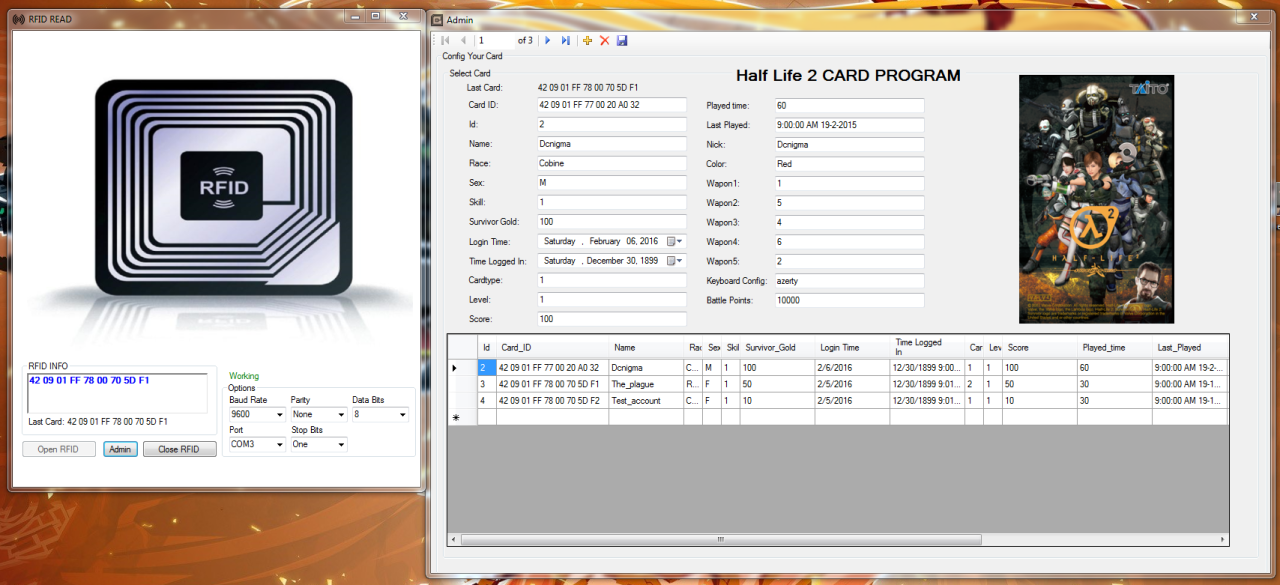
Here is a construct of my new Half Life² loader.
I bought a Rfid reader and now i want to simulate the arcade feeling more.
In later clips you will see the custom player menu´s weapon shop item shop etc.
This clip shows the possible way´s to save or load the game.
Will add a option for dual screens so you can have a marquee effect:
show loading maps have player info etc…
this app/loader will give you the beste Half life² survivor arcade experience that you can have on pc.


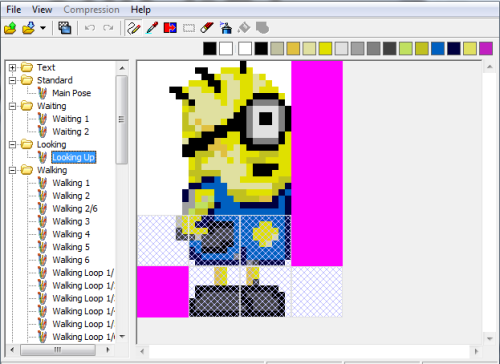
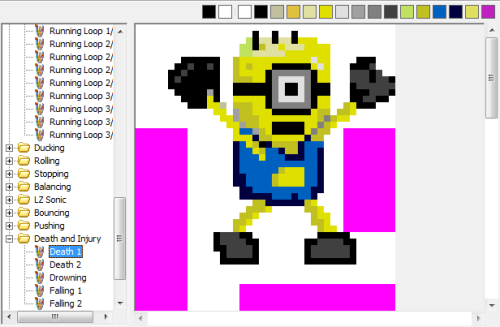
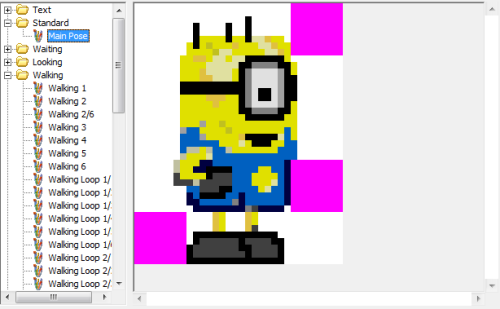
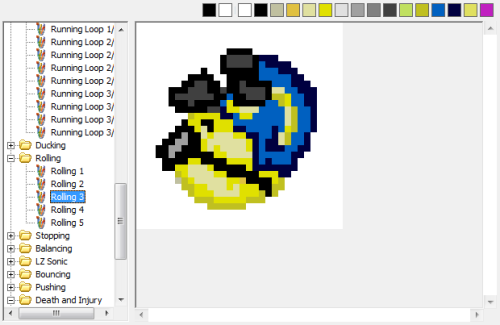
I Modded Stuart in to Sonic 1, at first i thought it was Bob that´s why the name is showing Bob in some video´s, changed it in final version.
Not that i am releasing this in to the wild, only by popular demand.
Did this MOD just to play around with the sprite editor and the Level editor.
Here are some making offscreens :-p
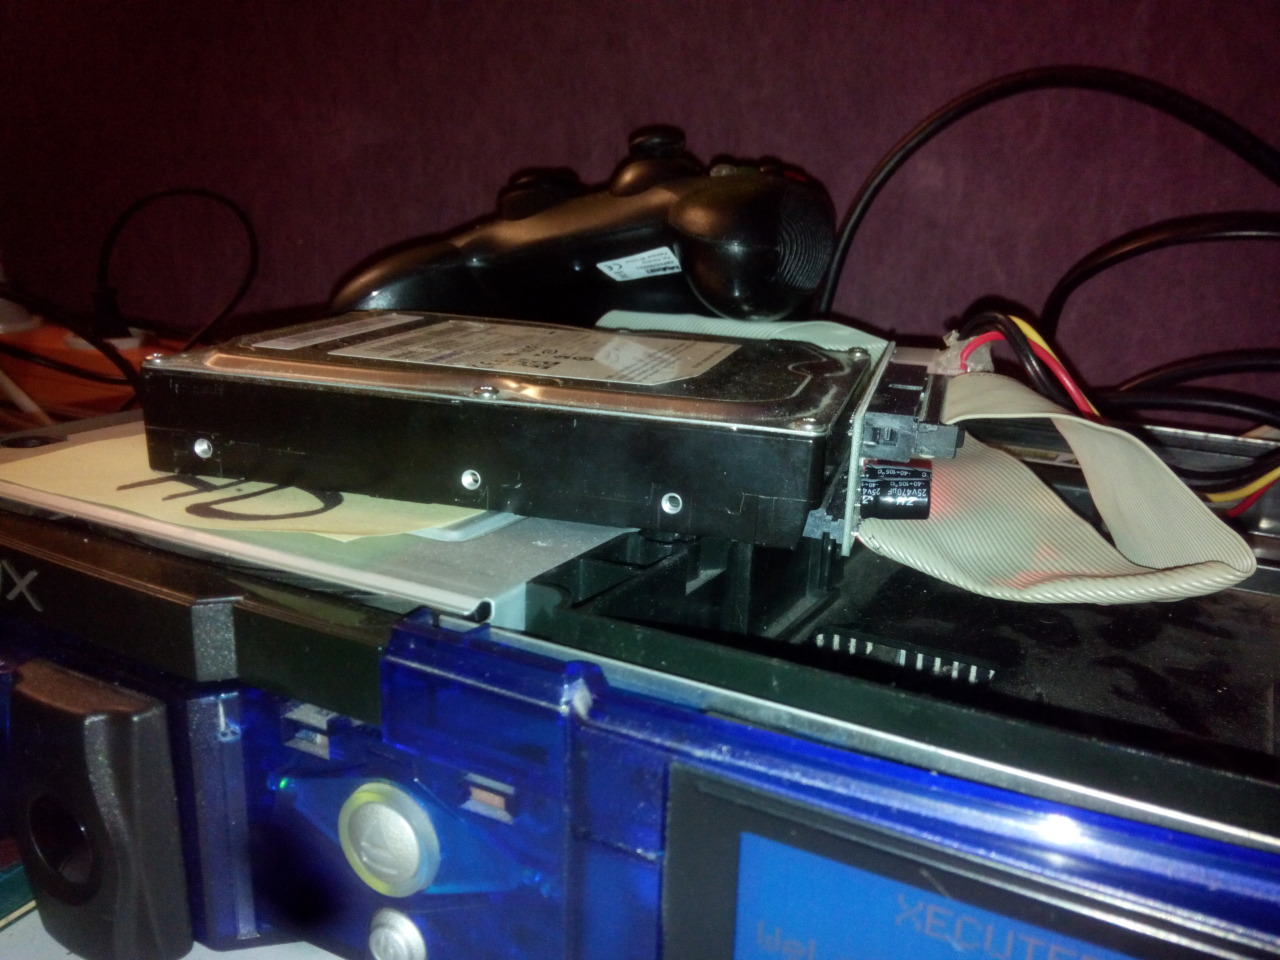
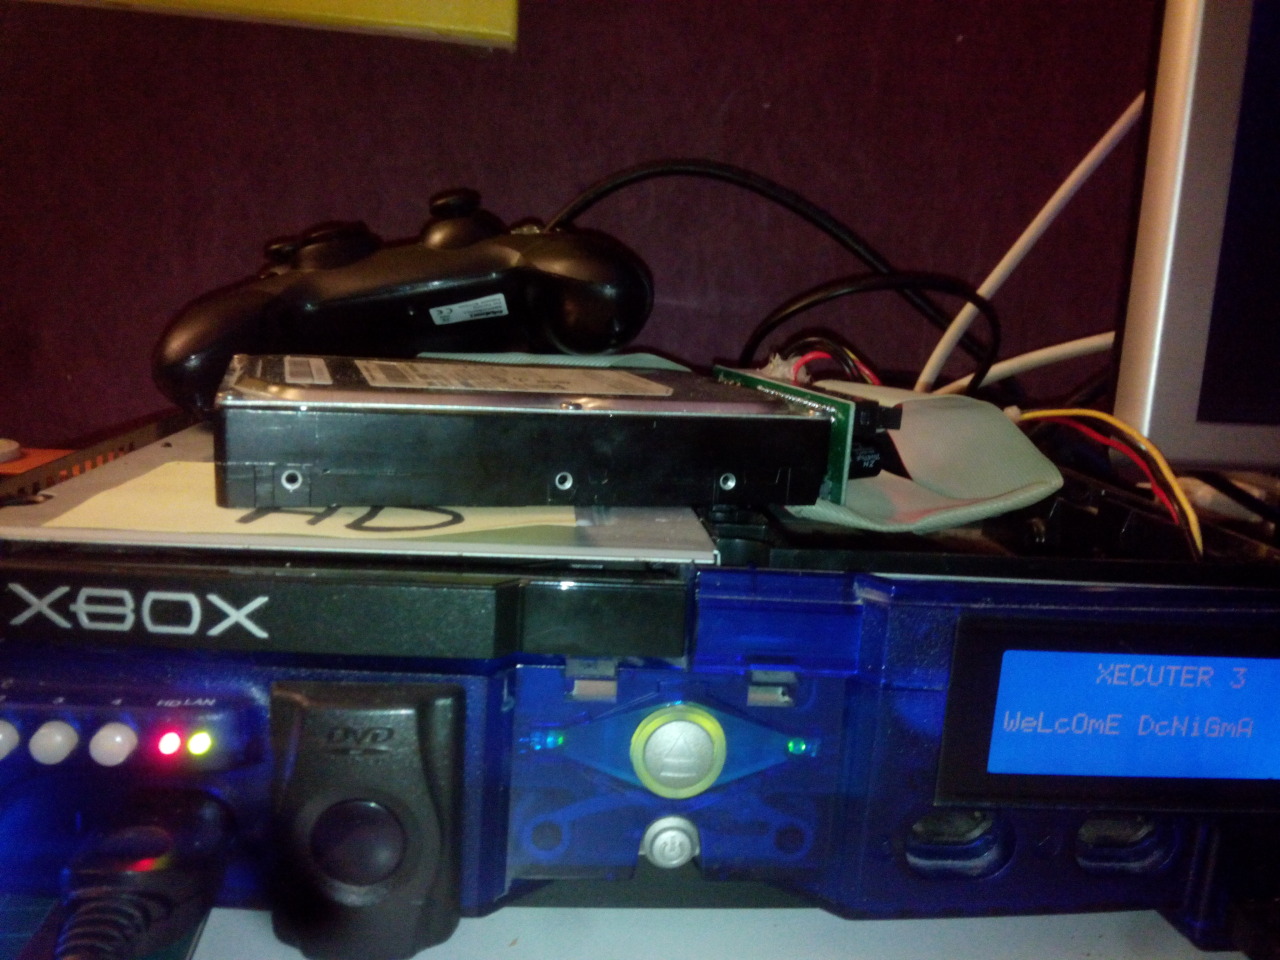
Love the idea of change the old games and i like to see it also on real hardware:
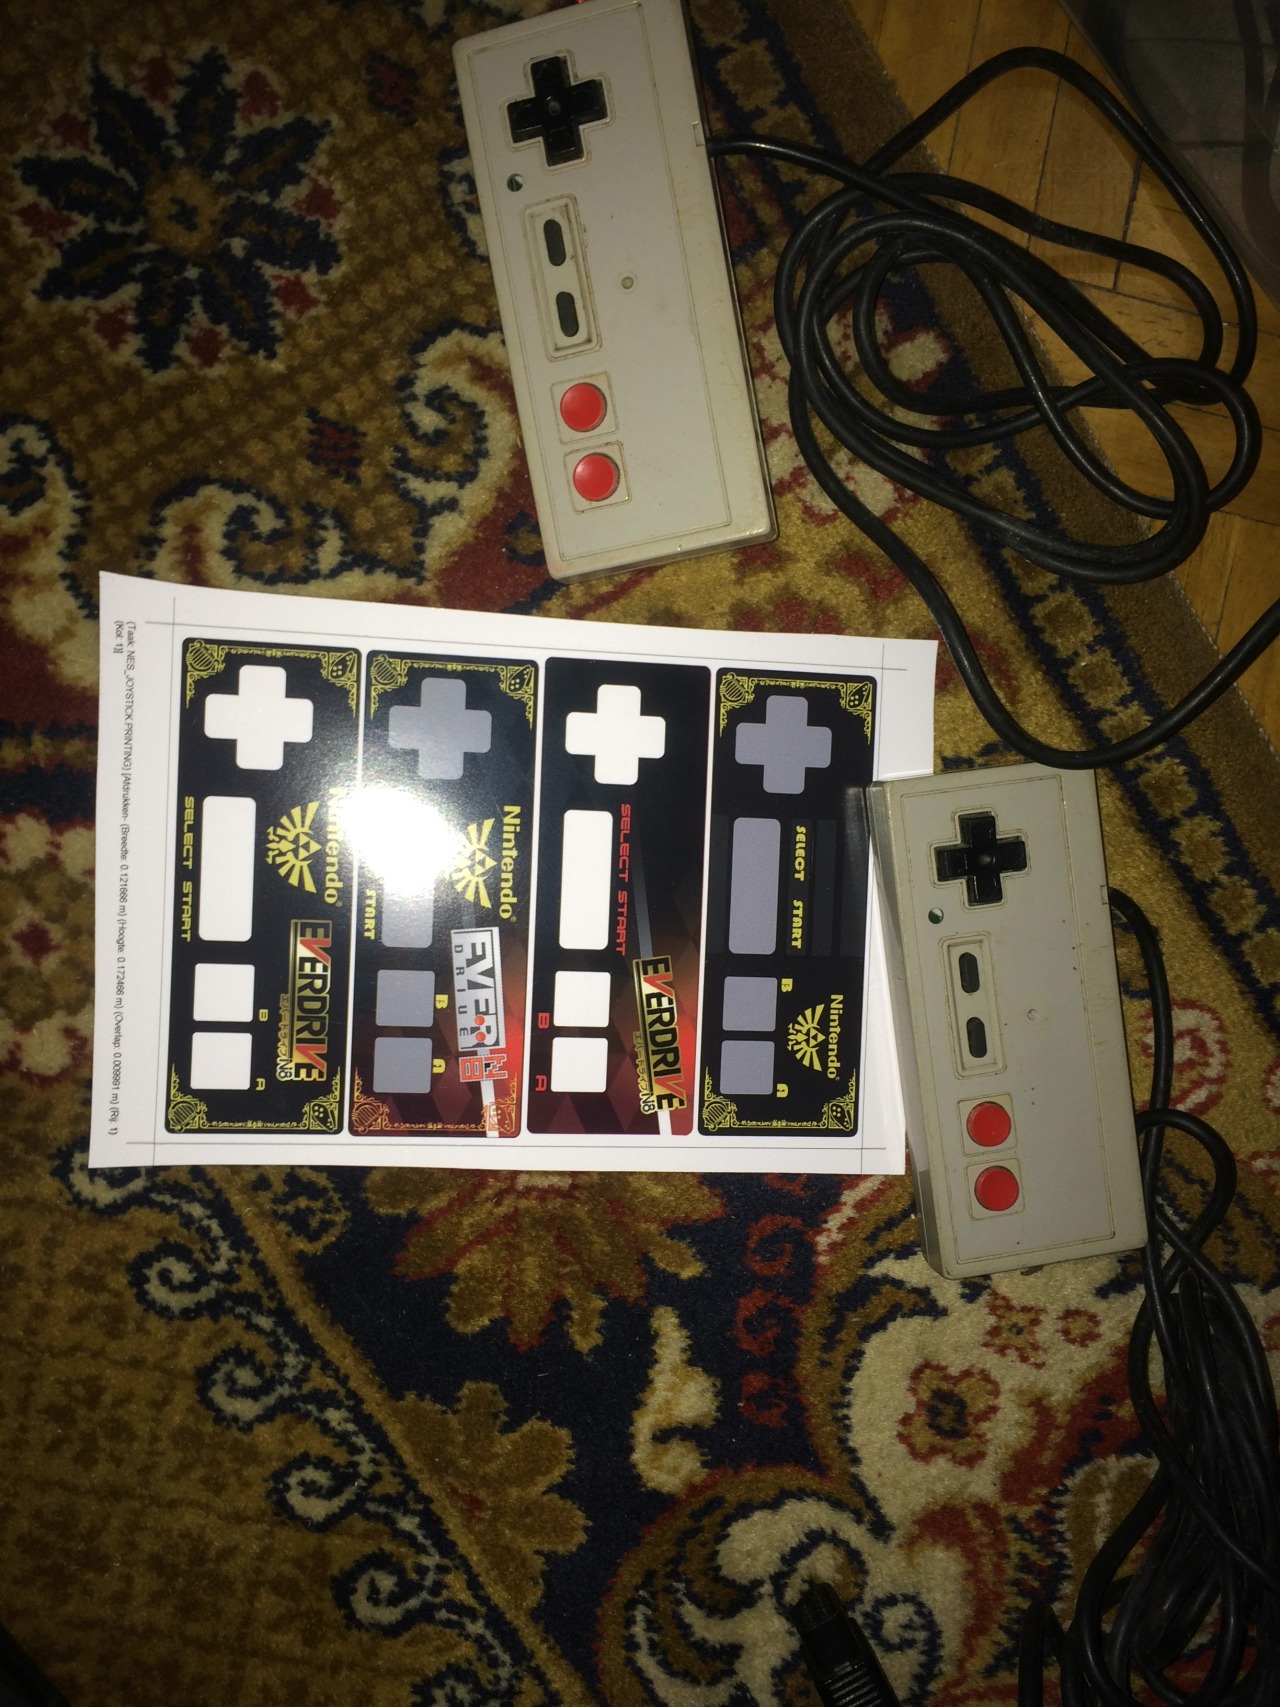
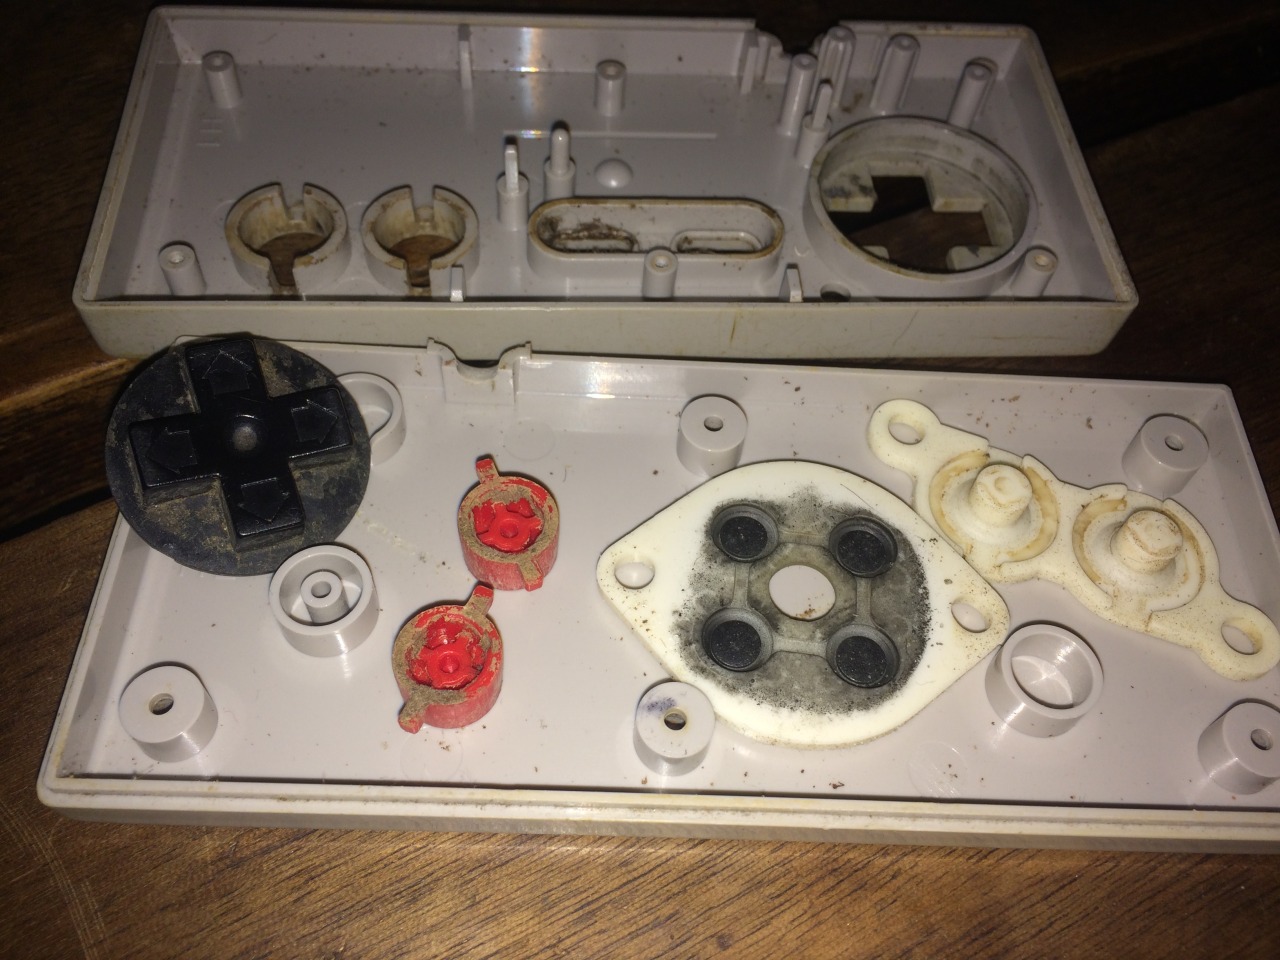
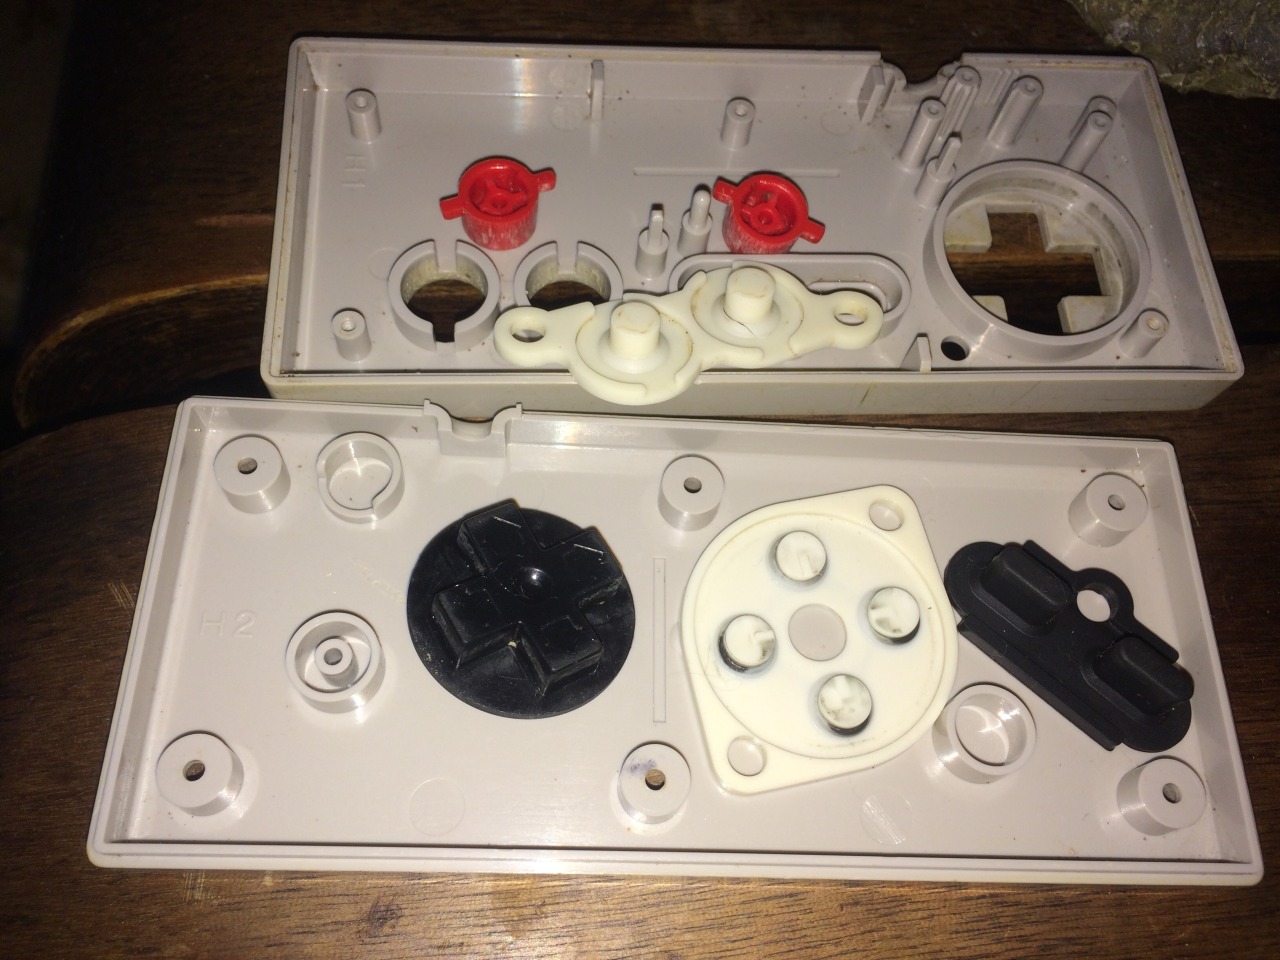
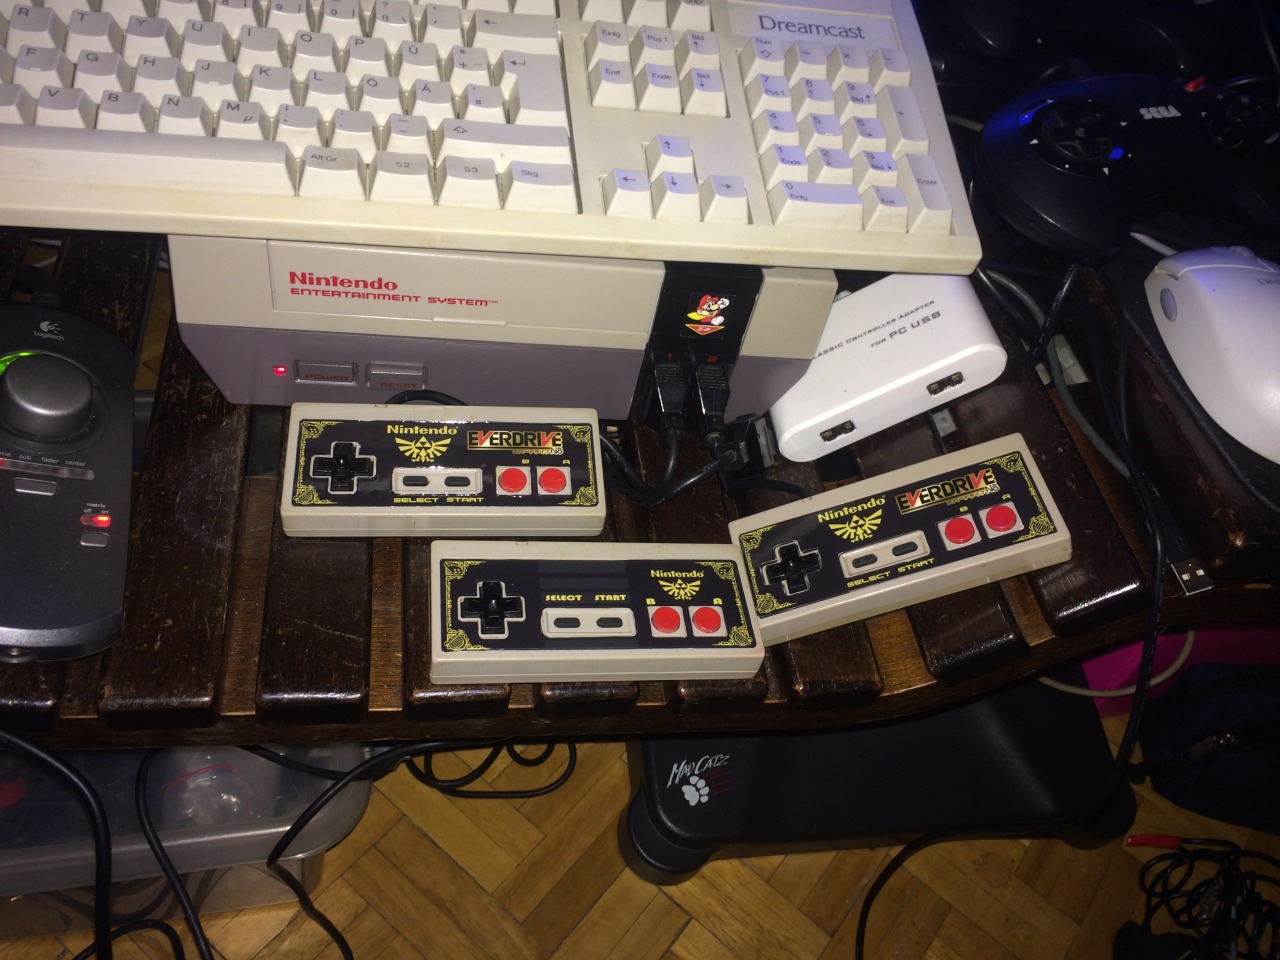
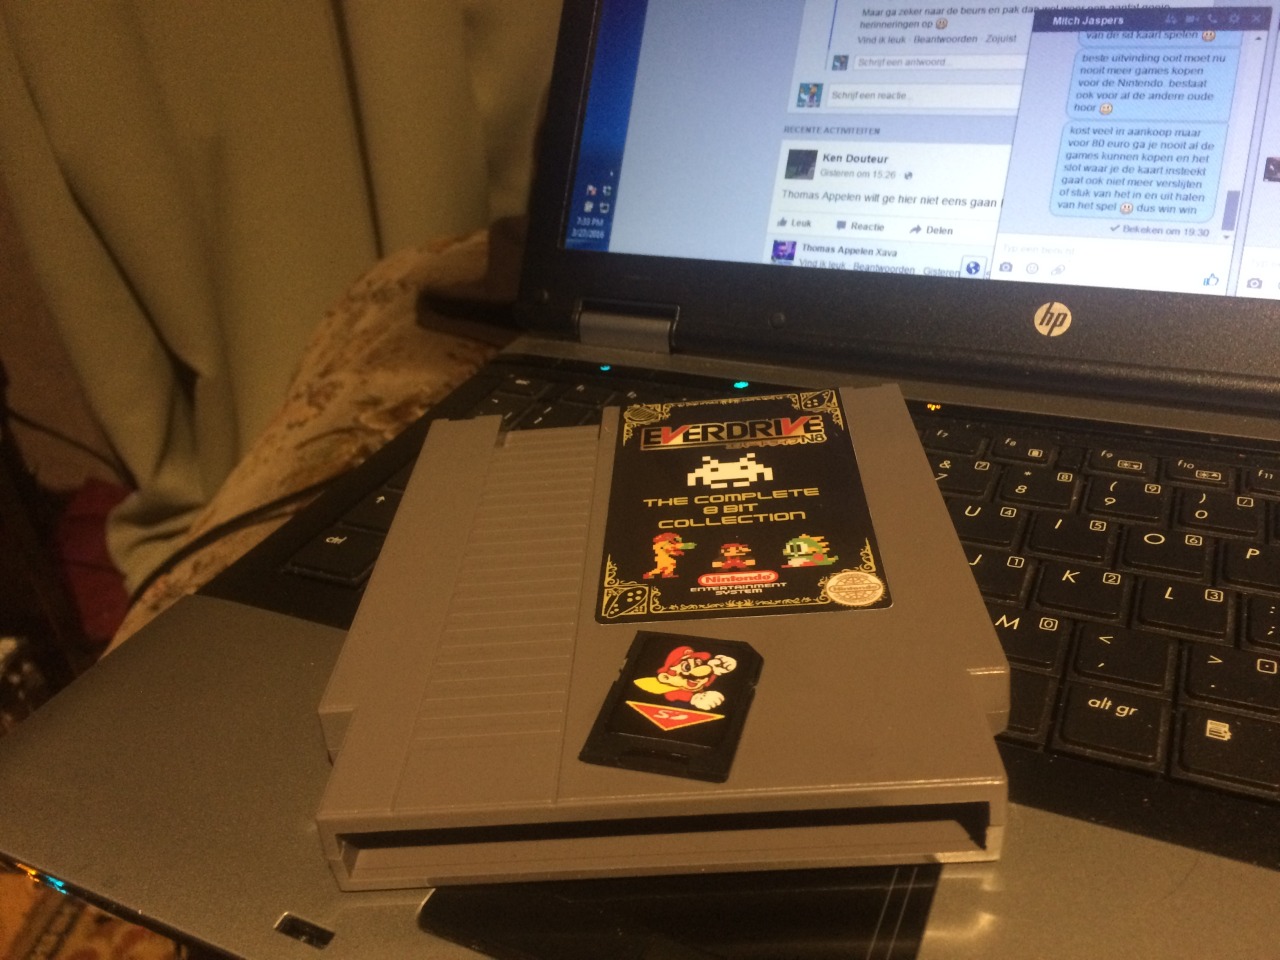
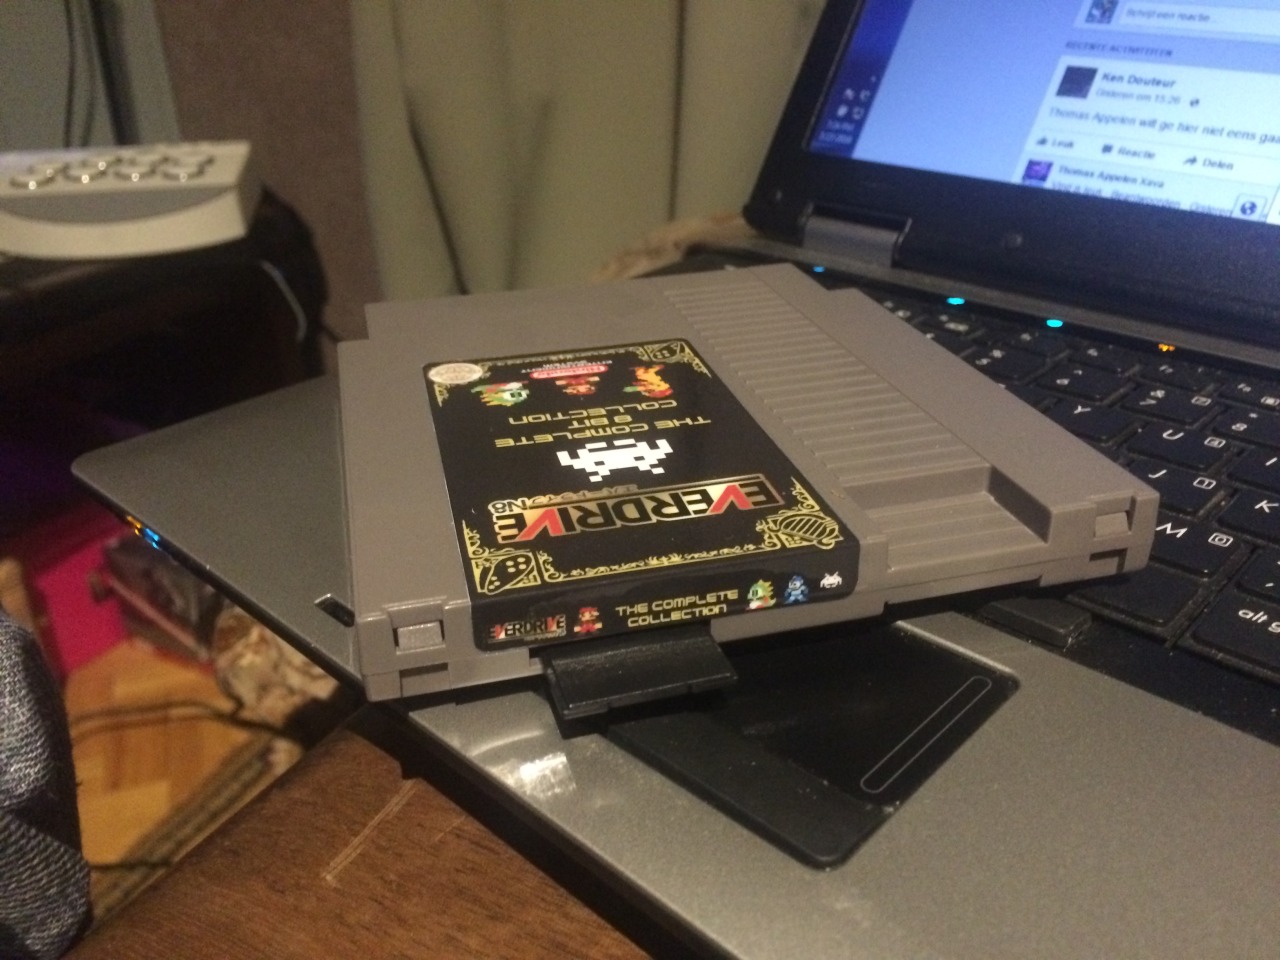
Also Flashed it on my Fake Everdrive:
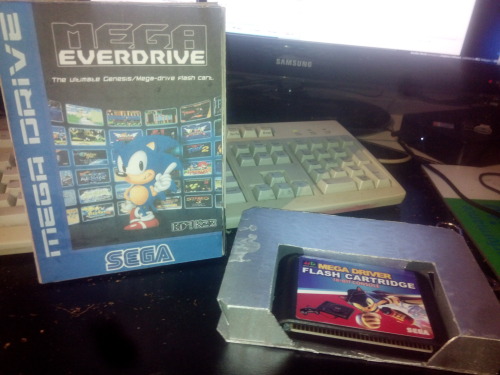
Tried it on my Megadrive and works 🙂
This is the Finale Version:
Compare beta 1 Vs Sonic:
Beta 1:
Its just for play play nothing special.
Things done:
Did some Sprite edting on the Rom file it self.
Did some Pallet editing on the rom file it self.
Did some Hex Editing on the Rom file it self.
Did Some level editing on the rom file it self.
Things i would do different?
Use the dis-assembled file and start from there on.
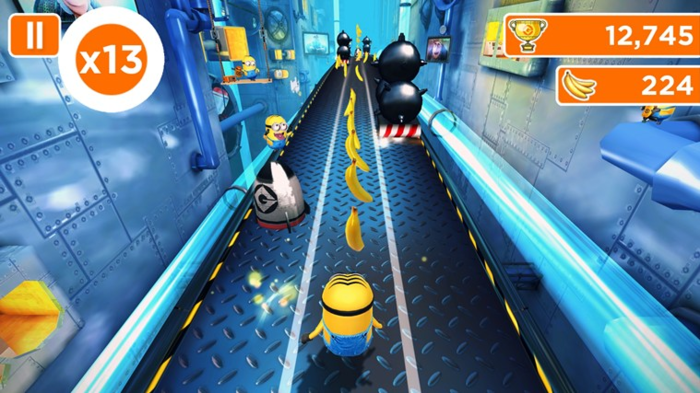
Recap, I think Sonic has potential to be an Minion,
Change the rings to bananas and add in some mean minions and done.
Would be a Nice Megadrive / Genesis Clone of that Minions running game ‘Minion Rush’ on Smartphones…