

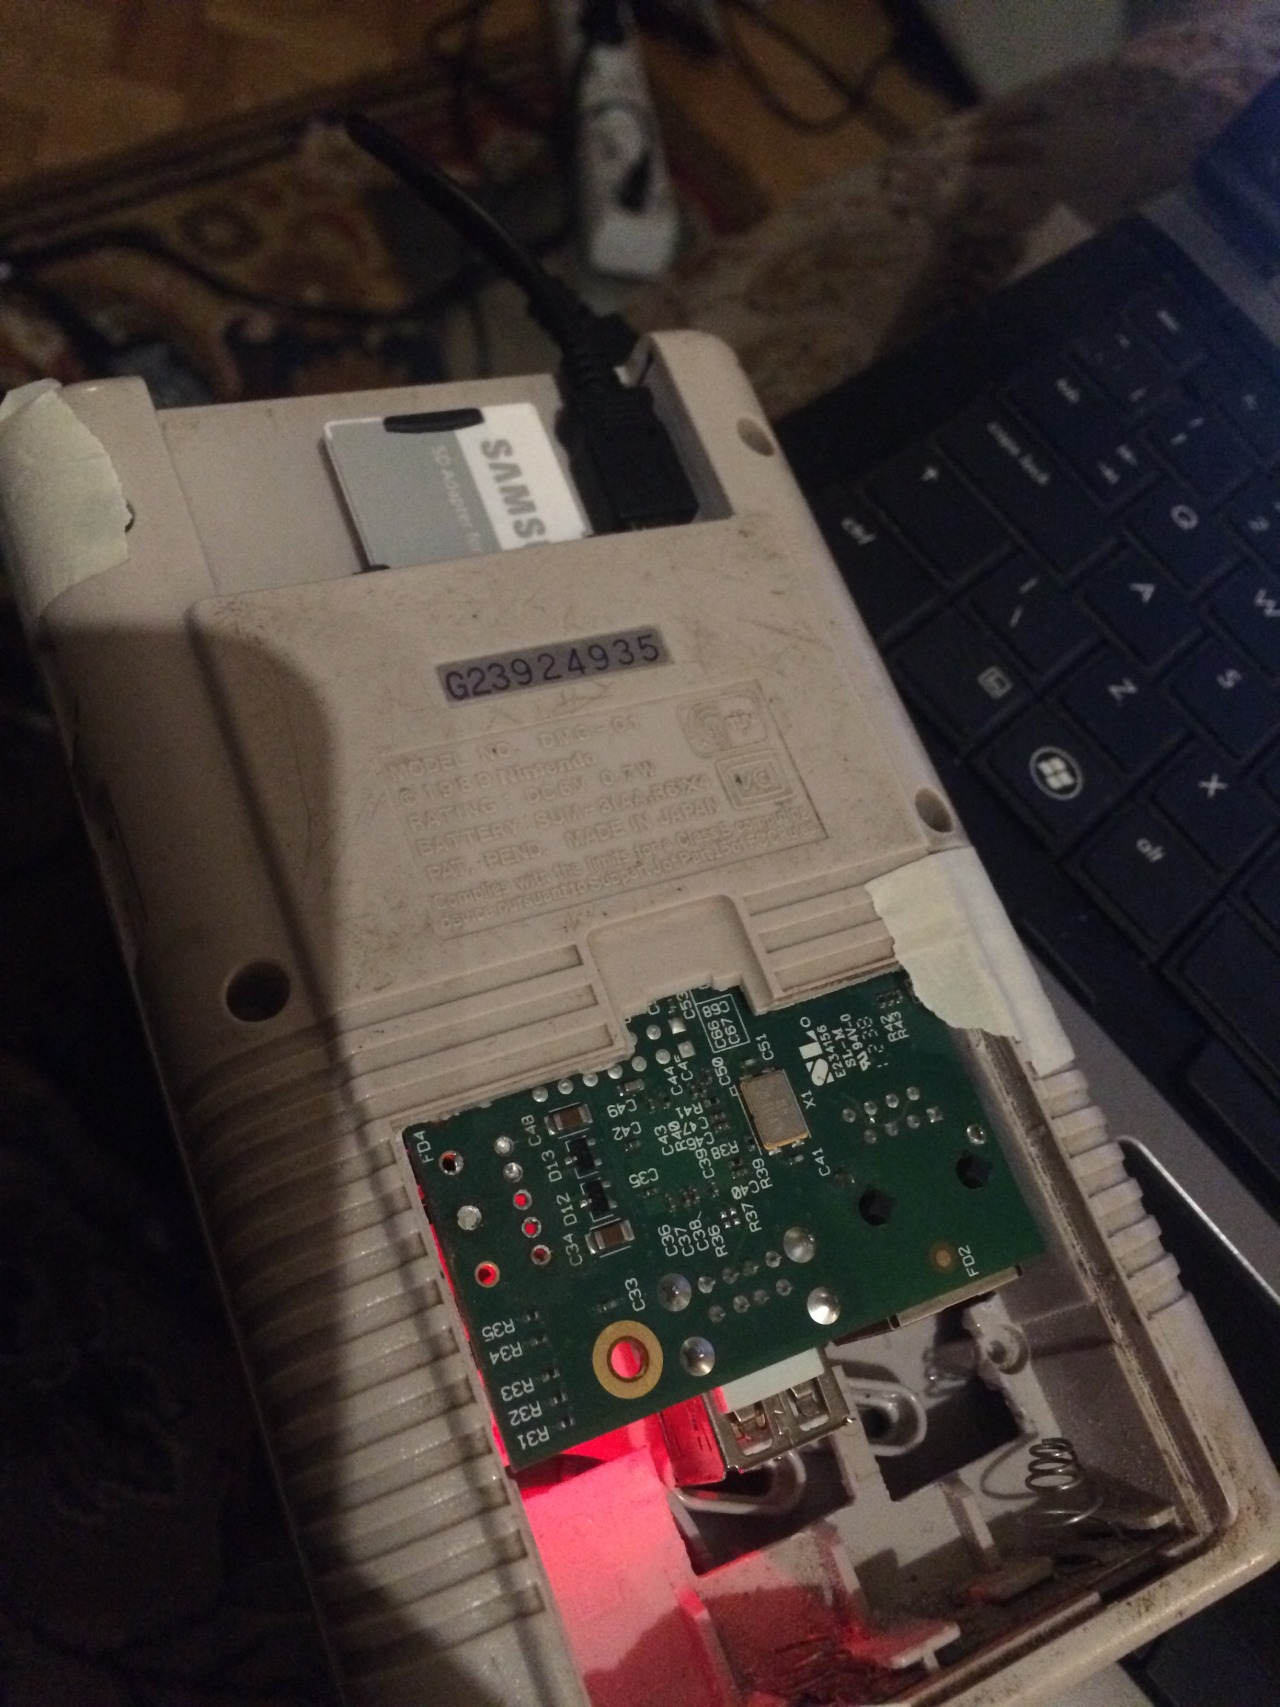
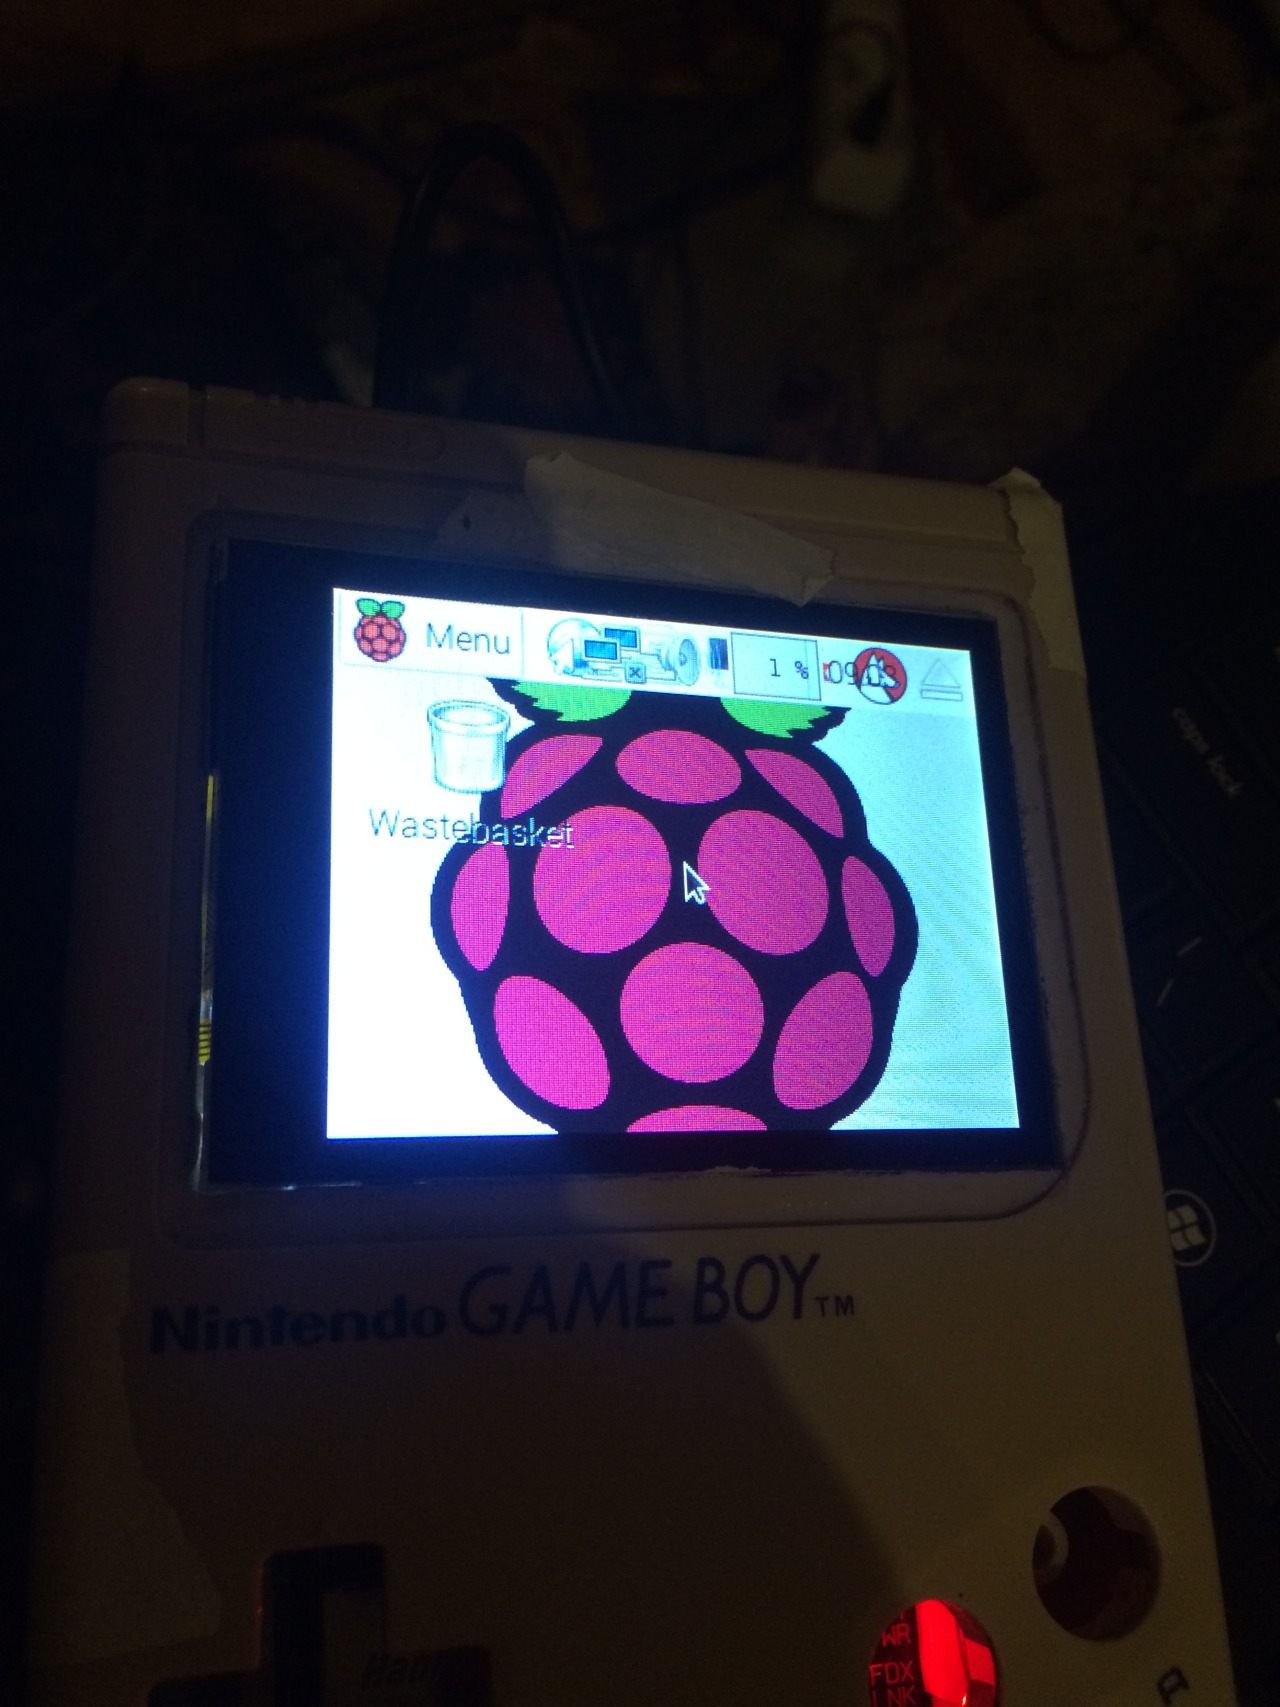
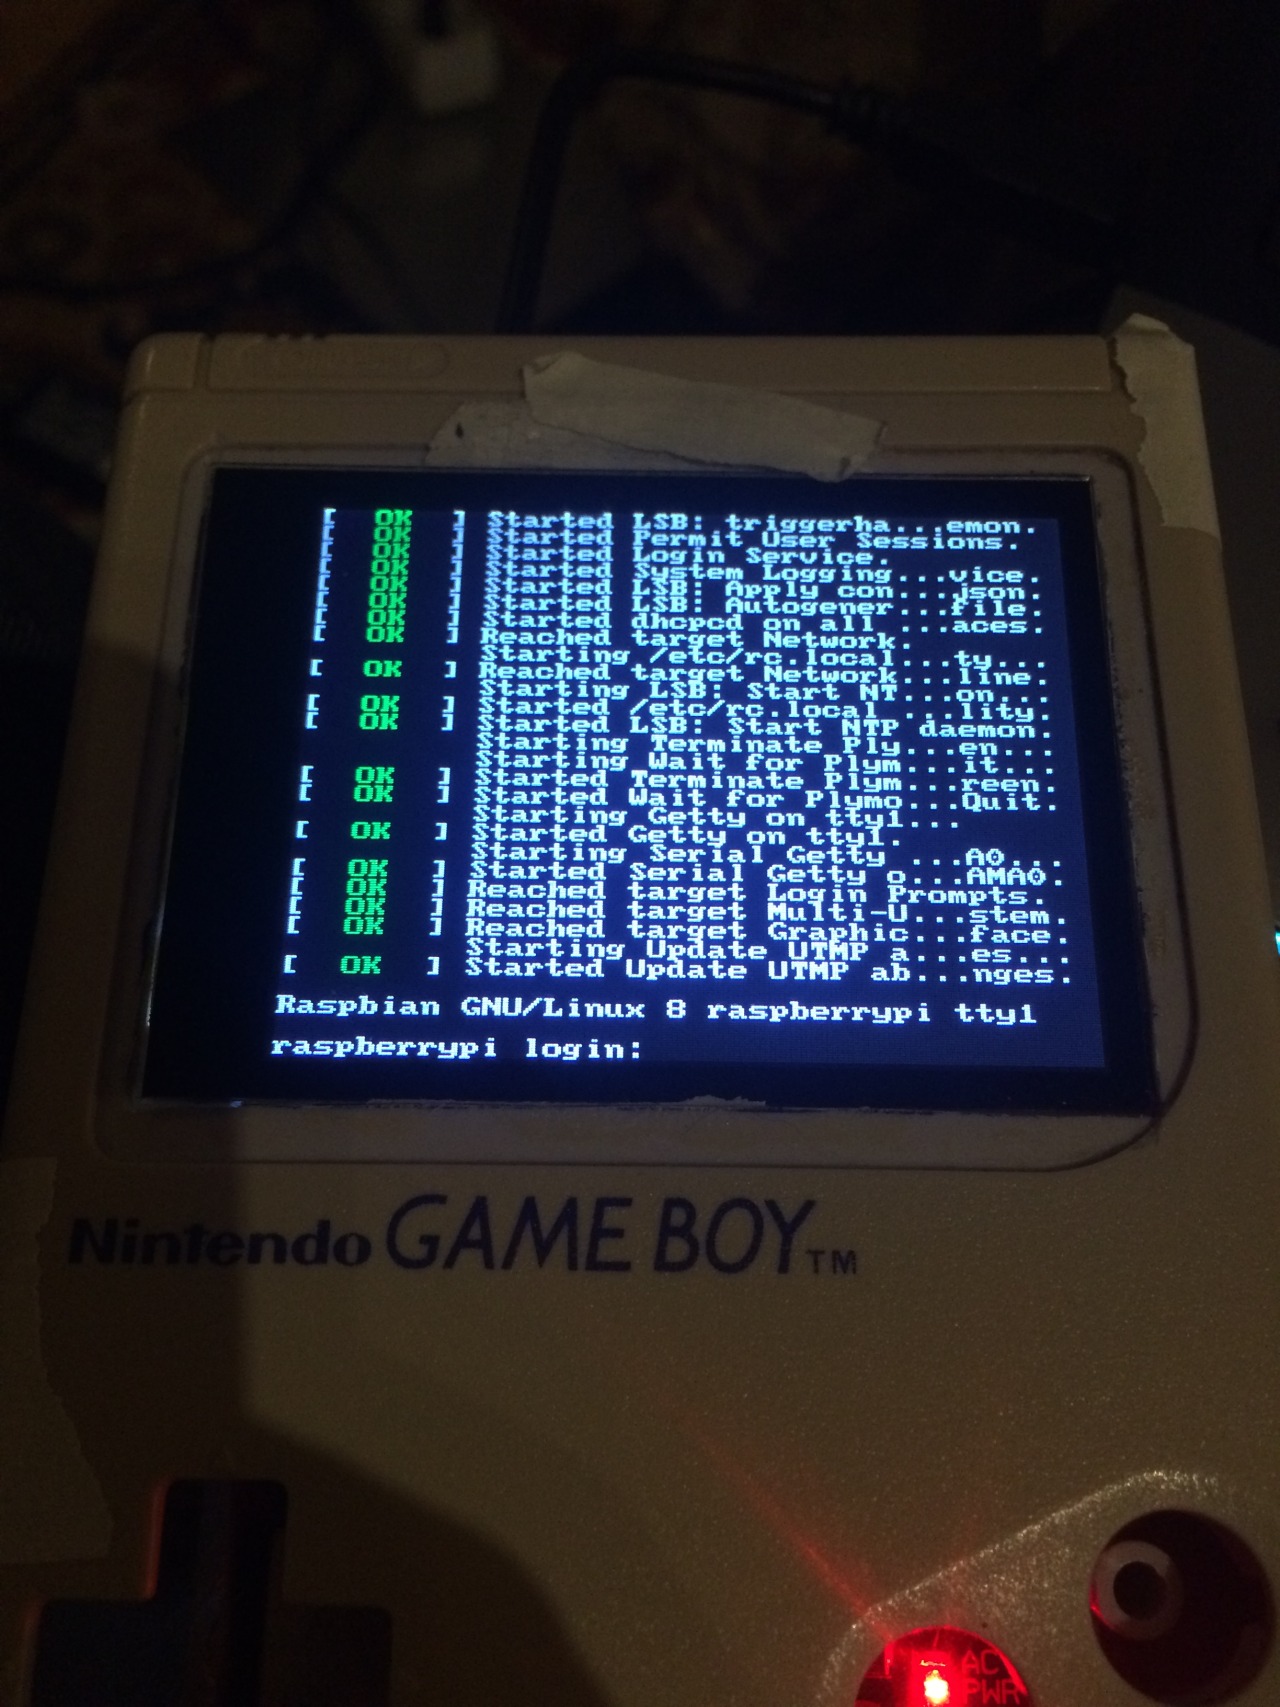
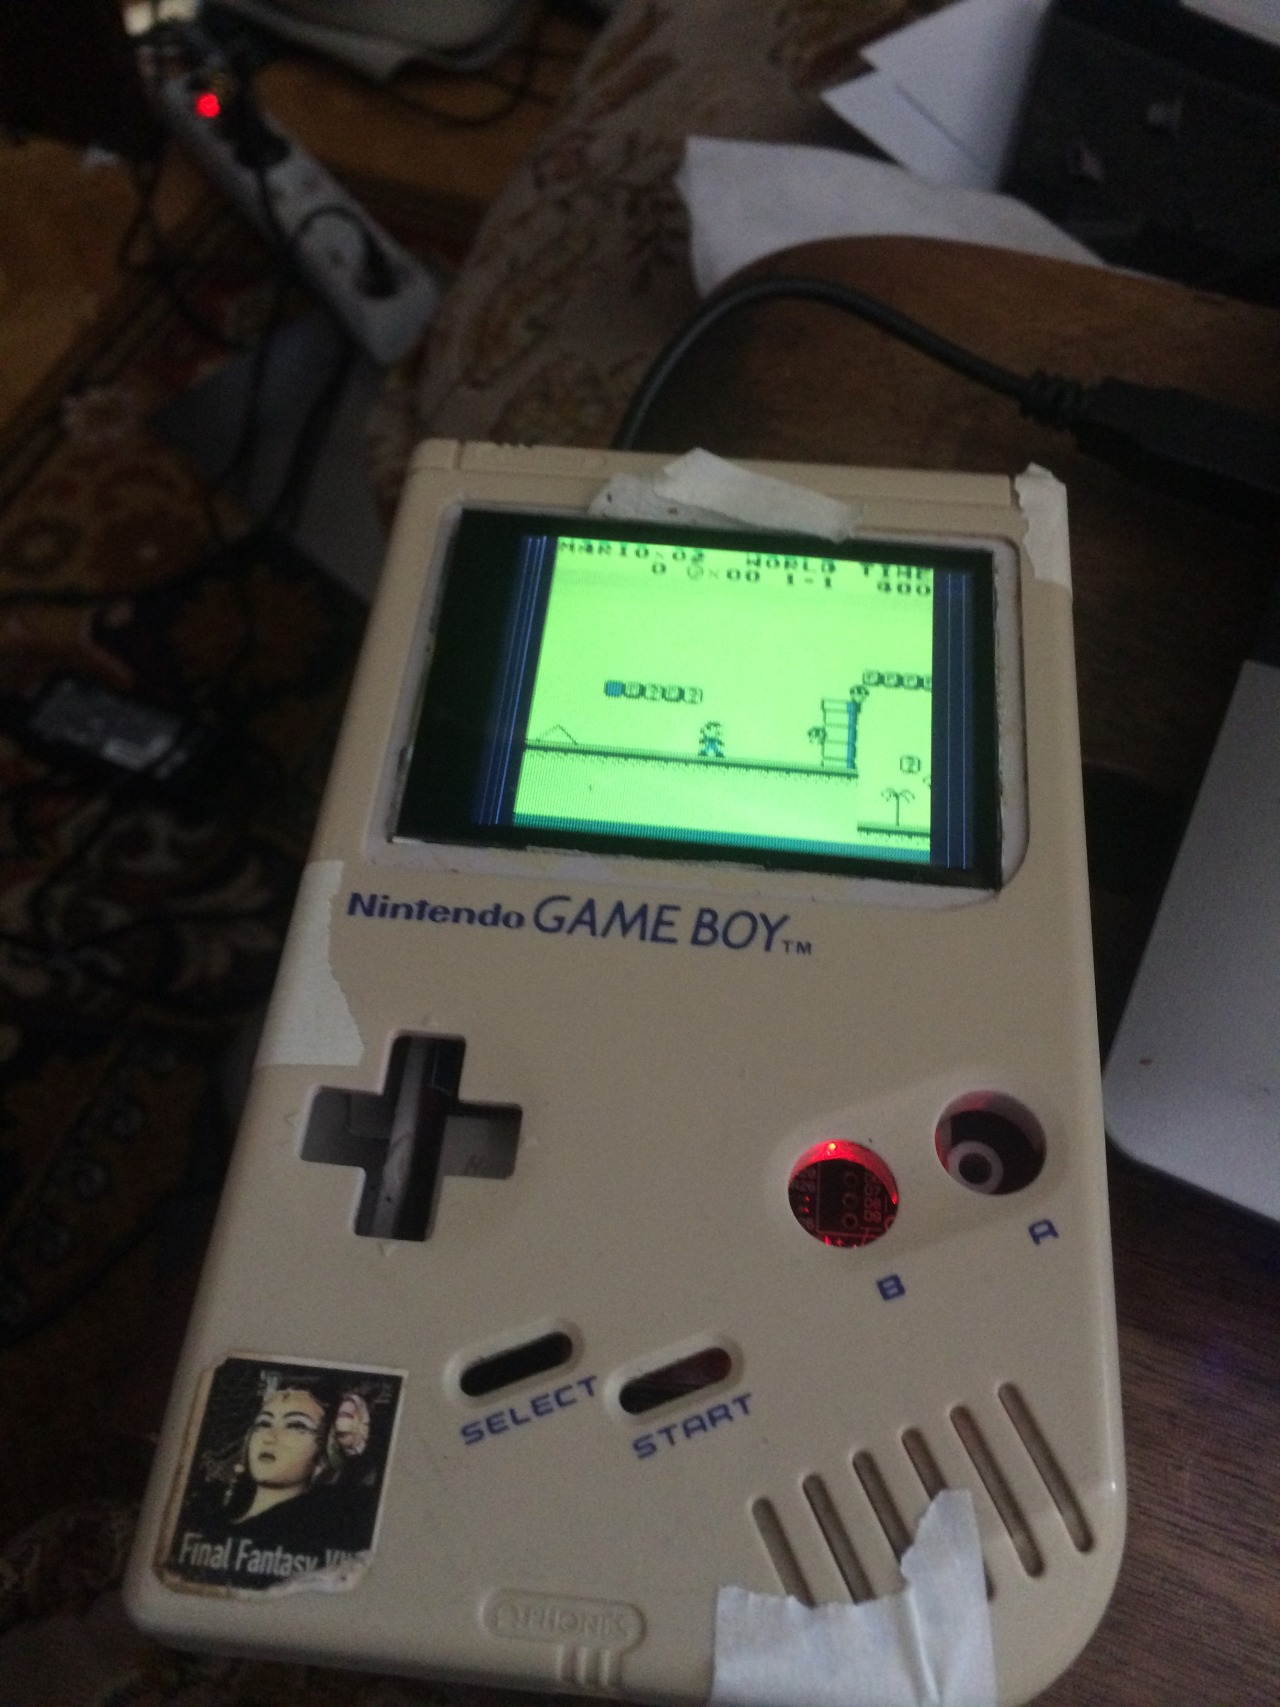

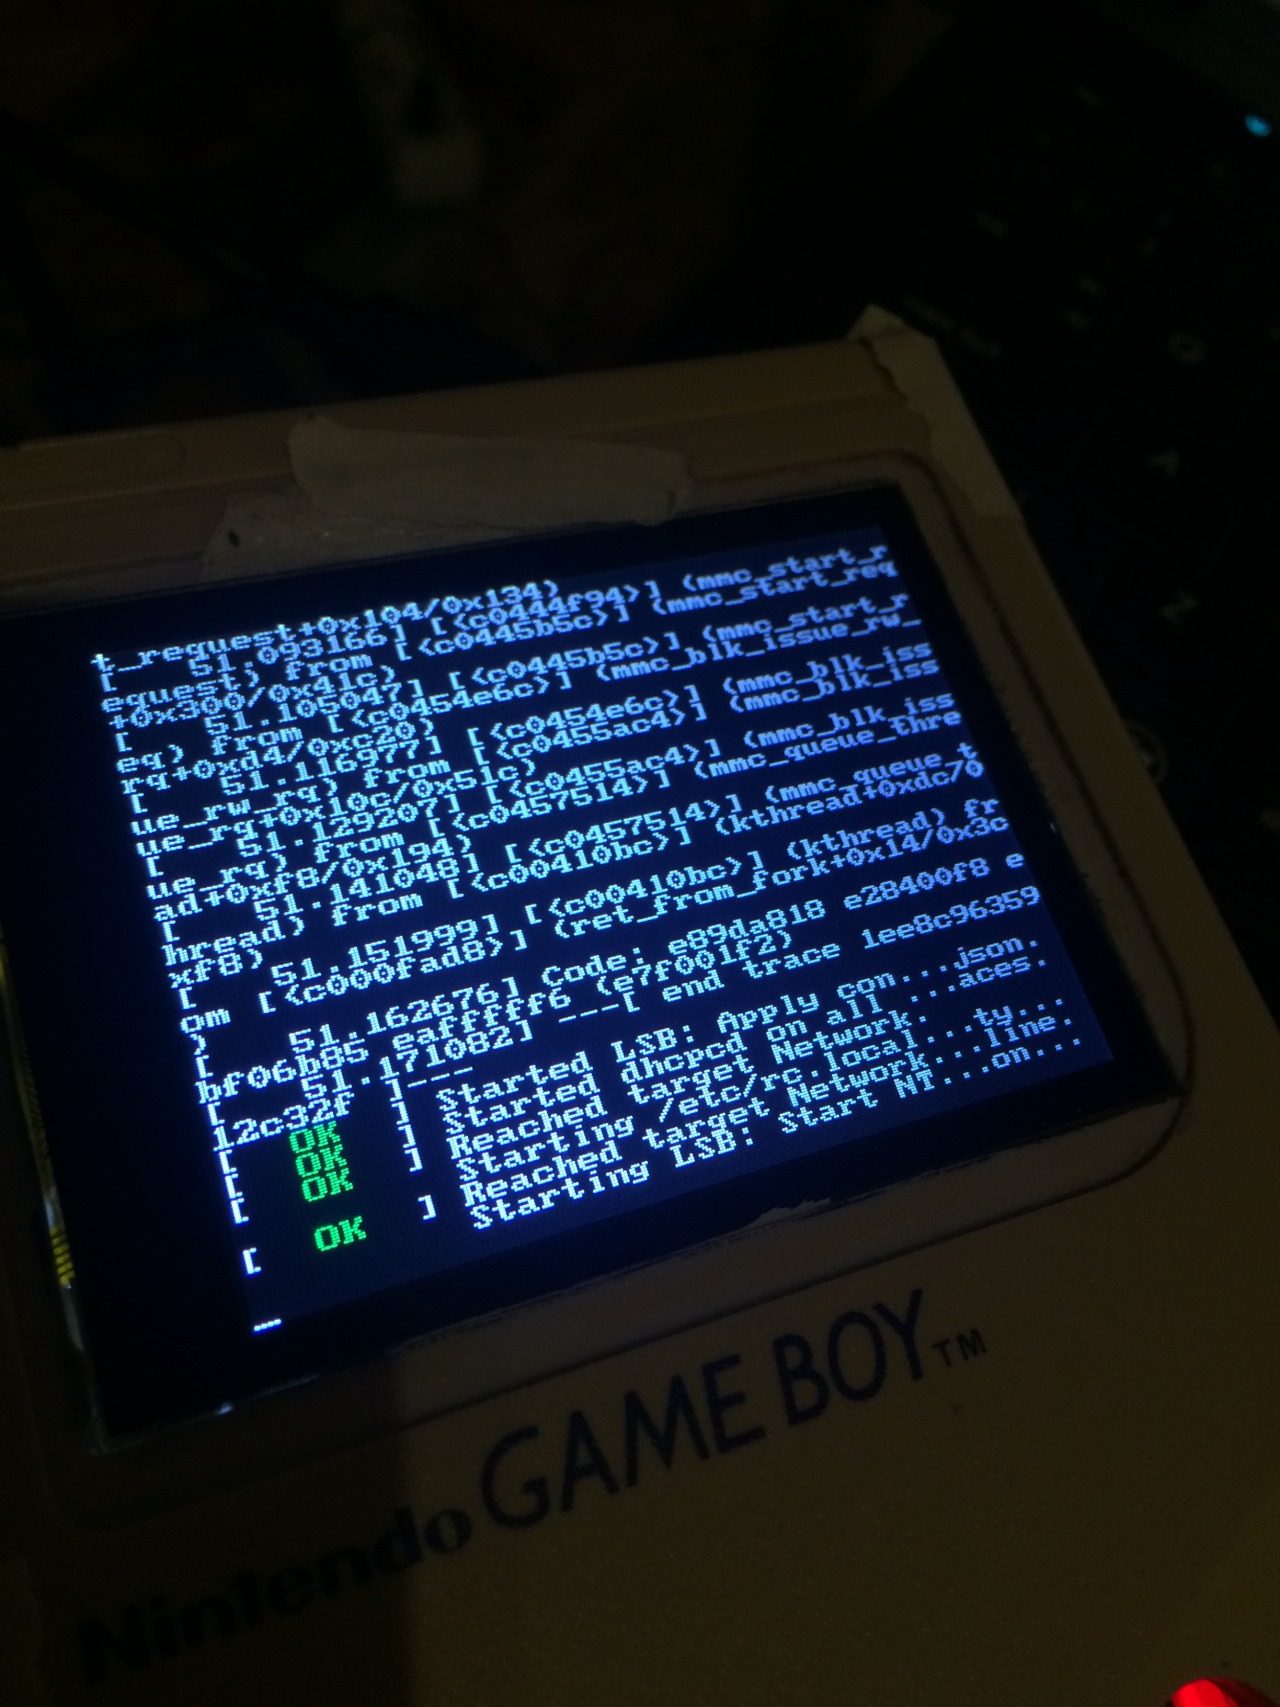
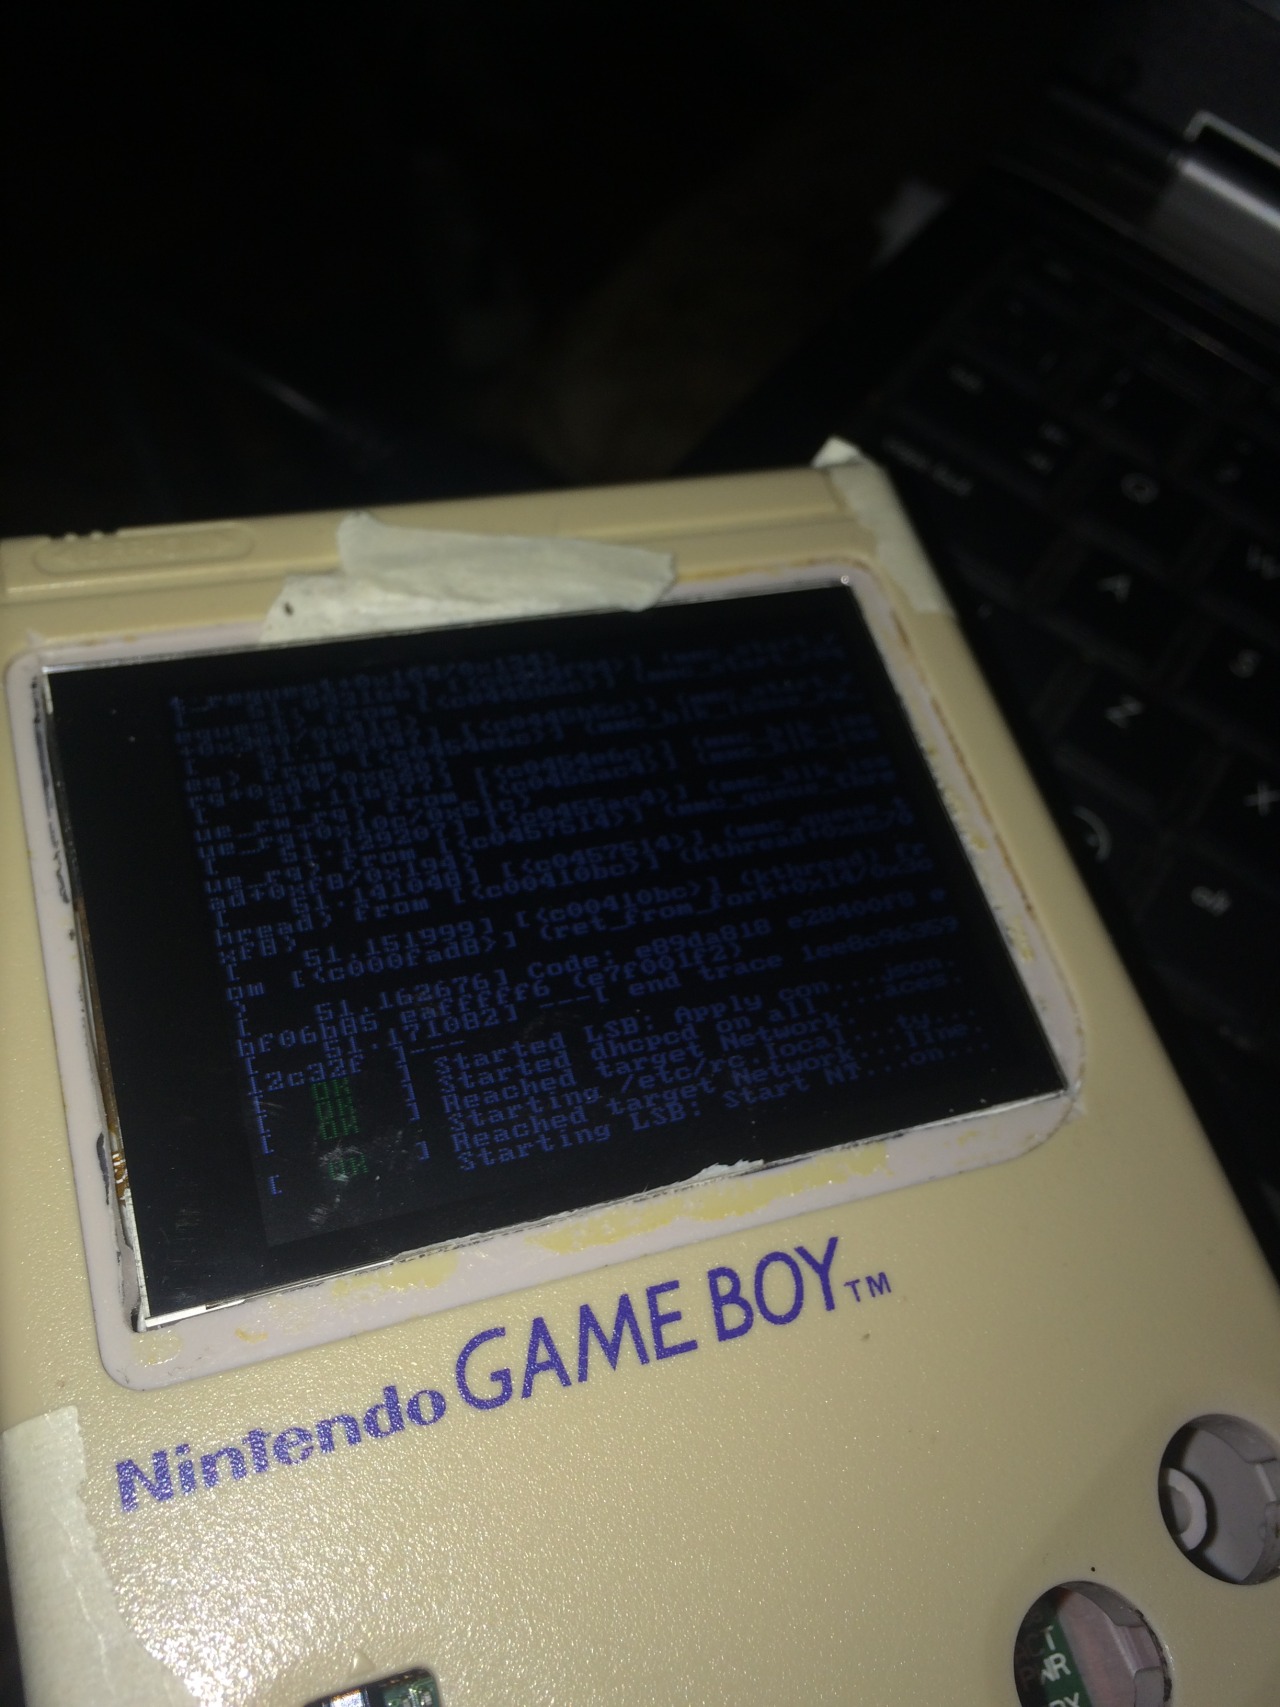
Some progress pictures for my Gameboy Pi

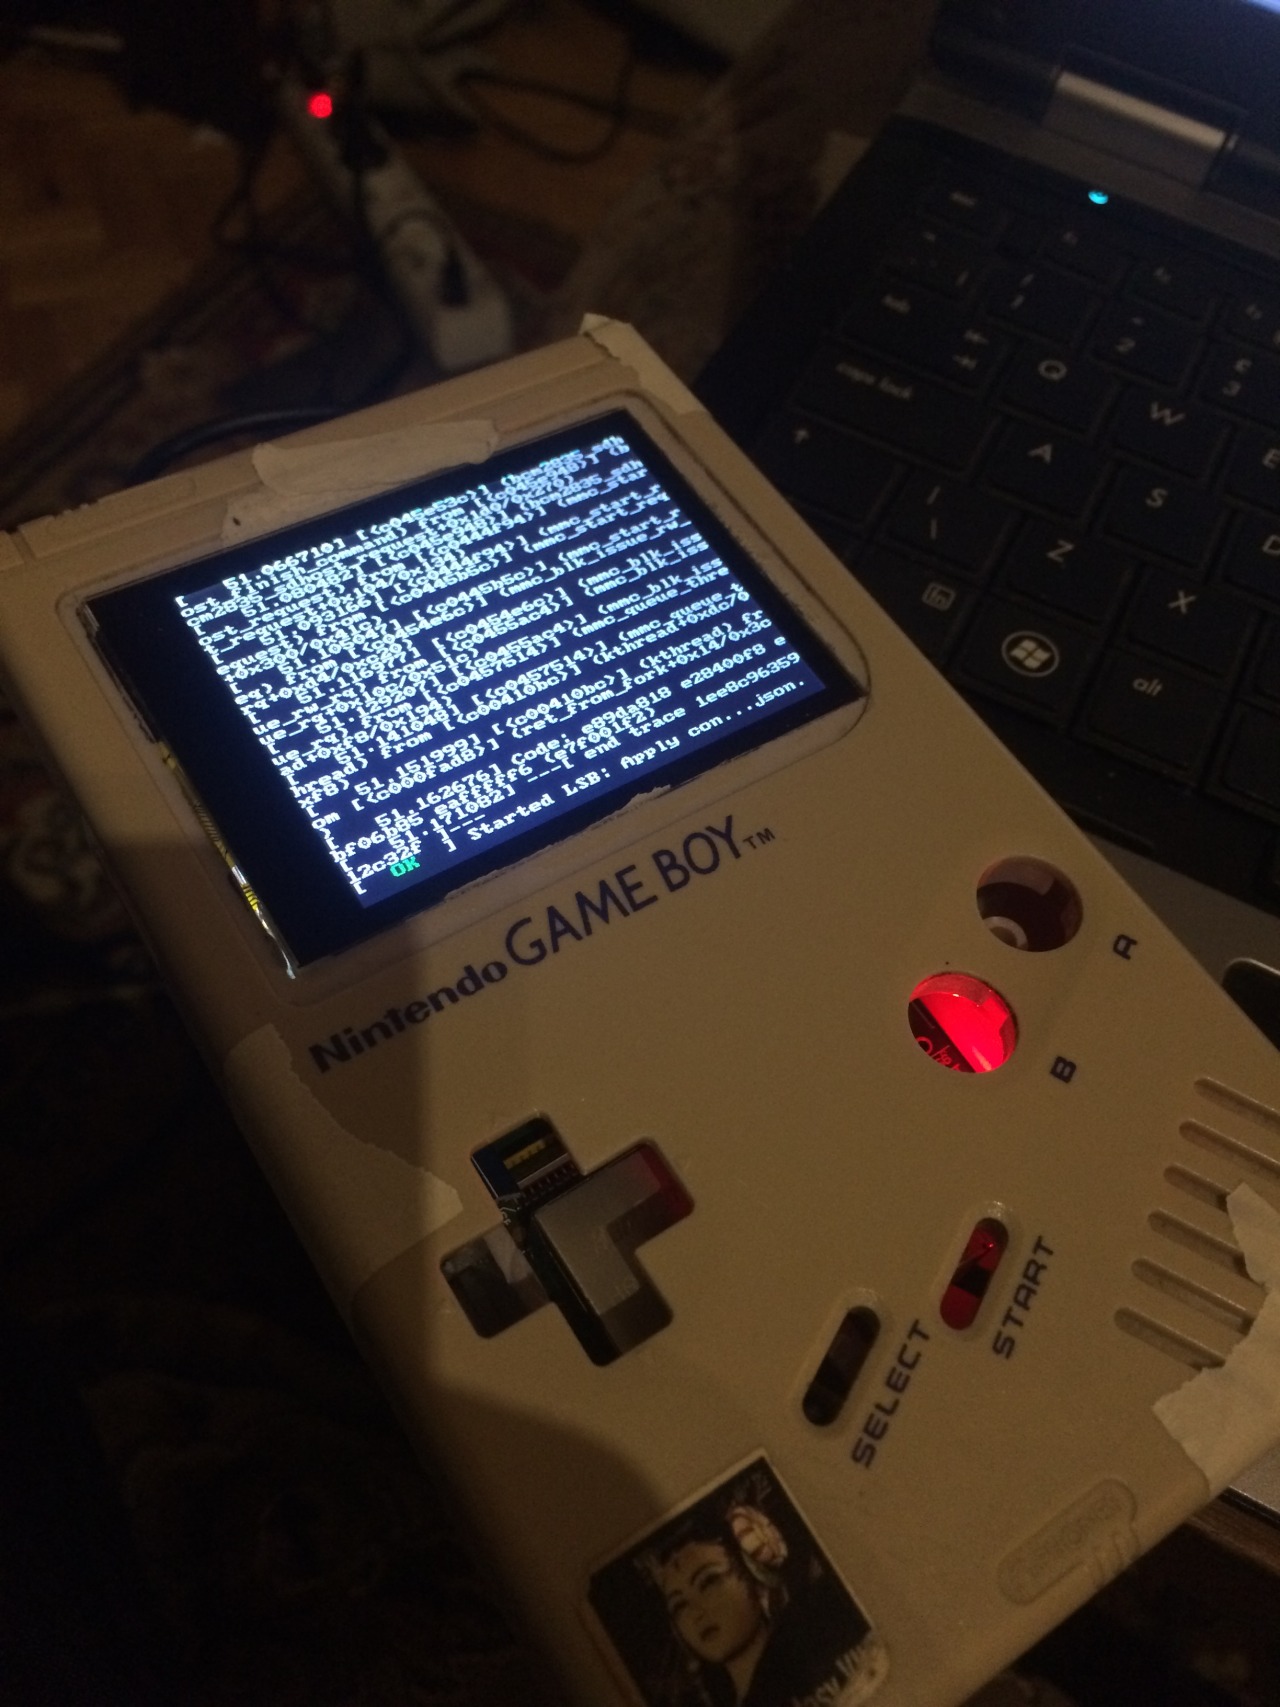
Some progress pictures for my Gameboy Pi
Gameboy Pi install:
Make sd img from 2016-03-25-28c.img
Then install retropi:
sudo raspi-config
Enable ssh
Resize SD
Disable boot Gui boot Console:
sudo reboot.
sudo apt-get update && sudo apt-get upgrade
sudo apt-get install -y git dialog
cd
git clone –depth=1 https://github.com/RetroPie/RetroPie-Setup.git
cd RetroPie-Setup
chmod +x retropie_setup.sh
sudo ./retropie_setup.sh
Install binary-based.
Install fb
sudo apt-get install cmake
sudo apt-get install libbsd-dev
Create file: /usr/share/X11/xorg.conf.d/99-fbdev.conf
sudo nano /usr/share/X11/xorg.conf.d/99-fbdev.conf
add in nano
Section “Device”
Identifier “myfb”
Driver “fbdev”
Option “fbdev” “/dev/fb1”
EndSection
Exit Nano
sudo apt-get install cmake
git clone https://github.com/AndrewFromMelbourne/raspi2fb
cd raspi2fb/
mkdir build
cd build
cmake ..
make
sudo make install
sudo cp ../raspi2fb@.service /etc/systemd/system/
sudo systemctl daemon-reload
sudo systemctl enable raspi2fb@1.service
sudo systemctl start raspi2fb@1
TEST
sudo nano /etc/rc.local
add before exit 0
sudo systemctl daemon-reload
sudo systemctl enable raspi2fb@1.service
sudo systemctl start raspi2fb@1
END TEST
sudo dpkg-reconfigure console-setup
Select “UTF-8”, “Guess optimal character set”, “Terminus” and “6×12 (framebuffer only).”
sudo nano /boot/config.txt
Add
framebuffer_width=810
framebuffer_height=540
hdmi_force_hotplug=1
hdmi_group=2
hdmi_mode=87
hdmi_cvt=320 240 51 1 0 0 0
dtoverlay=pitft28-capacitive-overlay,rotate=90,speed=80000000,fps=51
gpu_mem=44
sudo nano /etc/emulationstation/themes/carbon/carbon.xml
fontSize to 0.05
Controls
cd
git clone https://github.com/adafruit/Adafruit-Retrogame
cd Adafruit-Retrogame
Edit the file retrogame.c, looking for the table called ioStandard (not the ioTFT table — that’s for other projects). Each line in brackets represents one pin on the GPIO header and a corresponding key code.
The full list of available keycodes can be found in /usr/include/linux/input.h
raspberry_pi_retrogame.png
After editing, compile and install the code with:
Copy Code
make retrogame
sudo mv retrogame /usr/local/bin
To make retrogame start automatically when the system boots:
Copy Code
sudo nano /etc/rc.local
Before the final “exit 0” line, insert this one line:
Copy Code
/usr/local/bin/retrogame &
Just one more file needs editing, so that EmulationStation recognizes retrogame as a keyboard:
Copy Code
sudo nano /etc/udev/rules.d/10-retrogame.rules
Copy and paste this line exactly into the new file:
Copy Code
SUBSYSTEM==”input”, ATTRS{name}==”retrogame”, ENV{ID_INPUT_KEYBOARD}=”1″
Reboot and you should now have “virtual” keys associated with GPIO buttons.
