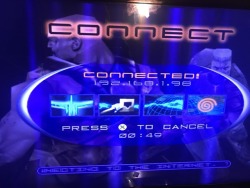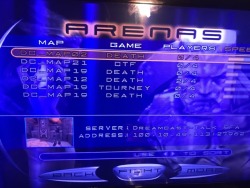
Request: How to setup and install DreamPi Pal
I made this tutorial because there are some issues for pal users even Kazade could get it working 😀
His tutorial “Quote Kazade’s”
But for PAL, it gets even more complicated. Generally PAL modems are classed as Model B modems – they require a line voltage. However, I found that not many PAL users had had much luck getting connected, and when I tried, it didn’t work for me either, even with a line voltage inducer!
Here is a quick Tutorial to flash DreamPi on OSX
Things needed:
–Etcher
–DreamPi 1.7 Image
-Dell modem A Linux-compatible, USB dial-up voice modem (UK | US | DE)
–Line Inducer 18V + Phone Cable (Line Inducer Diagram)
-Raspberry Pi
-Dreamcast browser software (e.g. Dreamkey 3.0,Quake 3)
-Access to your Router
Get (DreamPi 1.7 Image) from the Kazade’s page: Or Download here!
Extract .7z using unarchiver or any extractor that can extract 7Z
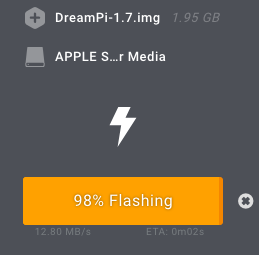
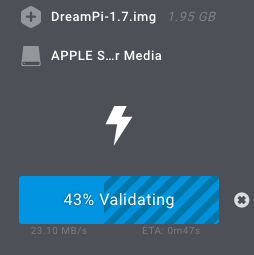
Open Etcher: Load DreamPi-1.7.img If you inserted your SD check if it selected and press flash!:
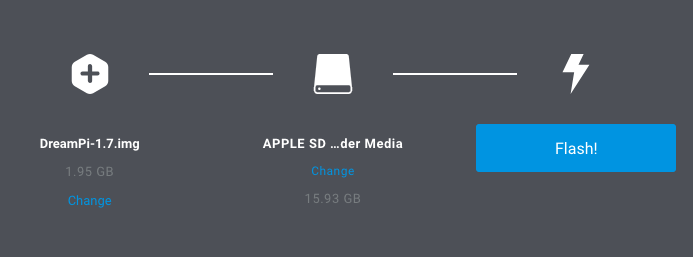
Wait until Flashed and Validating are done!
After write and check insert into Raspberry PI and give your PI power.
(Don’t connect the modem!!)

DreamPi will start up on boot.
This is all you need todo if you want to boot in you Pi you can do it like this:

Once you booted your will be prompt a Login screen.
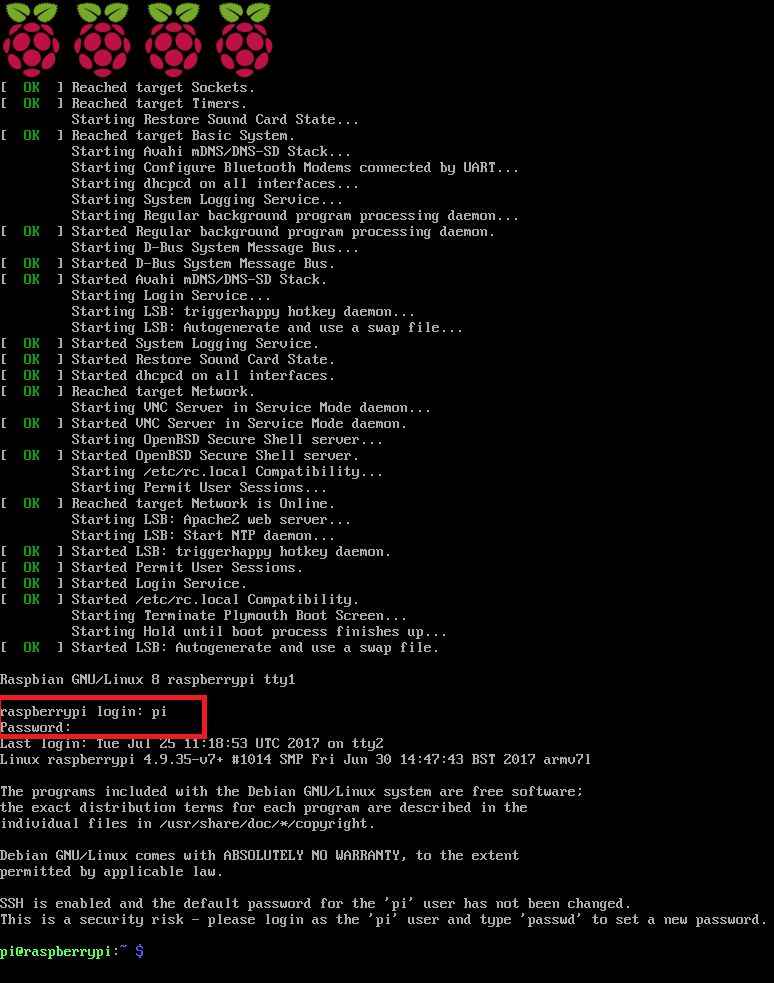
Login: pi
Password: raspberry
you can change the password: passwd
Extra info for Pal users:
I found that there is a strict boot sequence I need to follow.
If I do every thing in sequence it works every time.
I recommend to login SSH or via HDMI composted what ever monitor the log after boot!
using this command:
sudo tail -f /var/log/syslog
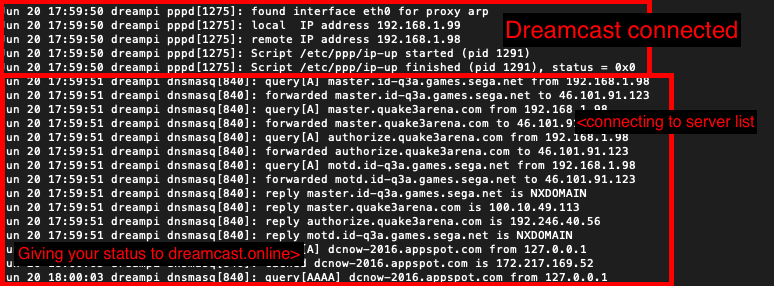
This is how you can follow the activity of your DreamPi:
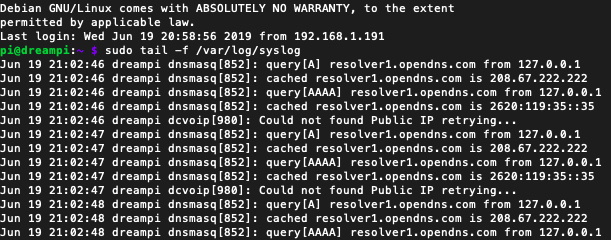
At this point the Pi is resolving domains. Good point to connect the modem:
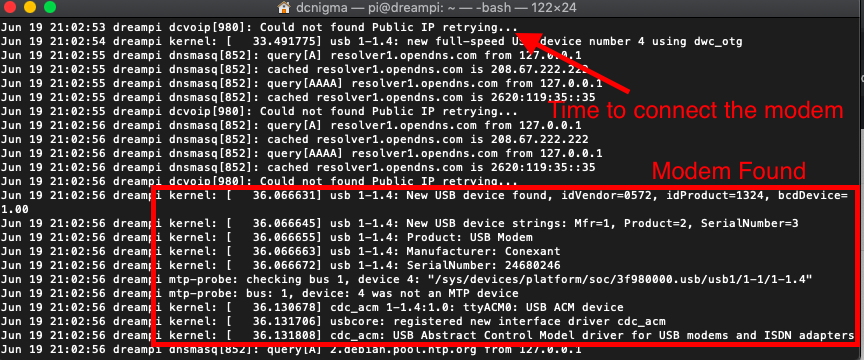
Reason for not connecting modem not at boot is because modem would not get found in DreamPI script.
If you wait until boot it works every time.
Now you wait until you see that DreamPi is ready for a connect from your Dreamcast:
At this point Dreampi is starting up:
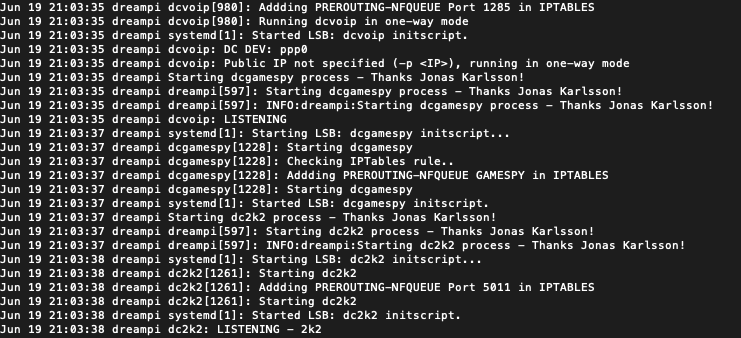
Here is it starting Up your modem. Keep on waiting….
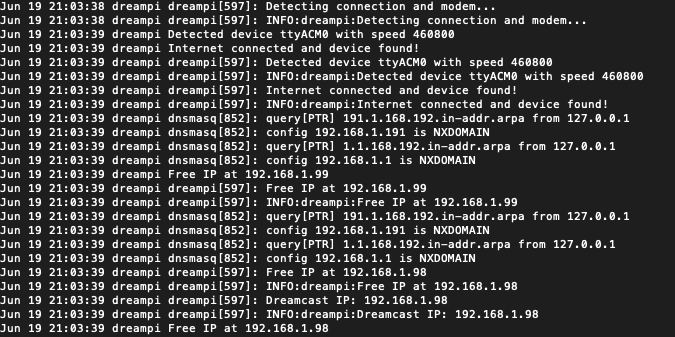
Here you can find your Dreamcast IP : default 192.168.x.98 if free (replace x with your mine 1)
And the OK gives you the signal to connect the Line Inducer for the extra 18V.
Other wise you will get Line buzzy error
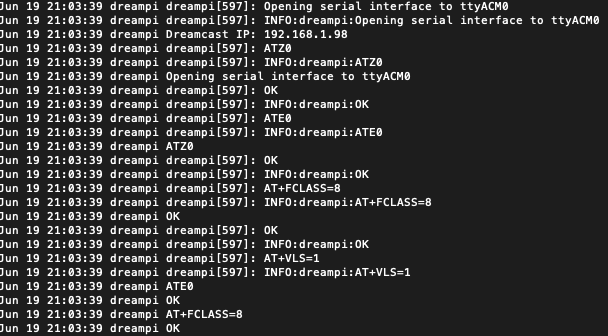
At this point your done on your Pi takes like 2 – 5 min I guess at the most.
After that I found out I could reconnect change games etc without any problems.
Leaving it connect for longer than a day I never got this to work. I have a feeling DreamPi crashes at one point.
Need to consult te logs for that….
OK lets continue with the tutorial.
Open the ports for your dreamcast so login to your router.
The easy way out is just open your Dreamcast ip 192.168.x.98 in your router using DMZ:
![]()
Otherwise you need to port forward all ports needed for the different games
[spoiler title=’Portforwards’ style=’default’ collapse_link=’true’]Alien Front Online: UDP 7980 ChuChu Rocket!: UDP 9789 NBA/NFL/NCAA 2K Series: UDP 5502 | UDP 5503 | UDP 5656 | TCP 5011 | TCP 6666 The Next Tetris: Online Edition: TCP/UDP 3512 Ooga Booga: UDP 6001 PBA Tour Bowling 2001: TCP/UDP 2300-2400 | UDP 6500 | TCP/UDP 47624 | UDP 13139 Planet Ring: UDP 7648 | UDP 1285 | UDP 1028 Starlancer: TCP/UPD 2300-2400 | UDP 6500 | TCP/UDP 47624 World Series Baseball 2K2: UDP 37171 | UDP 13713 Worms World Party: TCP 17219 [/spoiler]
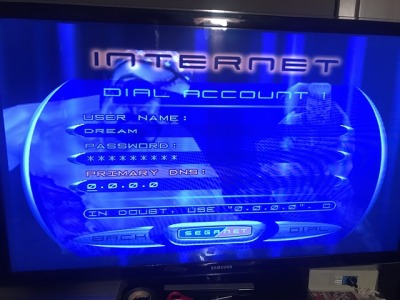
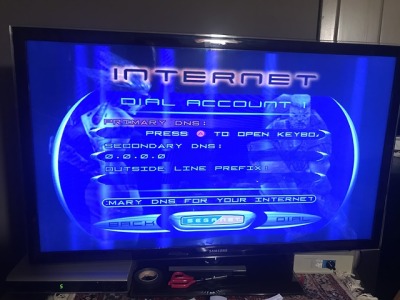
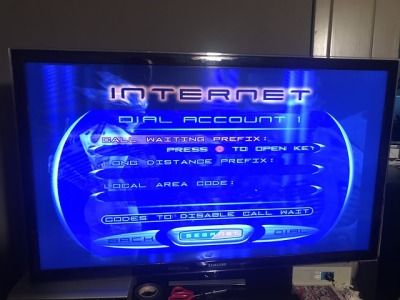
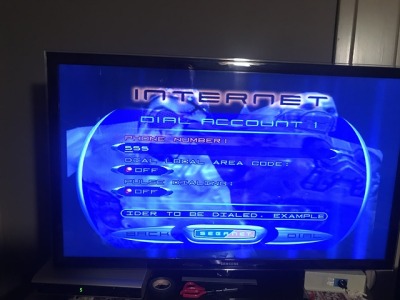
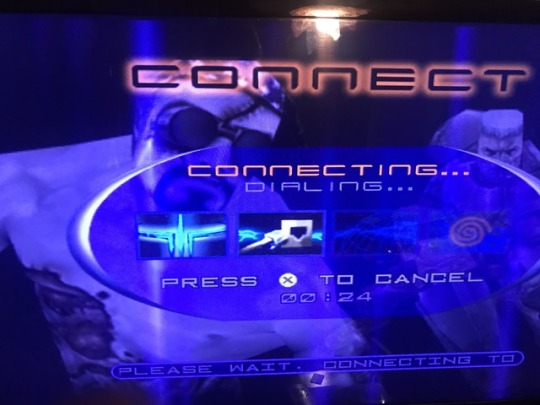
After this your done boot up your dreamcast and Quake 3 or Web browser to config your modem:
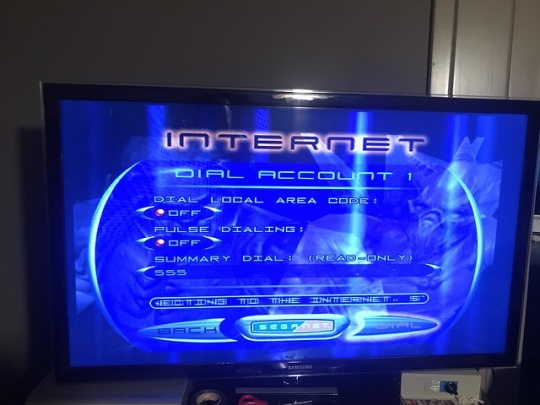
I used Quake this is my setup:
The requirement to dial that specific number was removed pre version 1.0 and now it will answer any number that’s dialed. DreamPi doesn’t require a specific username or password either. But you need to fill it in so go crazy!

