
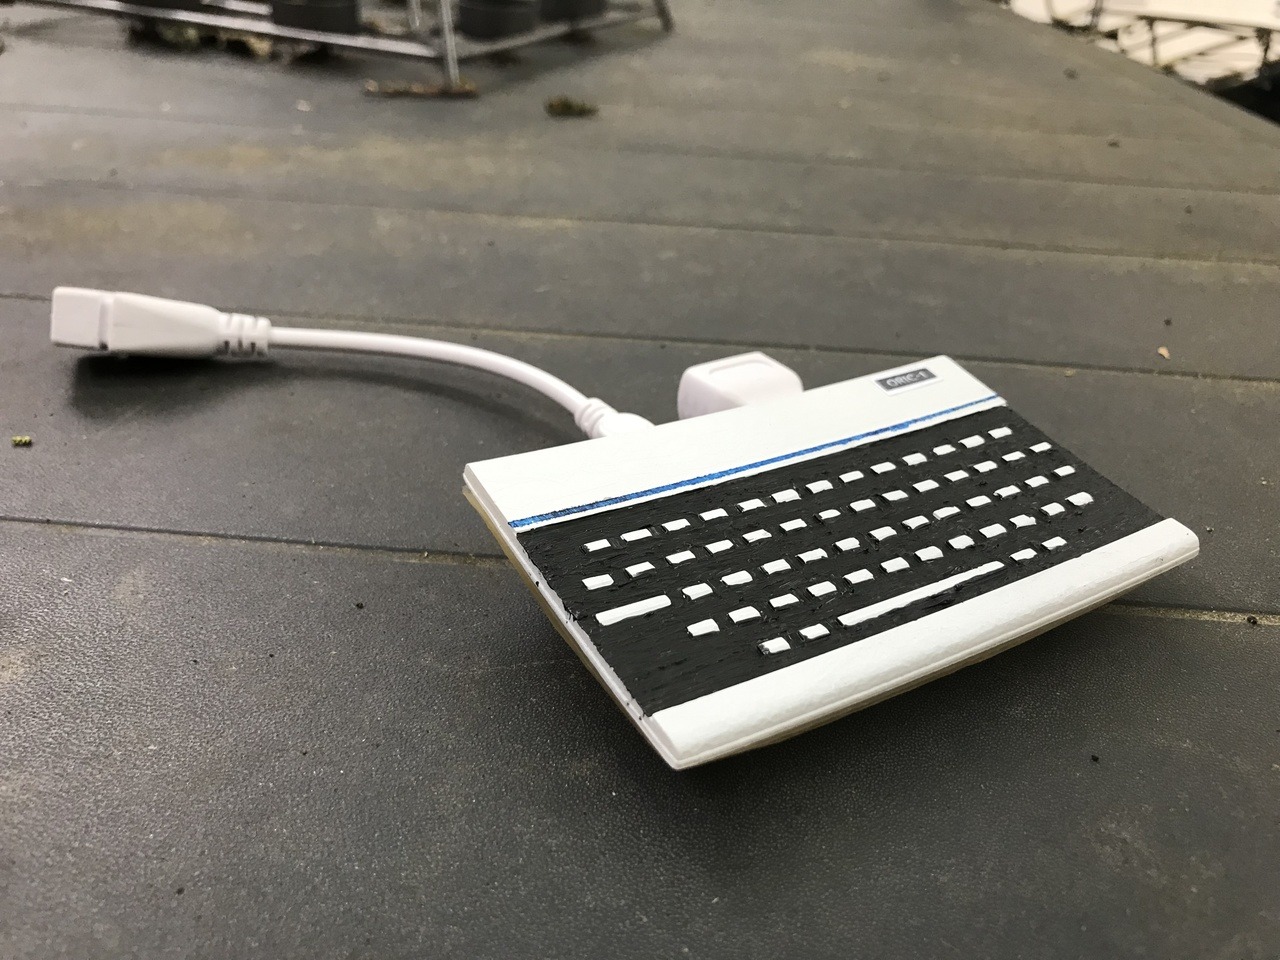
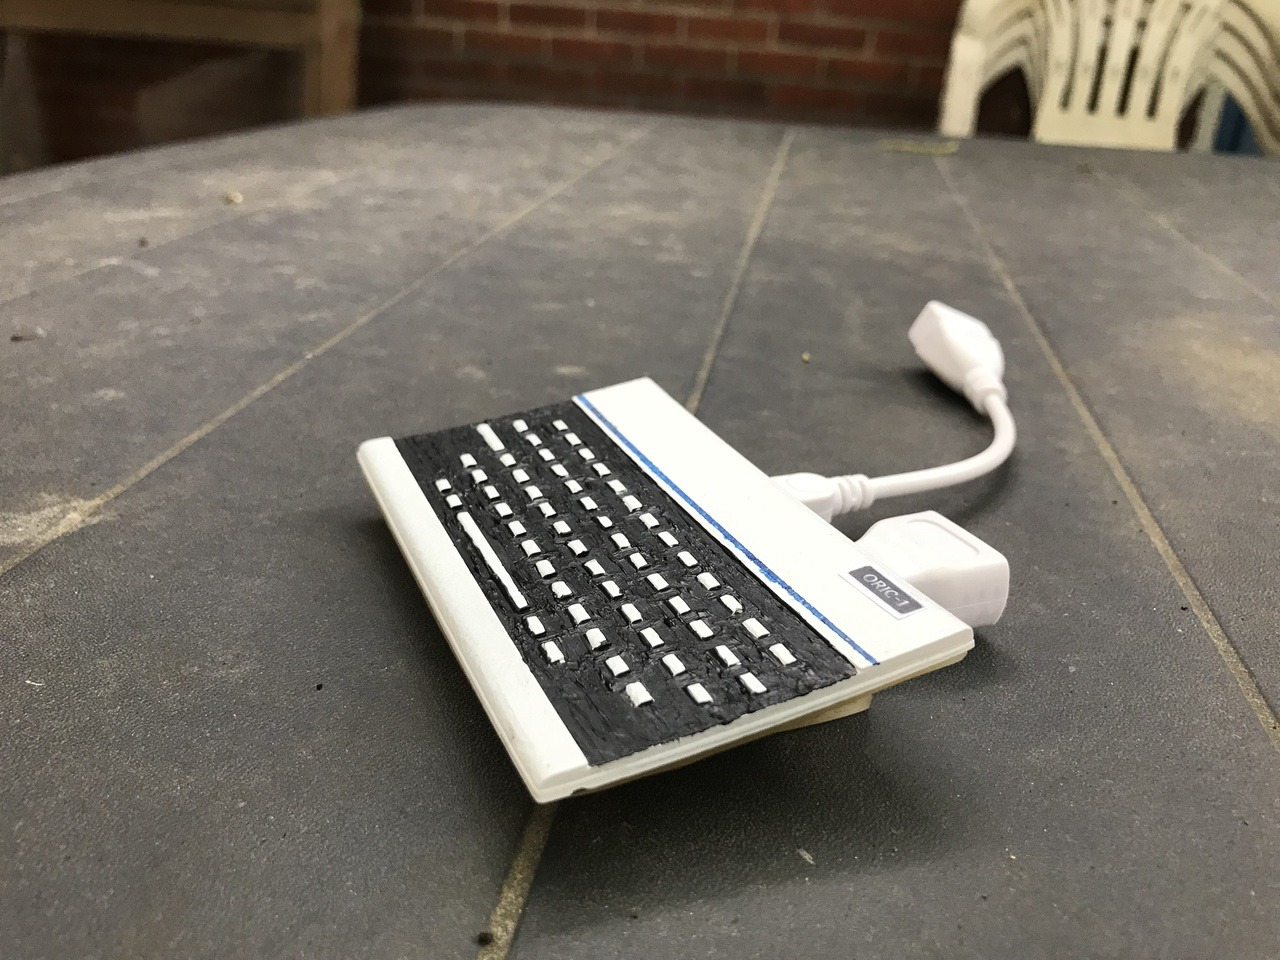
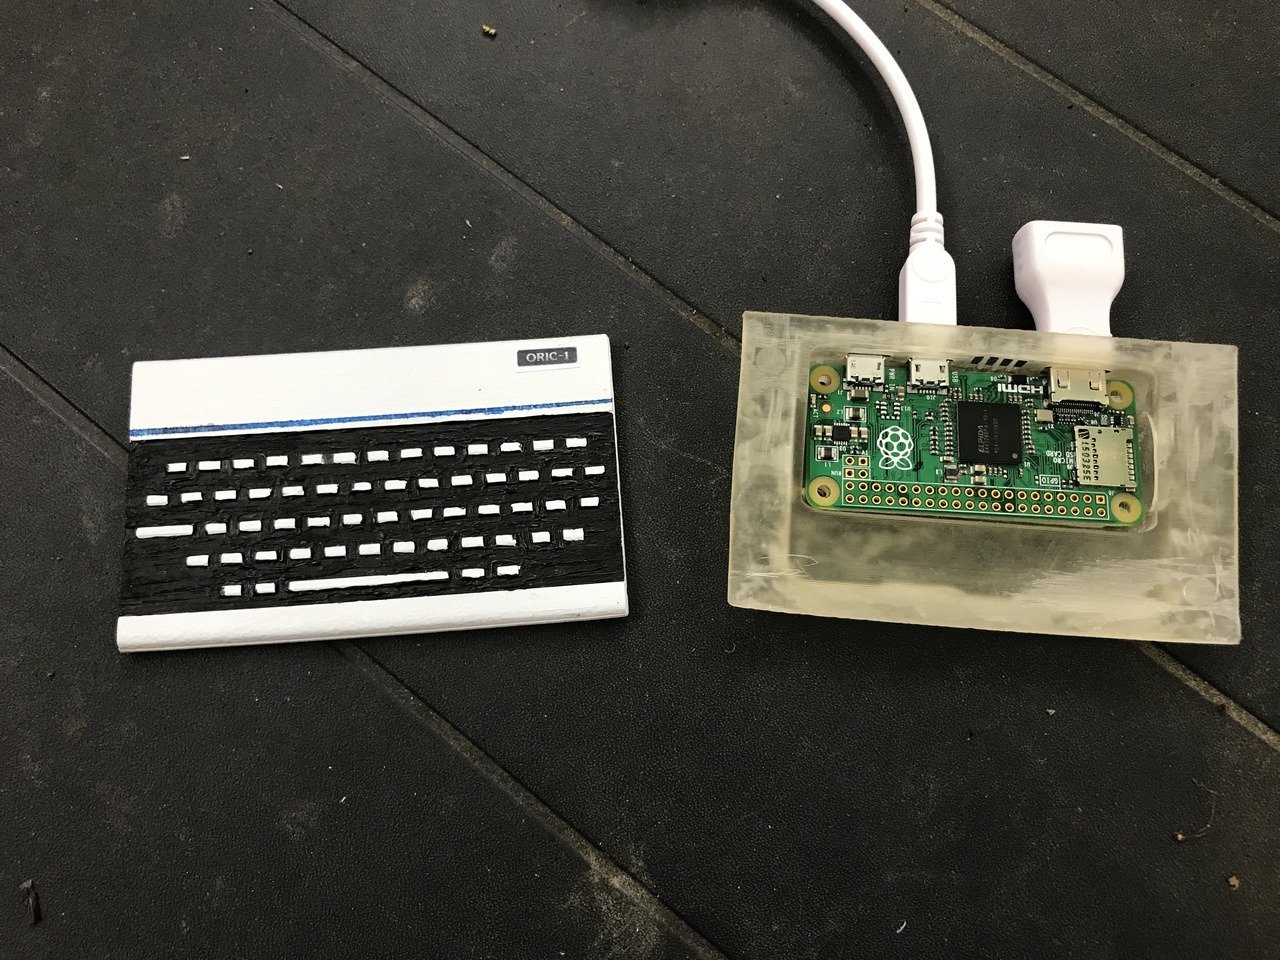
Printed the model and painted it in the original colors.

Print the logo label and stick it on using glue.

If you want the print ready package

 Today it was father’s day and I wanted to make something special for my dad.
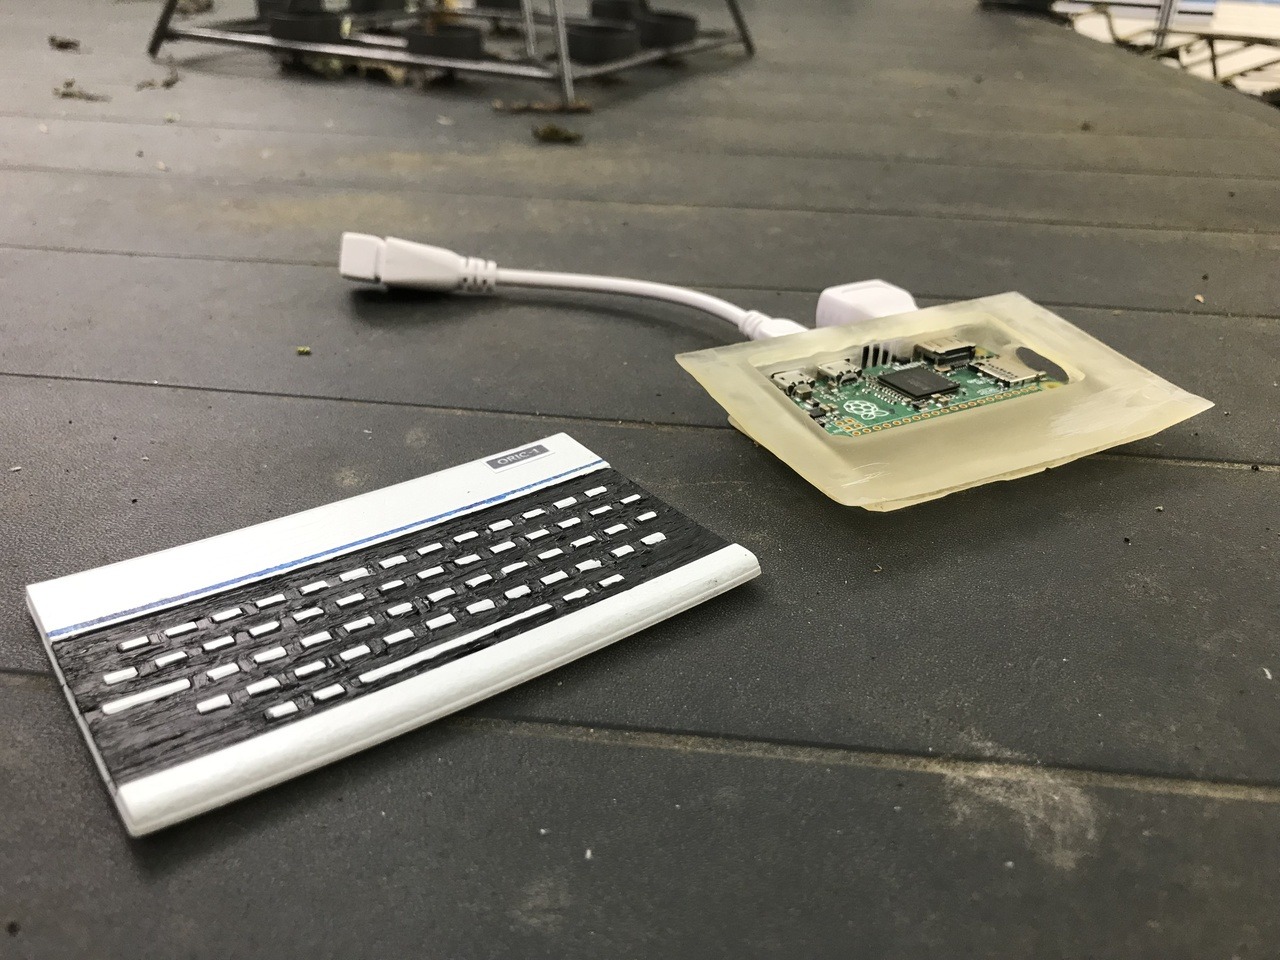
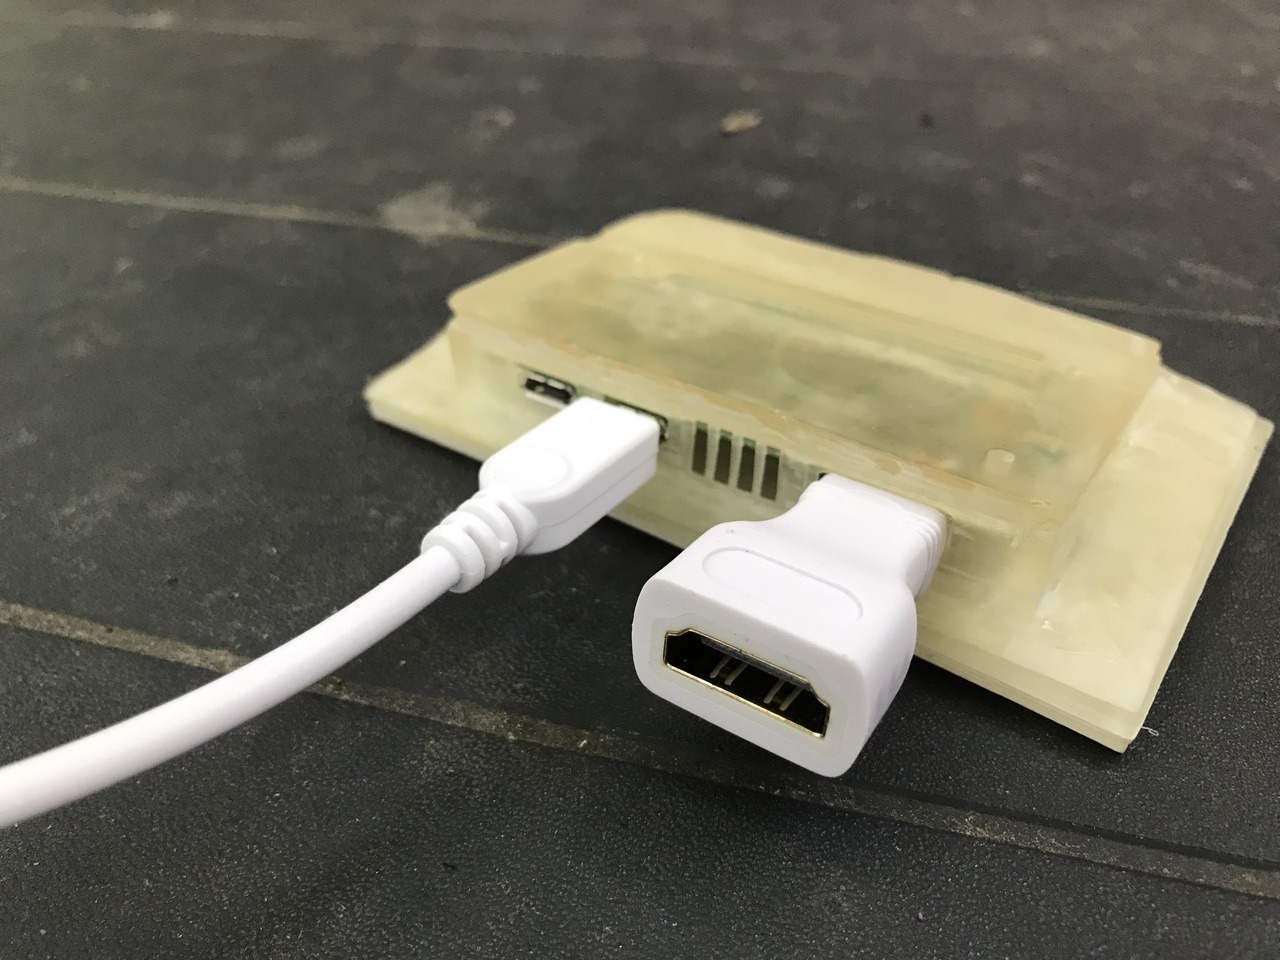
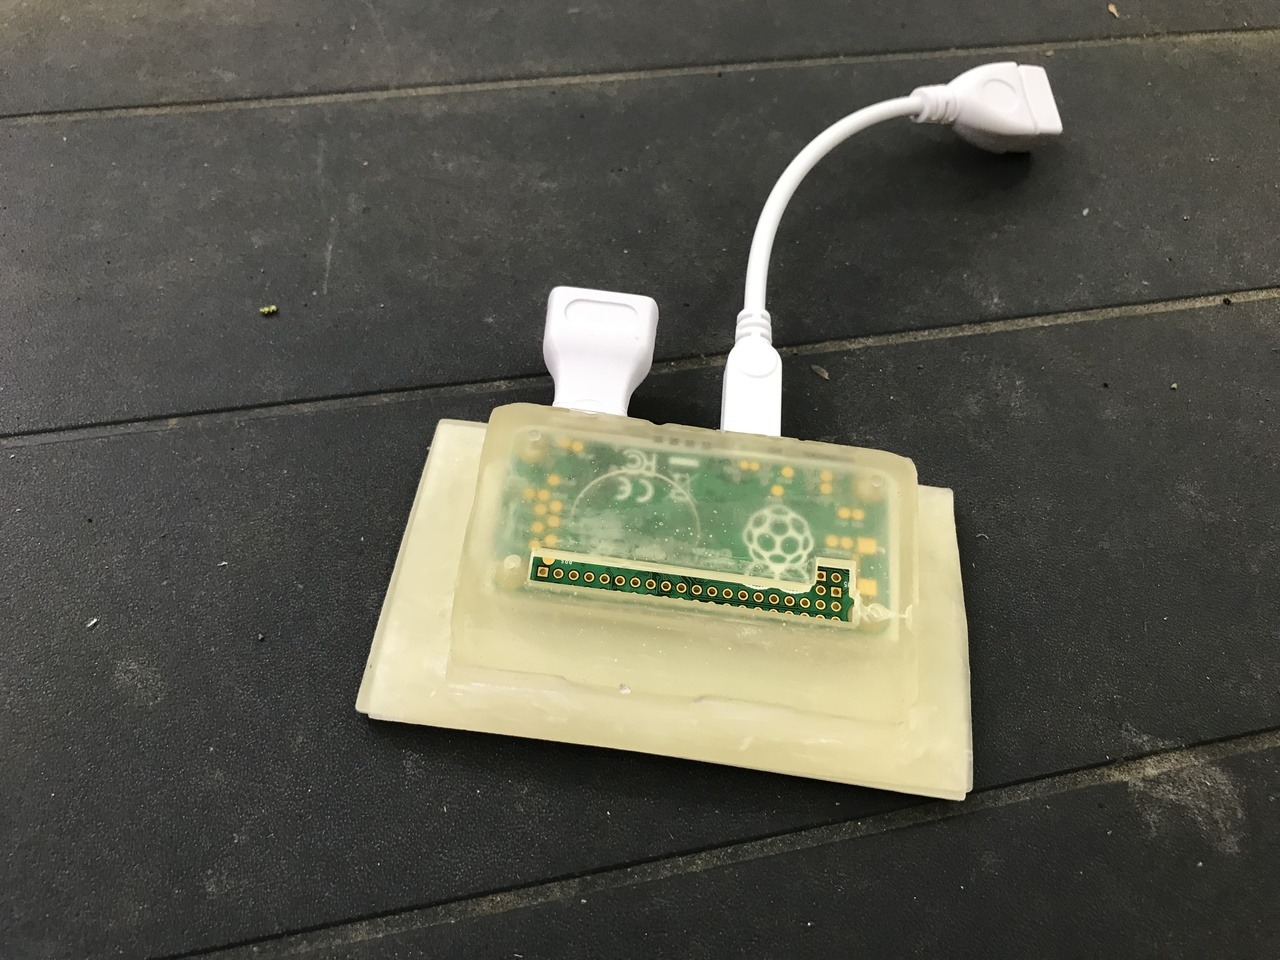
Load that model in to ThinkerCad and a Raspberry Pi zero model, just for size’s.

If you want to tinker more:
https://www.tinkercad.com/things/5aVdkiqgLMc-oric-raspberry-pi-zero-w
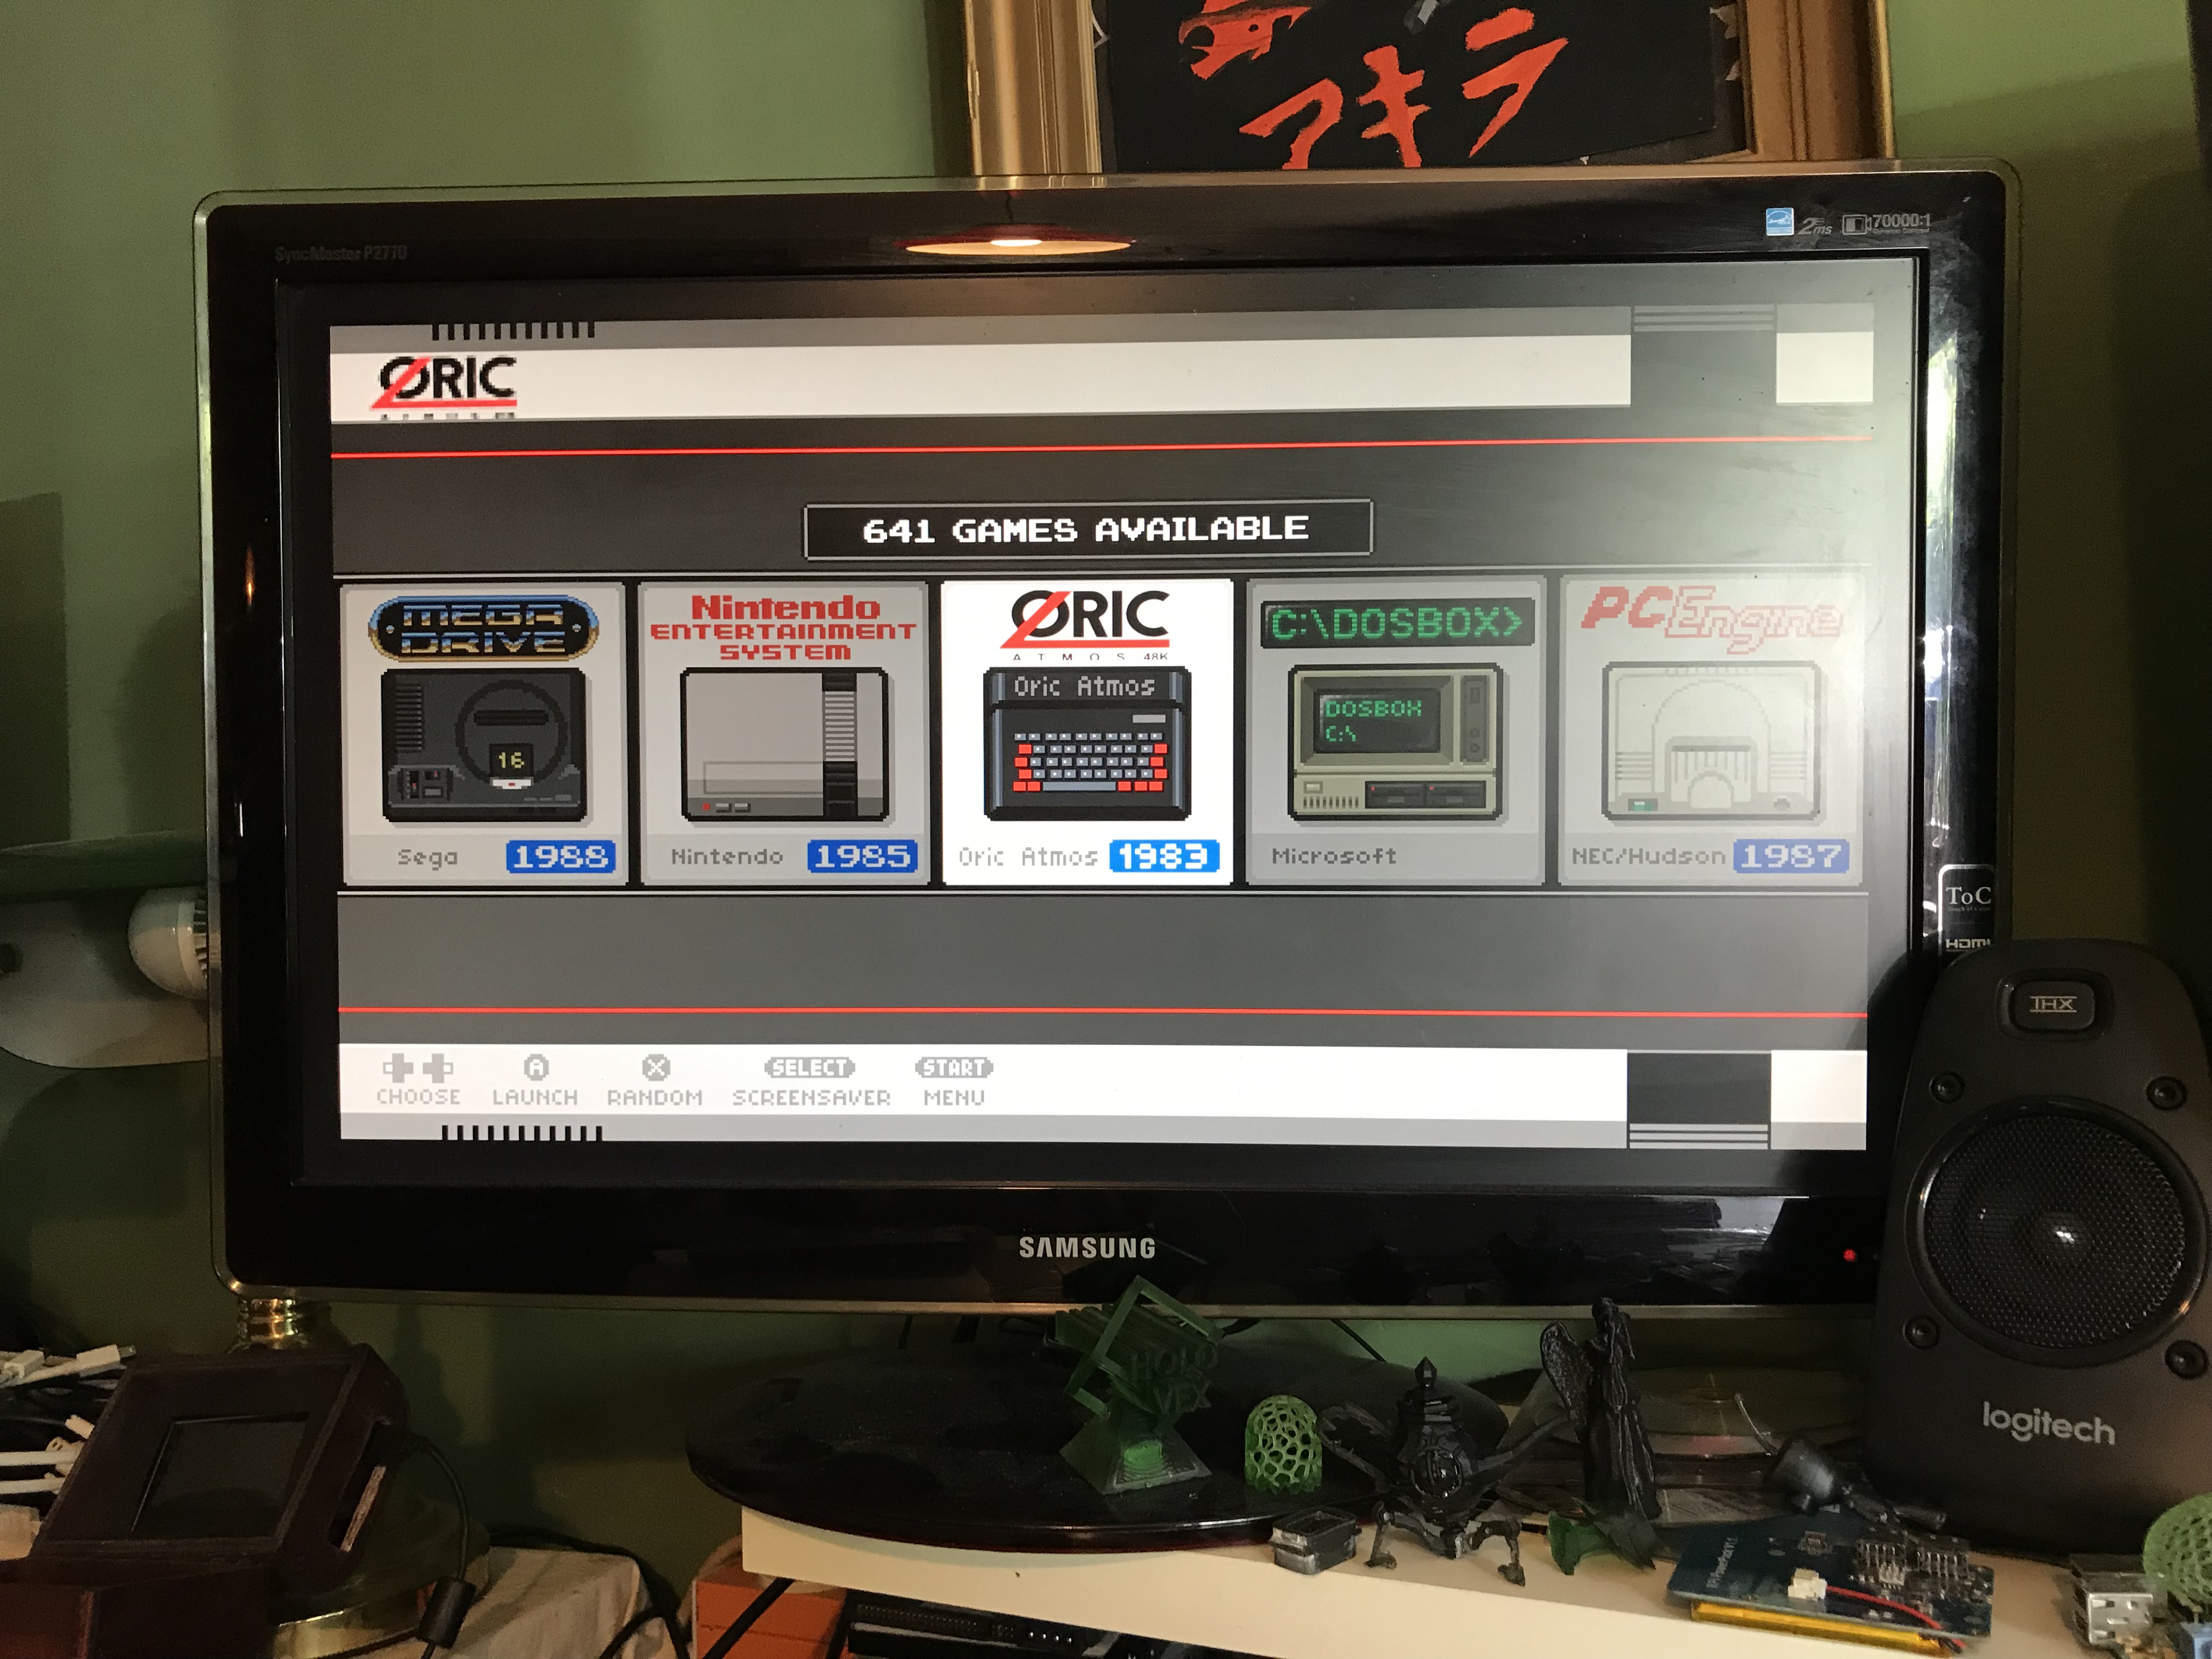
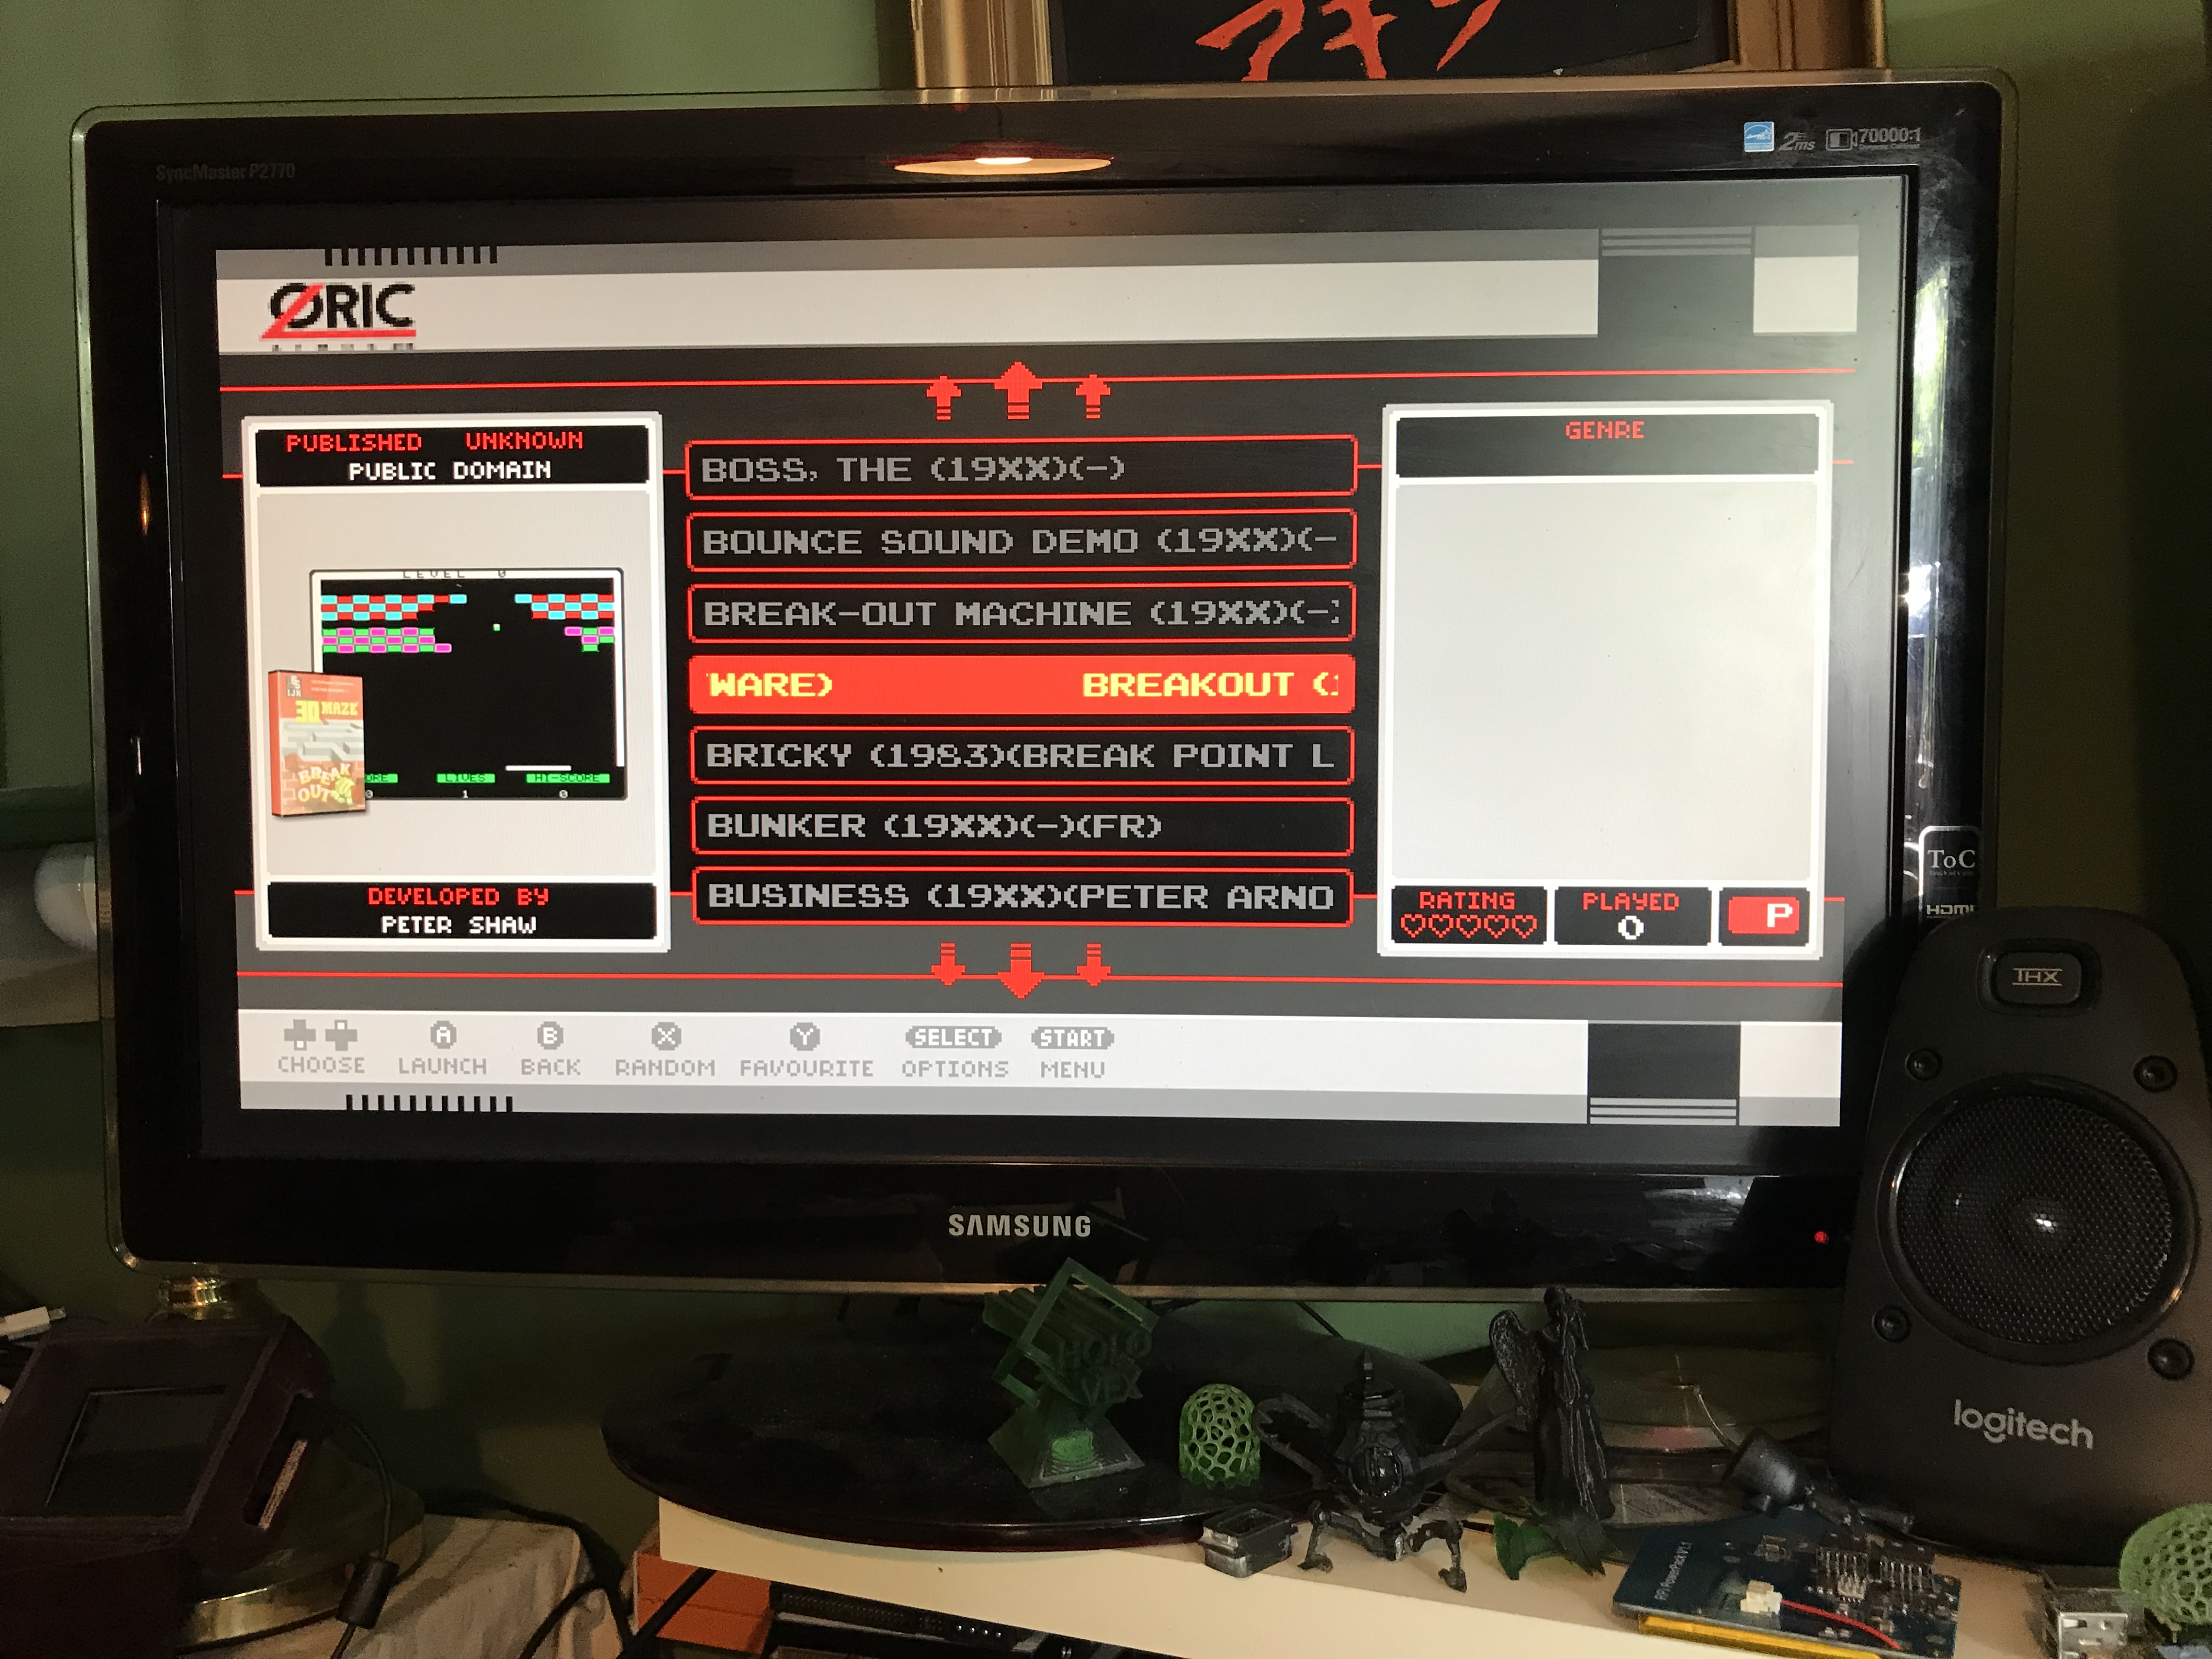
Added retropie installed the Oric emulator and added the roms.
Oric Atmos theme that i made for the Nes-mini theme:
Download link: Oric Atoms. (oops include the psd.. systembackground.png is a psd)
Location of the themes: /etc/emulationstation/themes/(nes-mini)
My dad/mom loved The Oric 1 mini 😀
If you want the print ready package

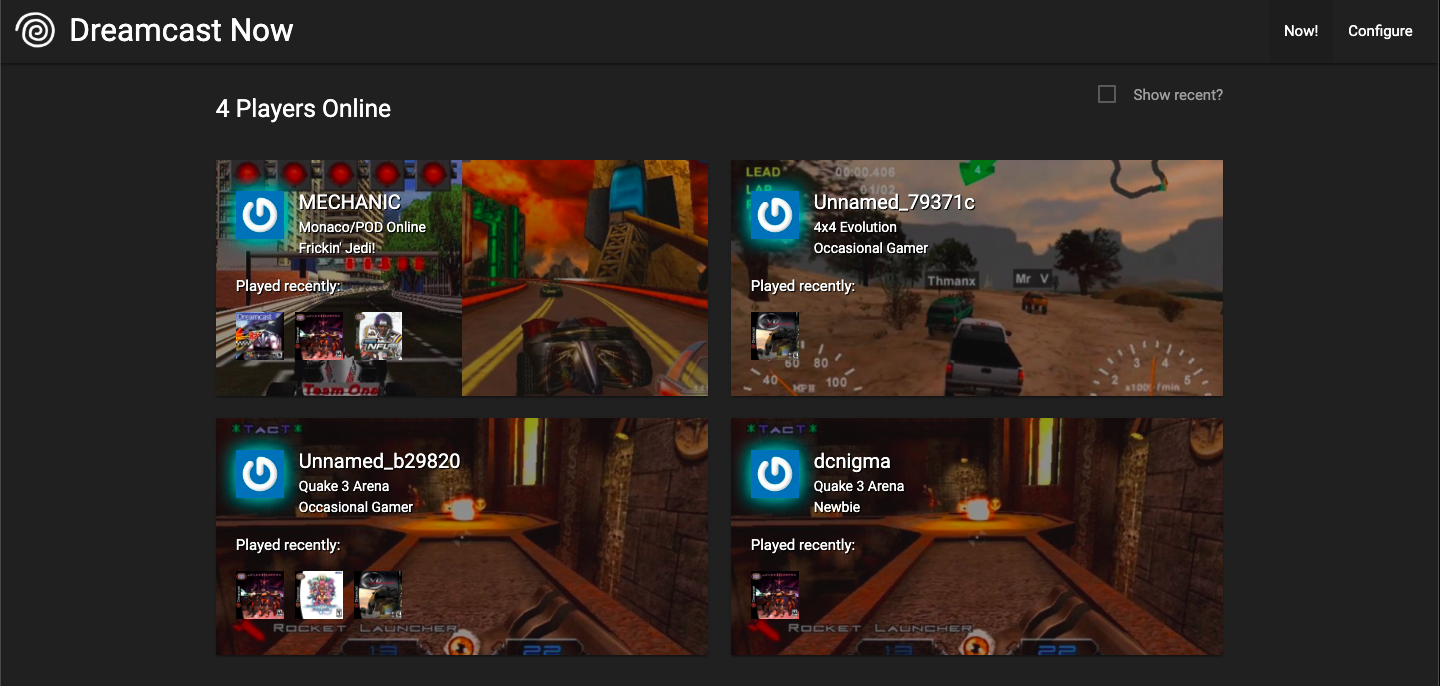
This site Dreamcast.online kicks Ass 😀
It’s a nice add-on for DreamPi users:
No image, live stats Baby! Scroll down if you dare! (iframes <3 🙂 )
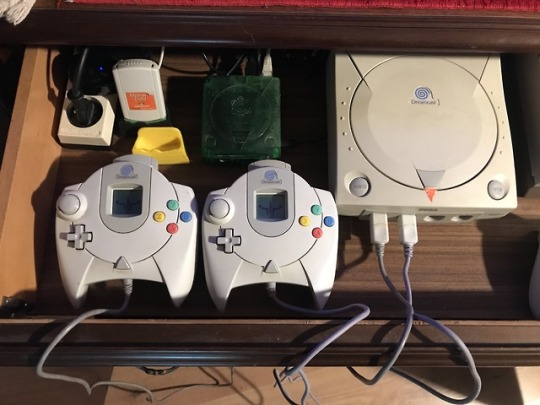
Finished my DreamPI project:
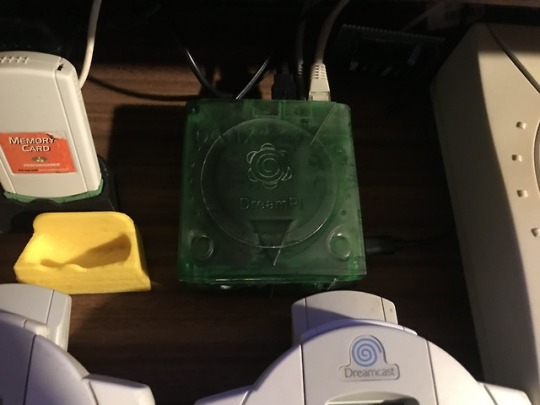
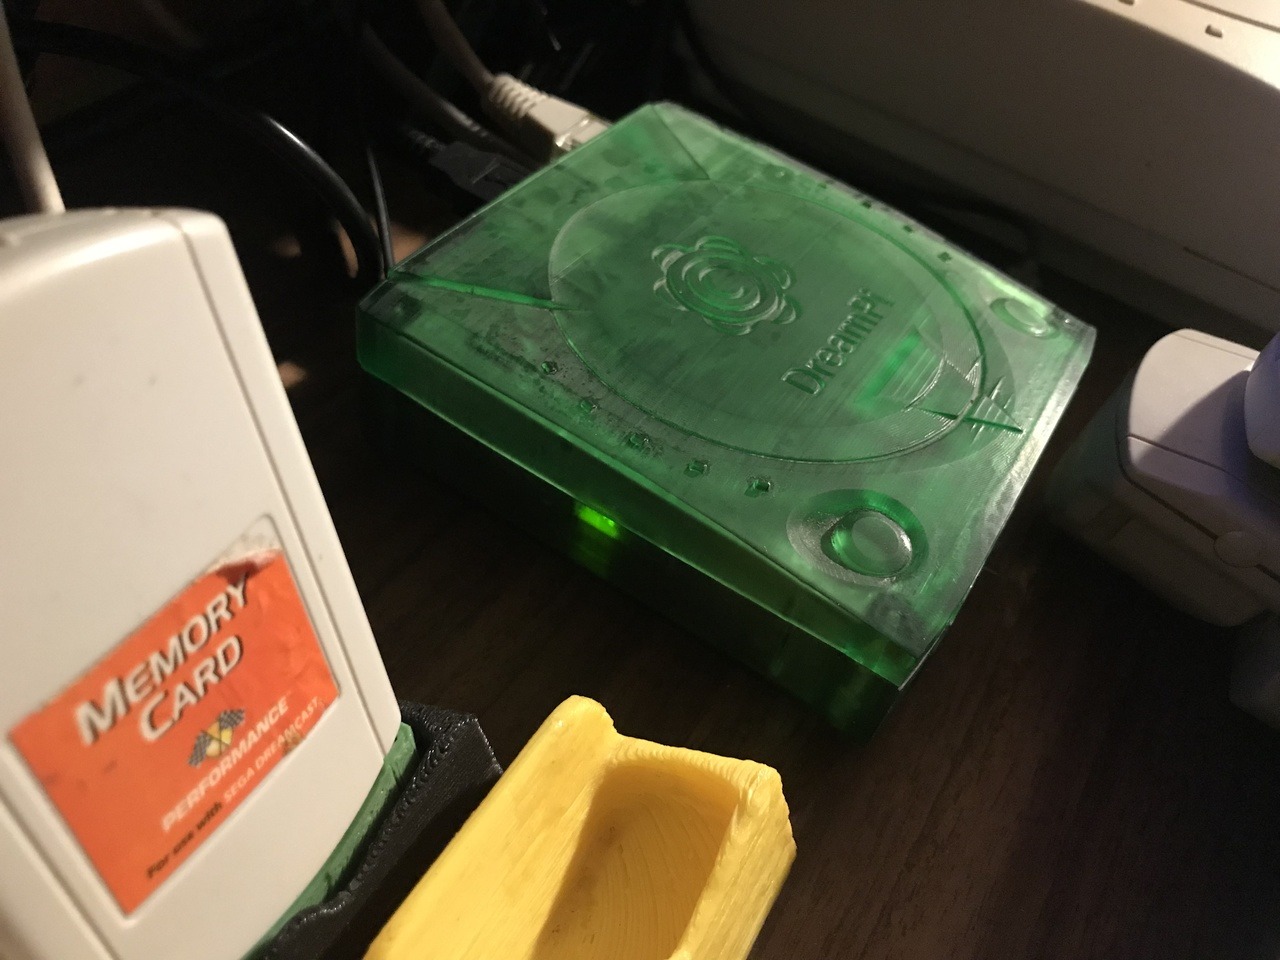
The modem fits nice in to the case 😀 , and works perfect!
[spoiler title=”Games online Now!! Expand Me!”]


Max Players: 4
Connection: Modem
Features: Multiplayer, Leaderboards, DLC
Hosted by: Shuouma


Max Players: 8
Connection: Modem
Features: Multiplayer, Leaderboards
Hosted by: Shuouma


Max Players: 4
Connection: Modem, Broadband Adapter
Features: Multiplayer, DLC
Hosted by: Dreamcast-Talk | Sylverant

Max Players: 4
Connection: Modem, Broadband Adapter (NTSC-U)
Features: Multiplayer, Leaderboards
Hosted by: Shuouma


Max Players: 4
Connection: Modem
Features: Email Challenge
Hosted by: N/A


Max Players: 4
Connection: Modem, Broadband Adapter
Features: Multiplayer, Leaderboards
Hosted by: Dreamcast Live


Max Players: 6
Connection: Modem
Features: Multiplayer, Leaderboards
Hosted by: Shuouma


Max Players: 2
Connection: Modem
Features: Multiplayer
Hosted by: Shuouma


Max Players: 4
Connection: Modem, Broadband Adapter (NTSC-U)
Features: Multiplayer
Hosted by: Dreamcast-Talk

Max Players: N/A
Connection: Modem
Features: Leaderboards, DLC
Hosted by: DreamPipe


Max Players: 2
Connection: Modem
Features: Multiplayer, Leaderboards
Hosted by: Shuouma
[/spoiler]
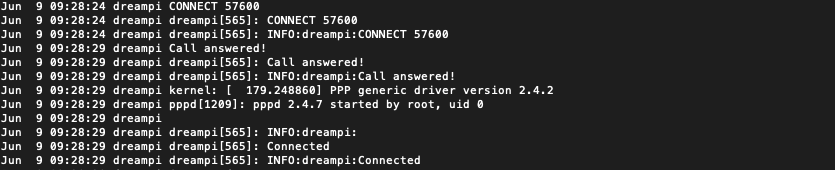
Good for debugging errors:
sudo tail -f /var/log/syslog
Had some trouble getting Dreampi working so I checkt the syslog:
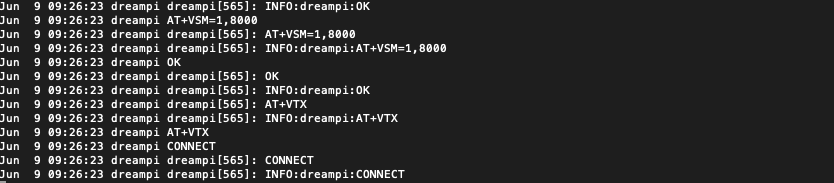
After this log I connect the power to my line inducer when i connect it before it’s started dreampi crashes because it cant find the modem.
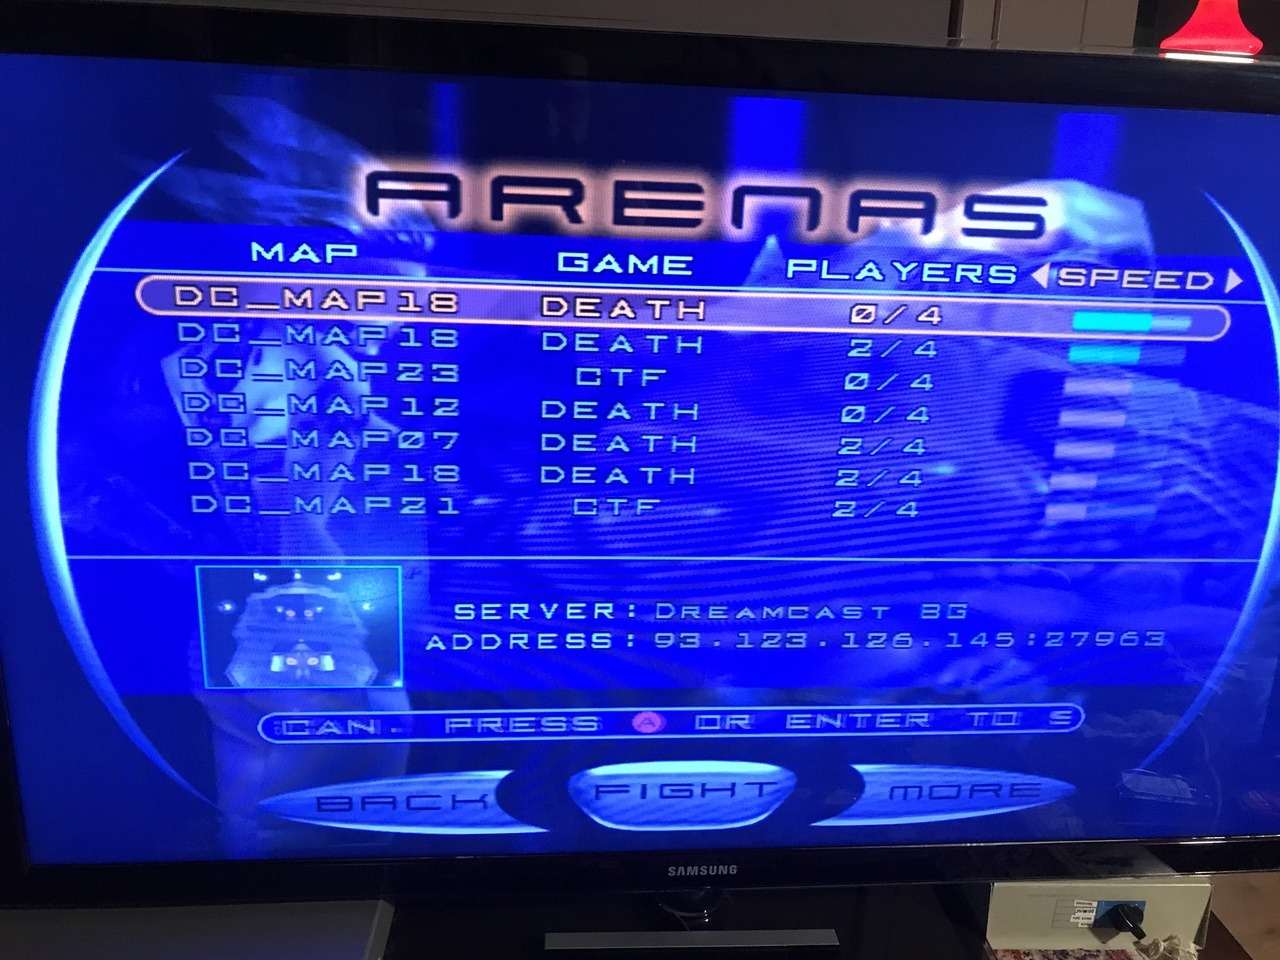
Quake 3 is my goto test game. To check if my DreamPi works…
Now my dreamcast is almost ready for 2019 😀 one more mod (Noctua NF-A4x10) already printed the fan duc.
Don’t forget to CHANGE your Pi’s password, DMZ will make your Pi attractive to bad people….
Some game info:
[spoiler title=’More info’ style=’green’]
[/spoiler]

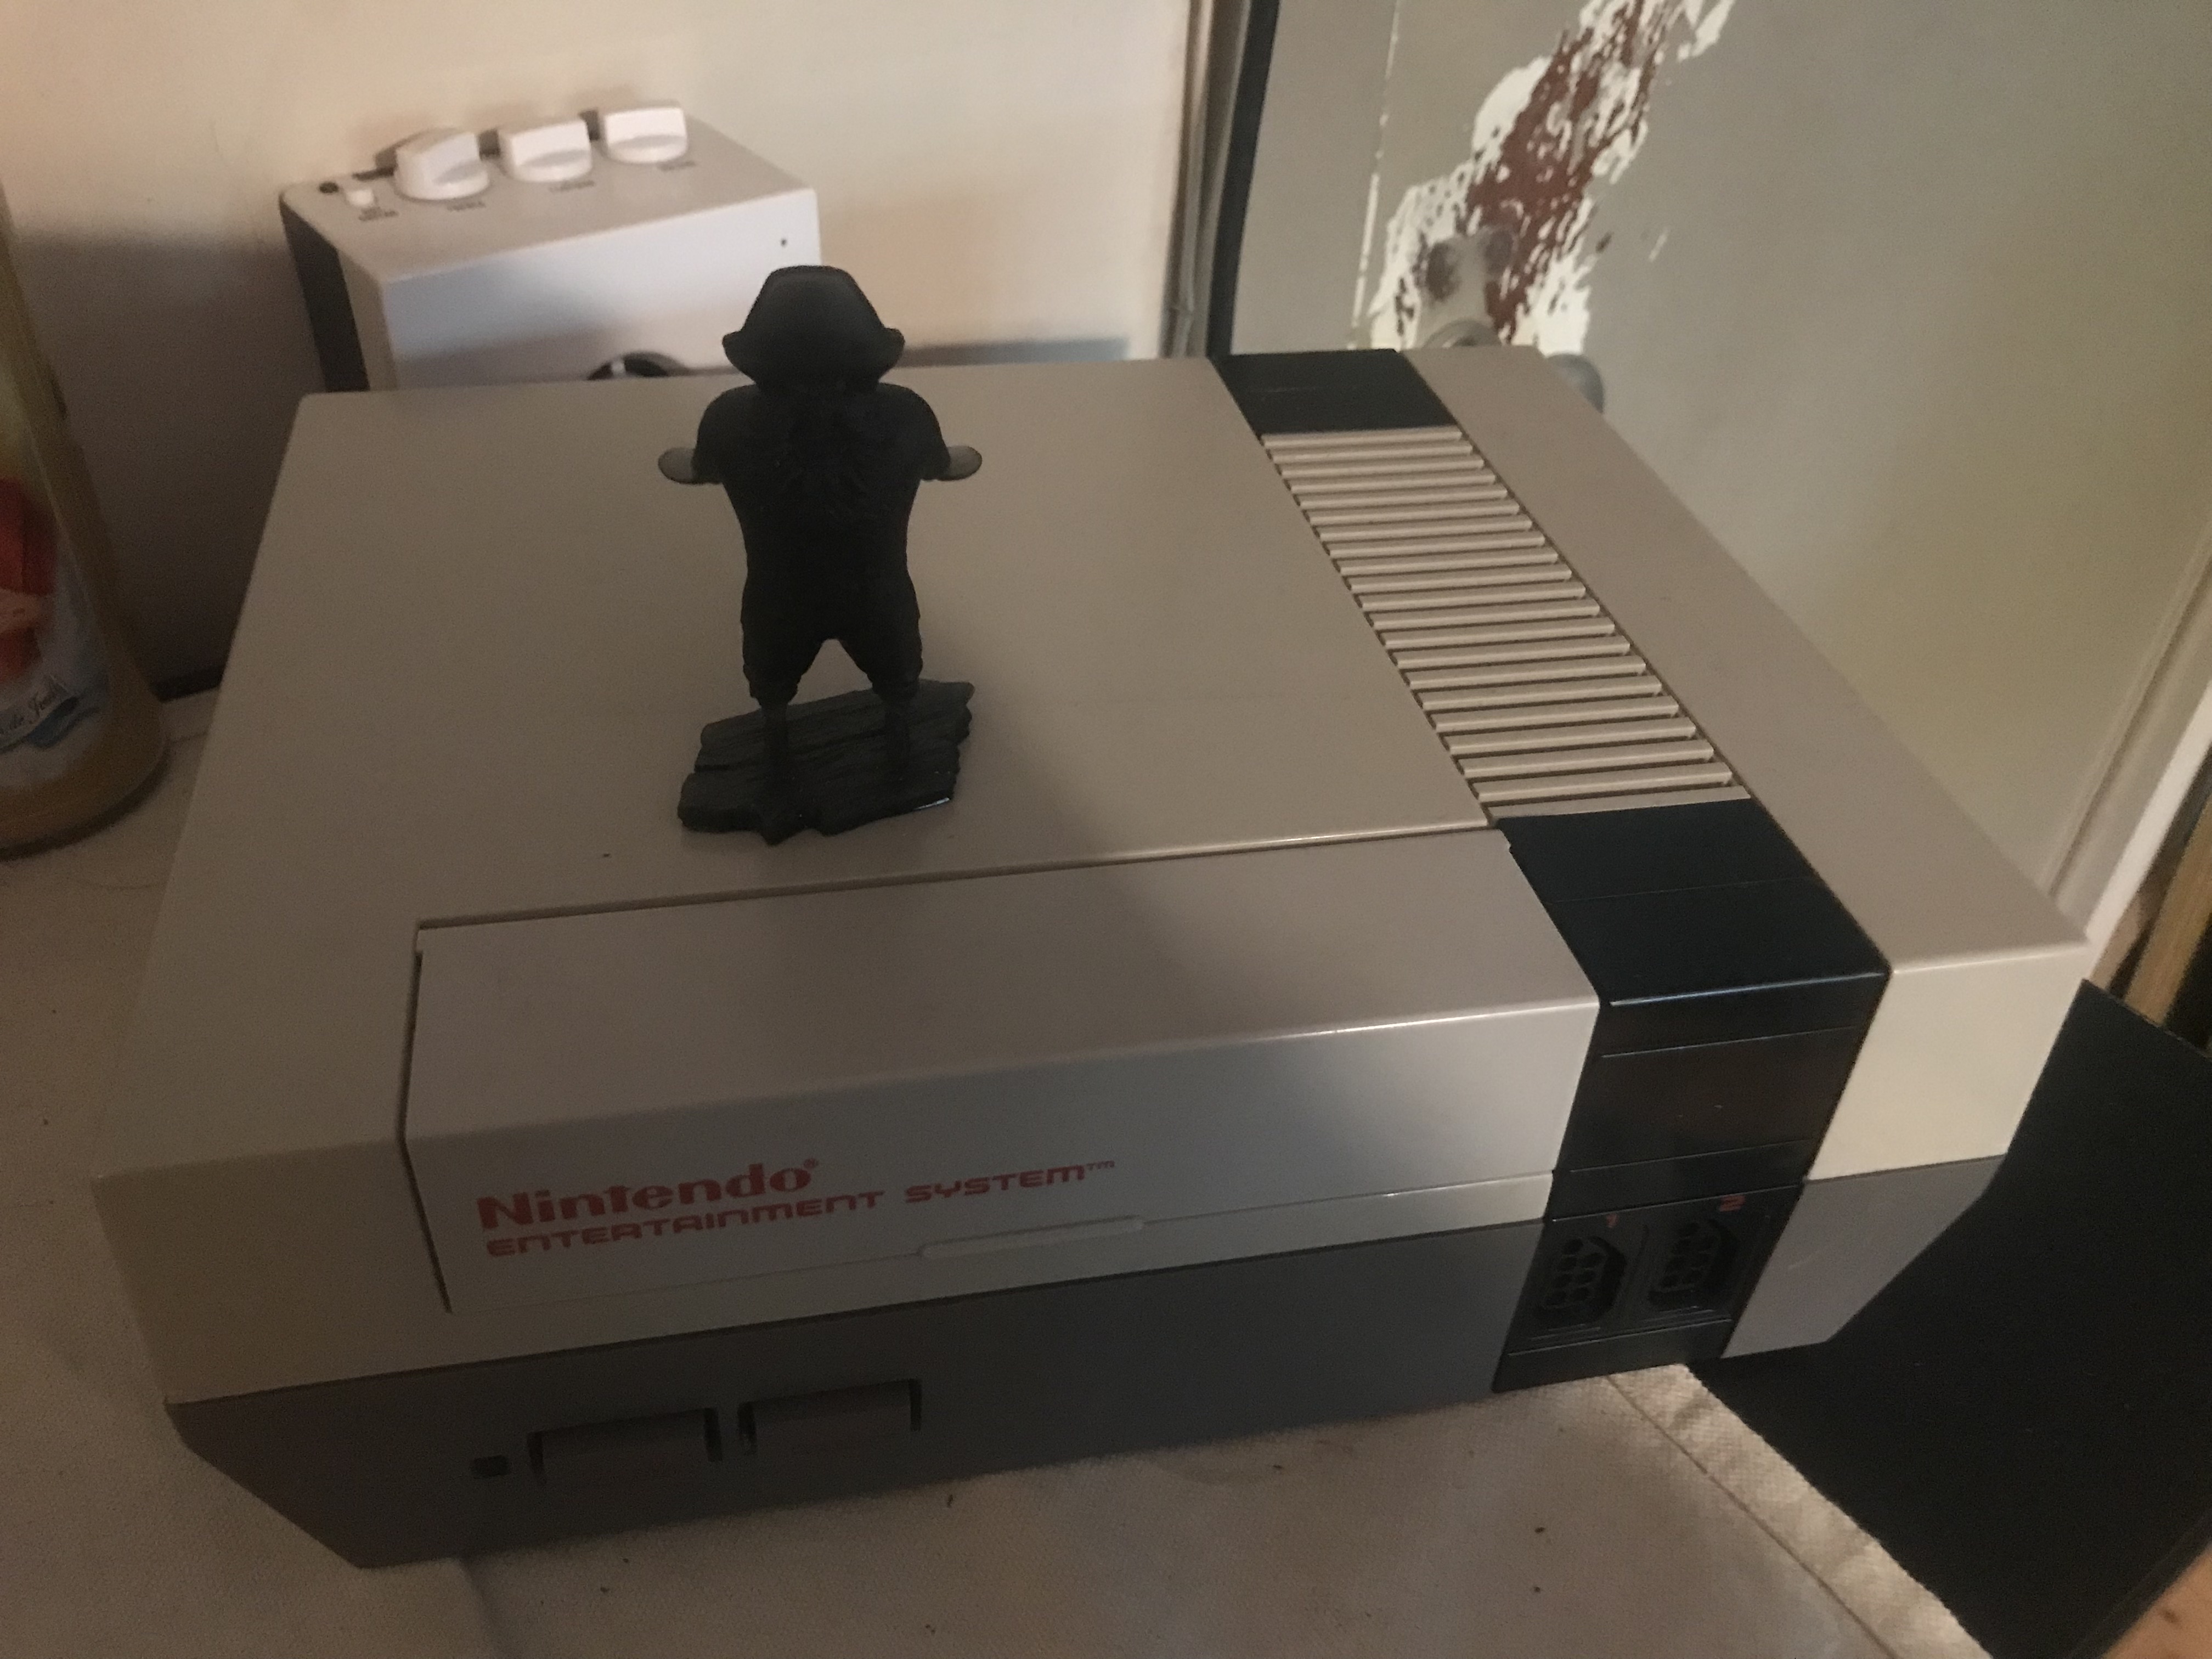
New weekend project that I made:
Last year I a got a NES case of a co-worker, I did’t know what to do with it, until now…

Empty case, only the top and bottom and the buttons. perfect for a Raspberry pi project….
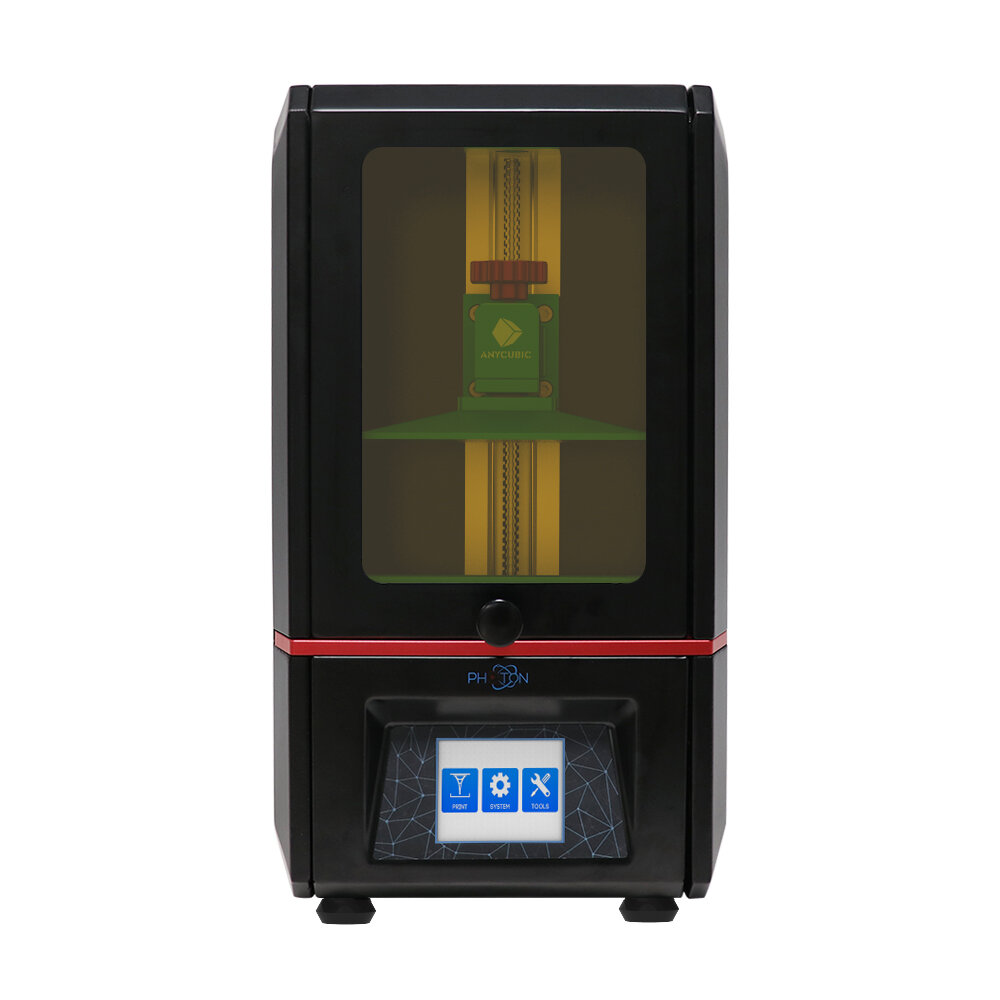
The last weekend I started printing heavy on my Anycubric Photon.
And it felt if i was making Amiibo’s

After seeing the second picture above I got inspired to make a new RetroPie console.
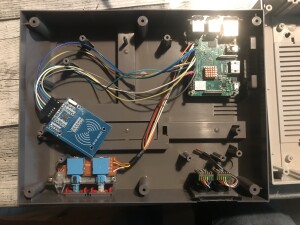
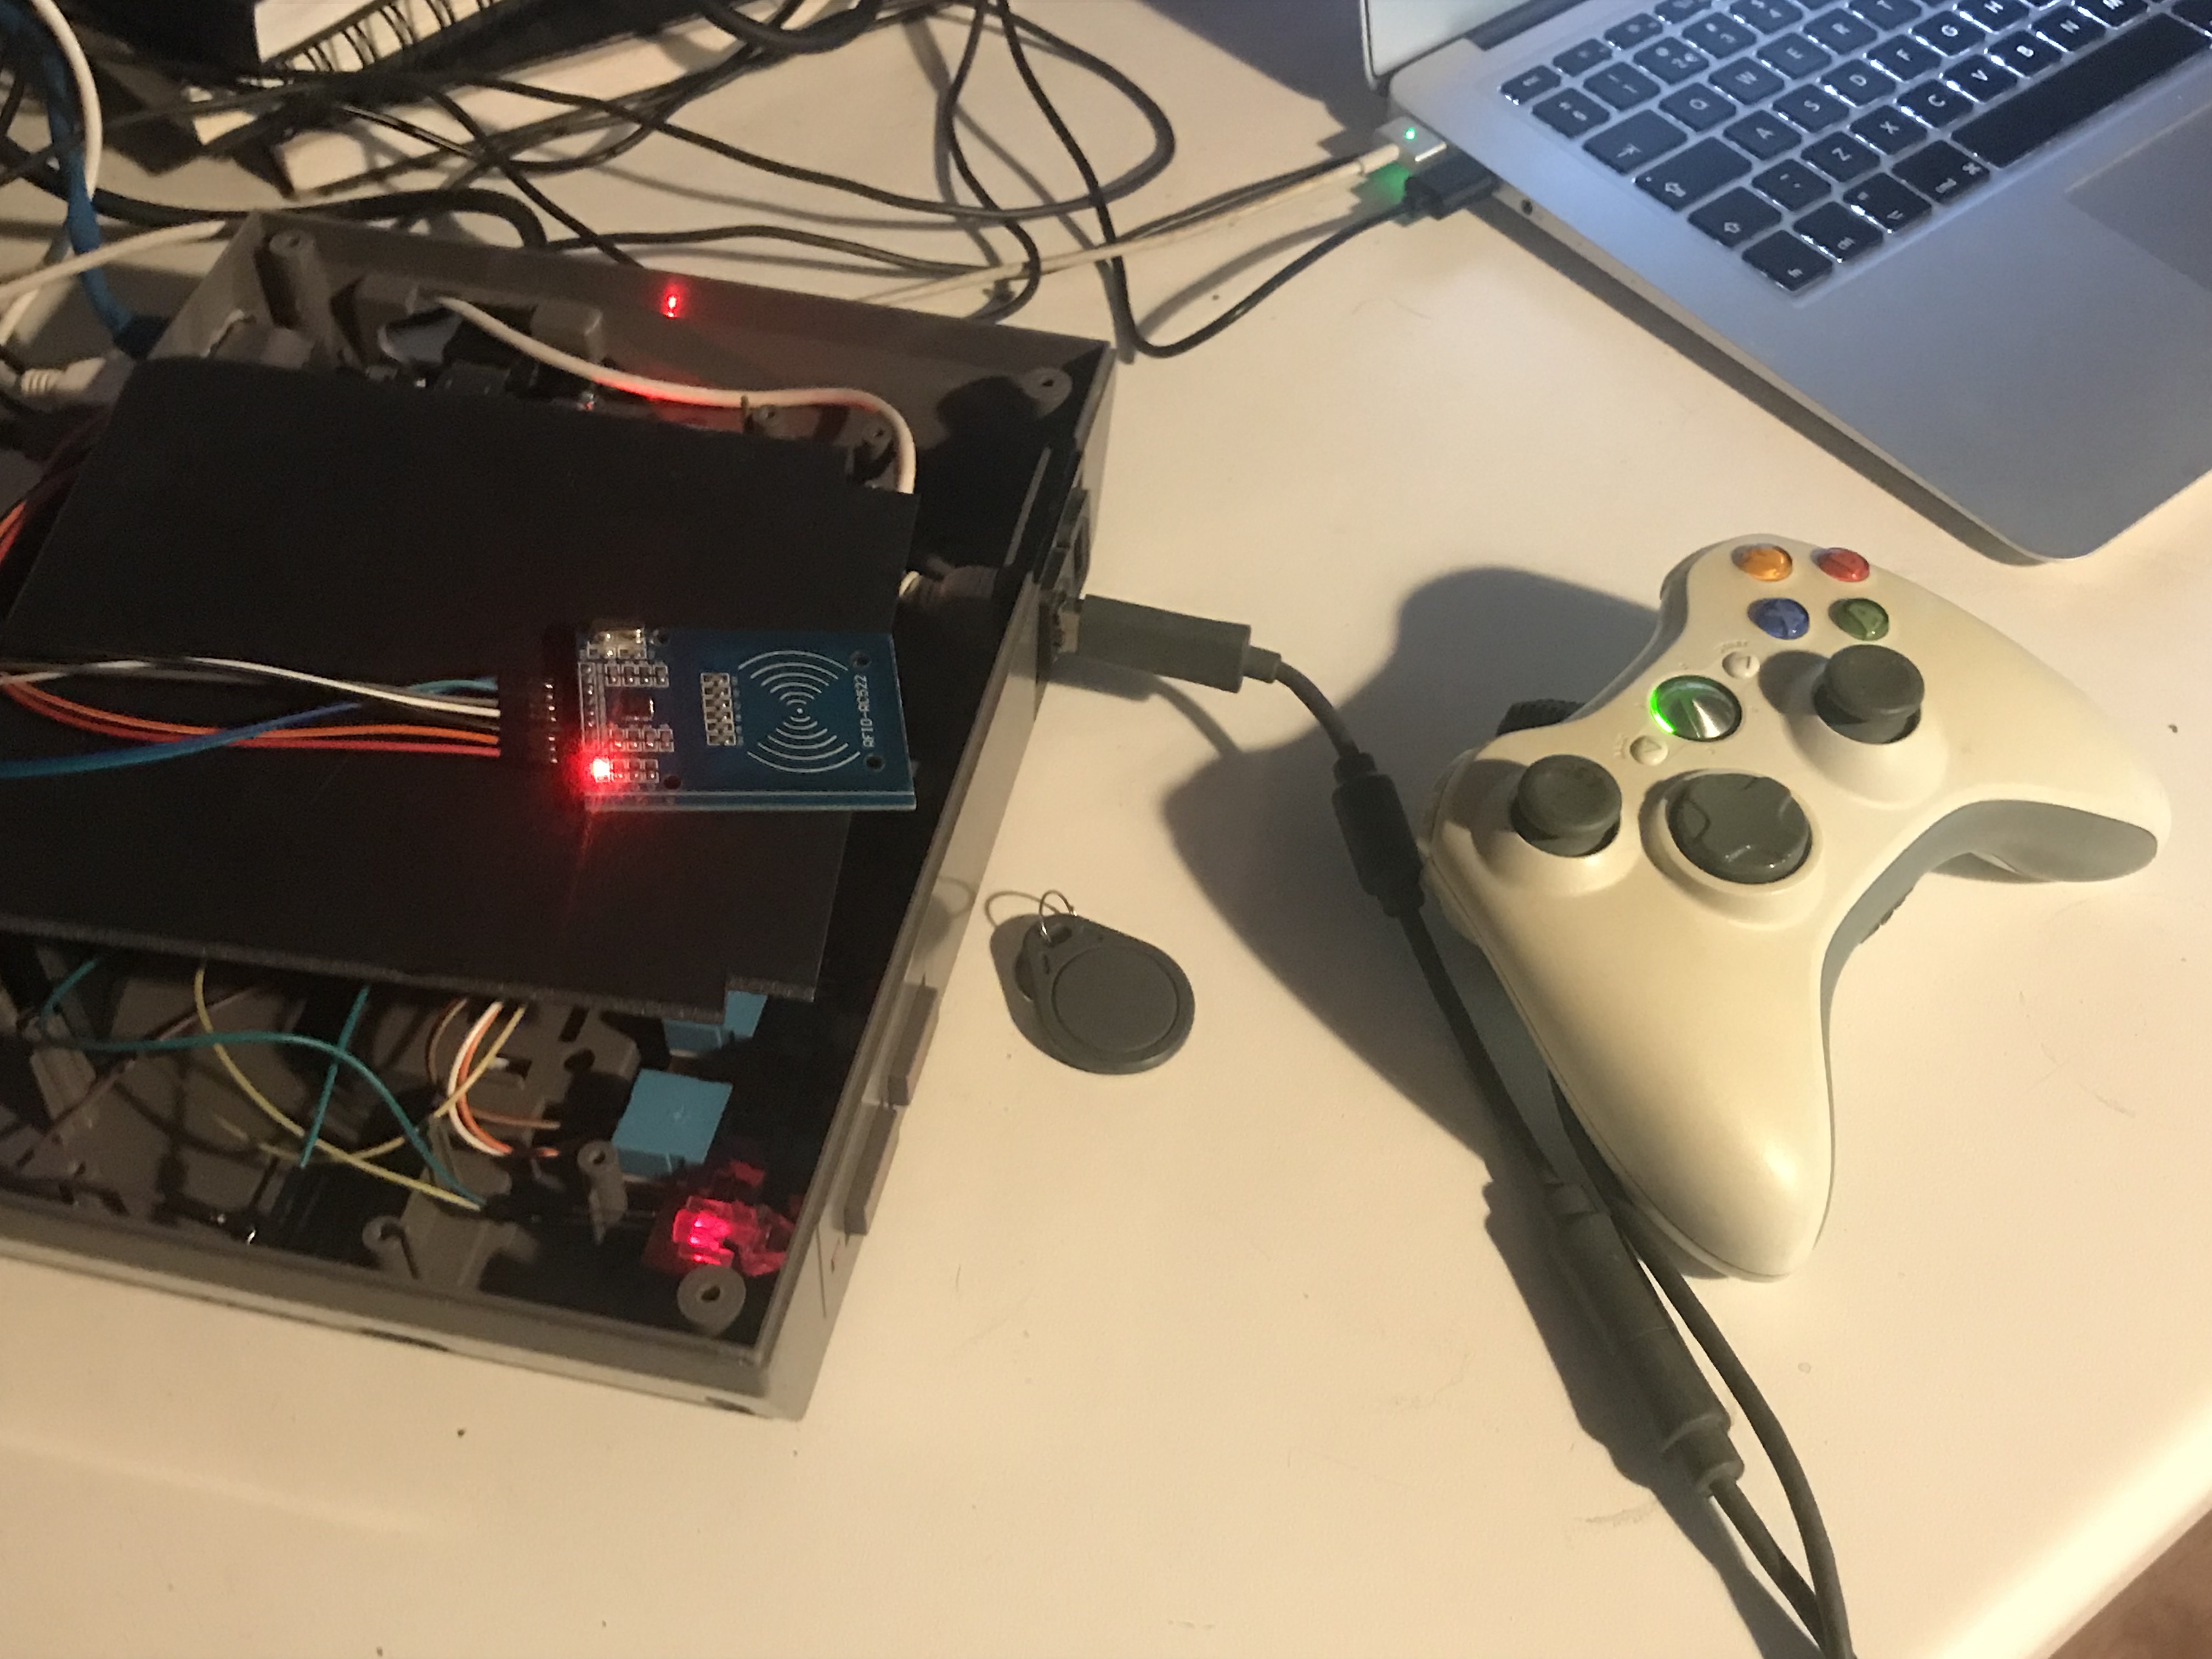
Needed to be RFID and controller…
Left the NES case and the semi setup Right a working setup only no working code at that point.
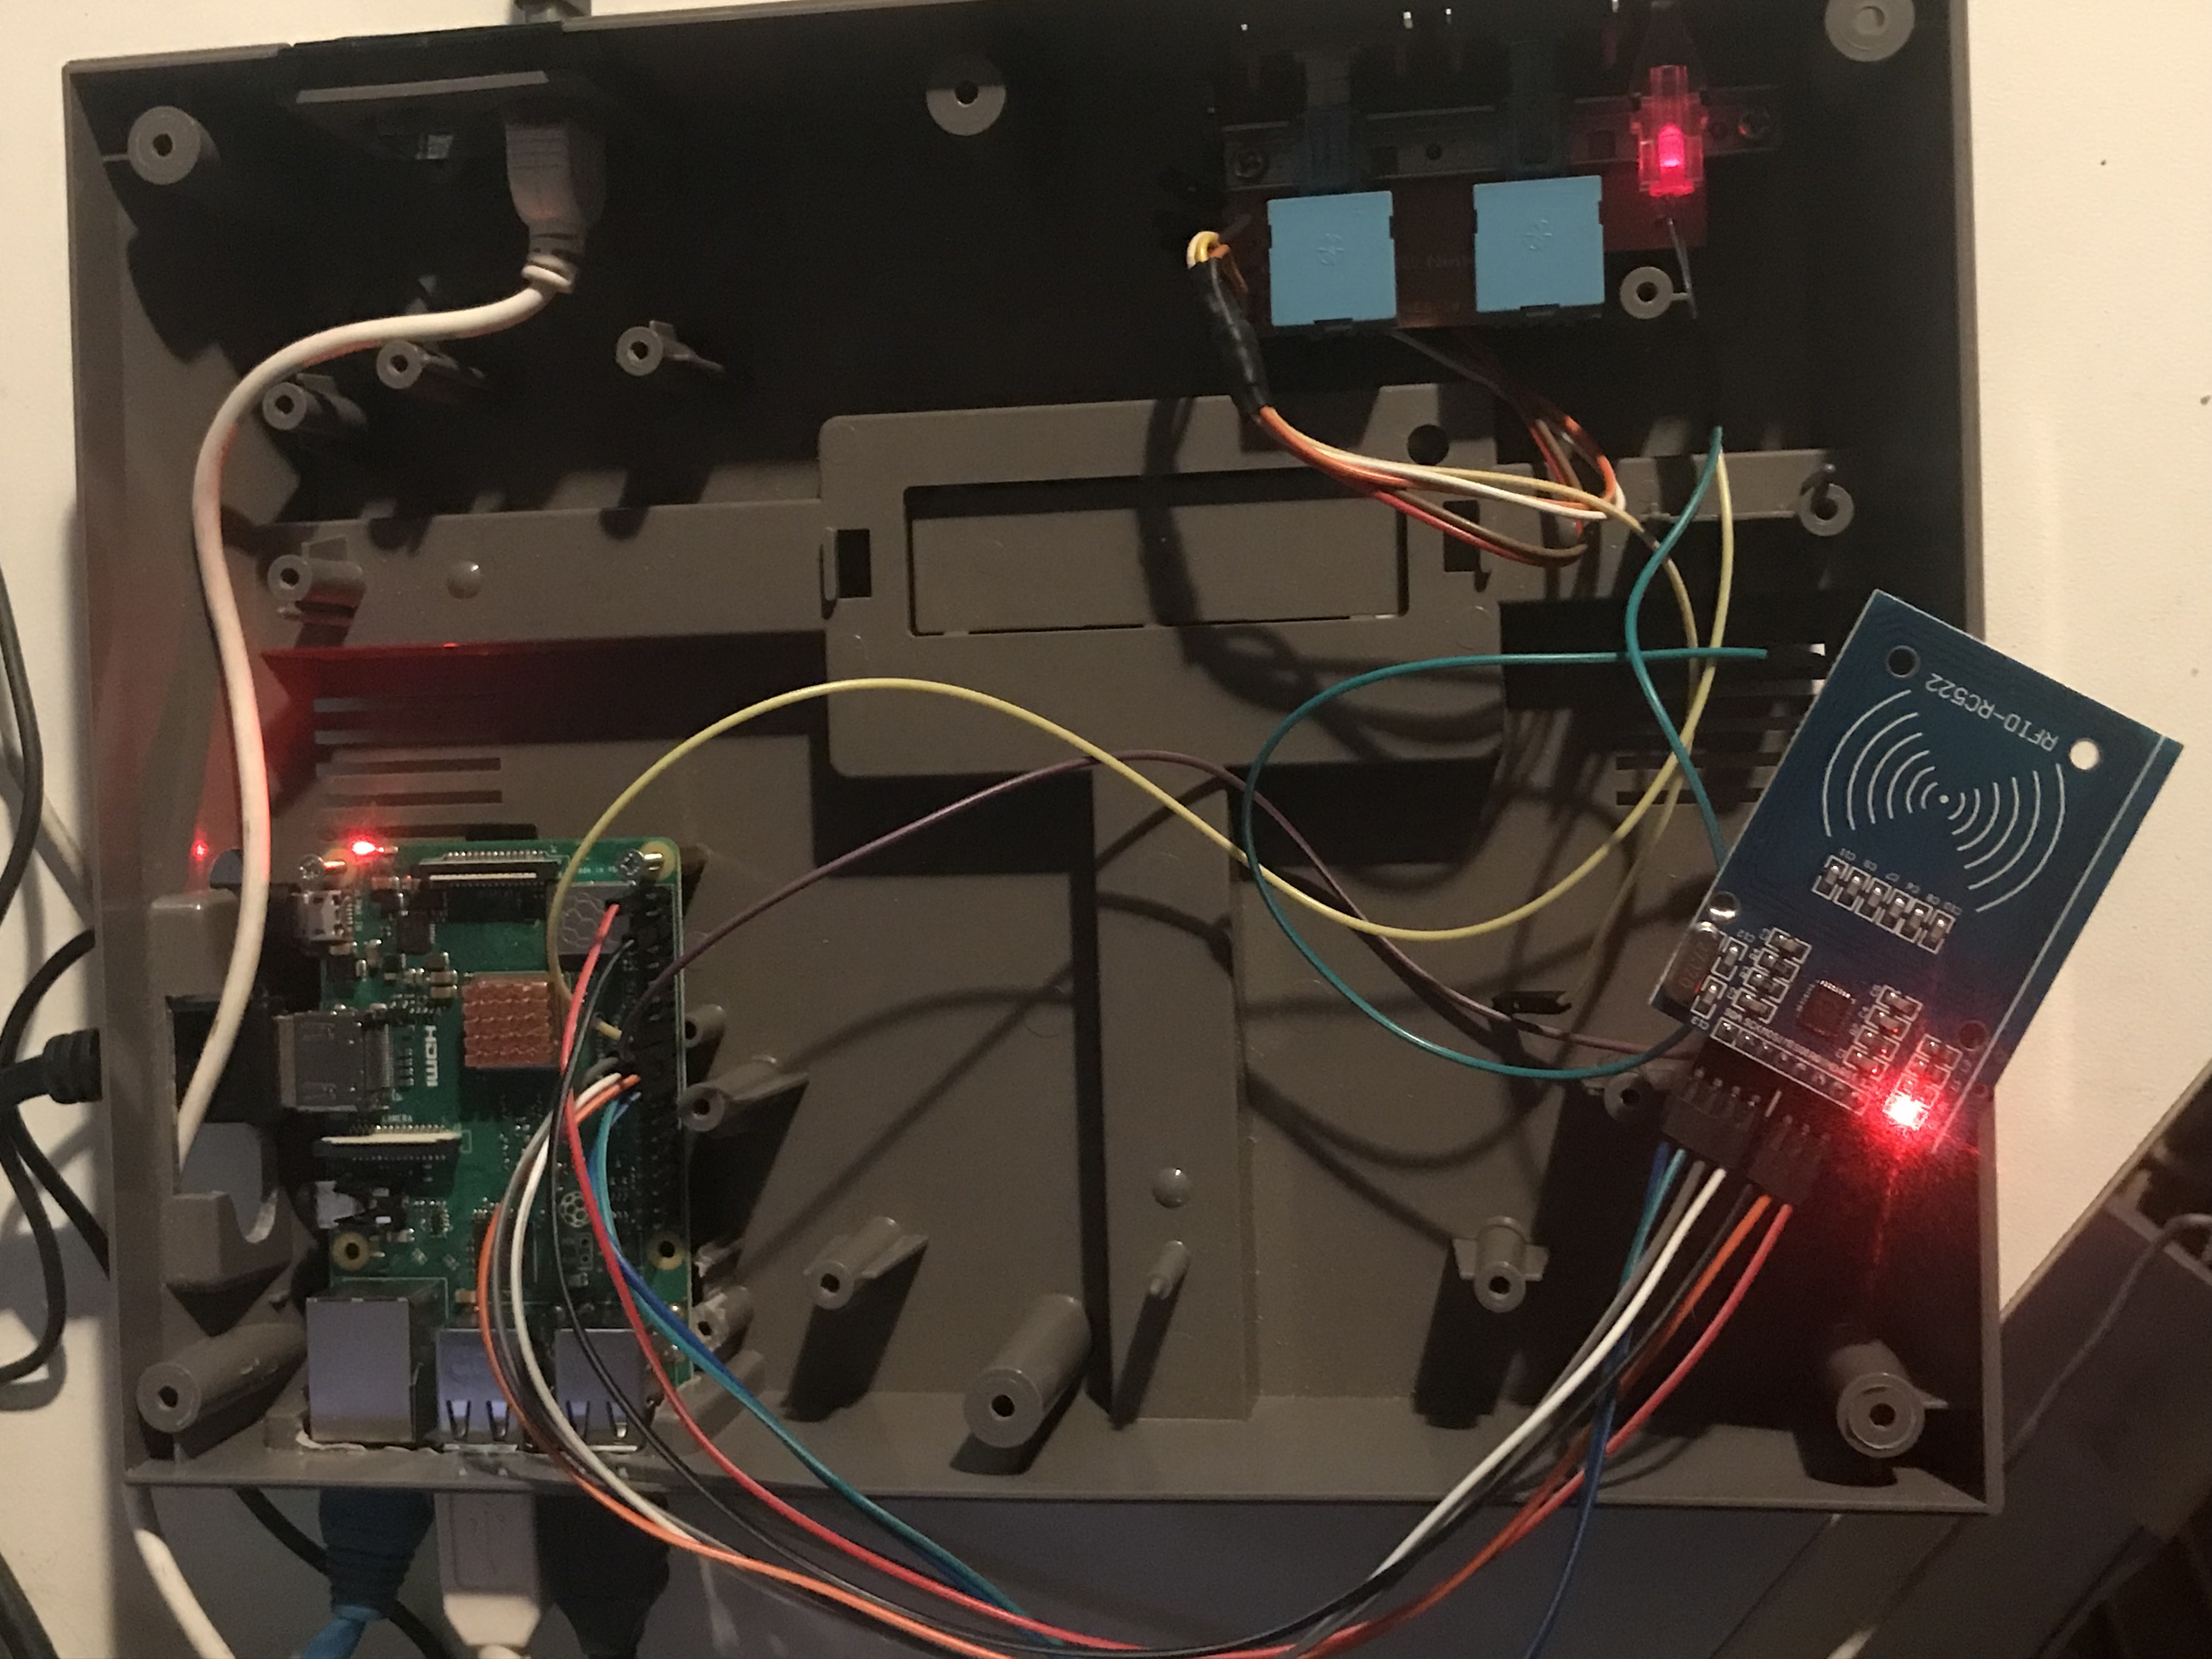
Even the RFID would’t read the cards because of the SPI-PY its sort of broken.
How to connect?
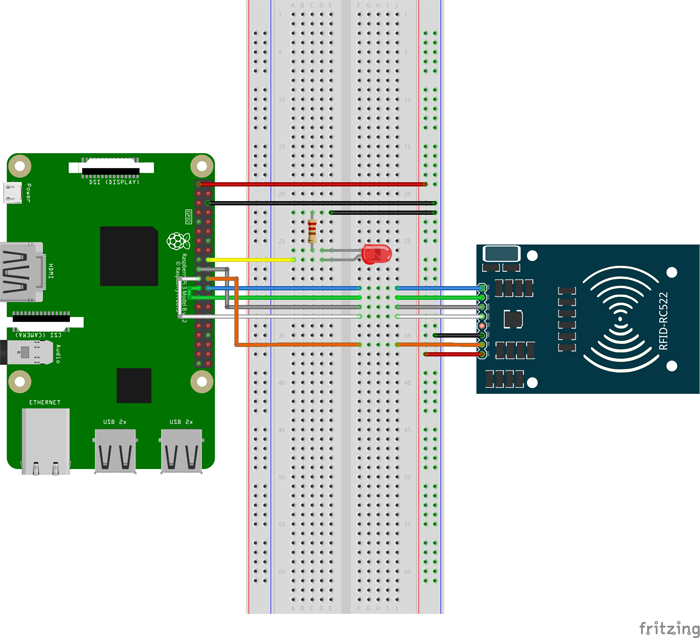
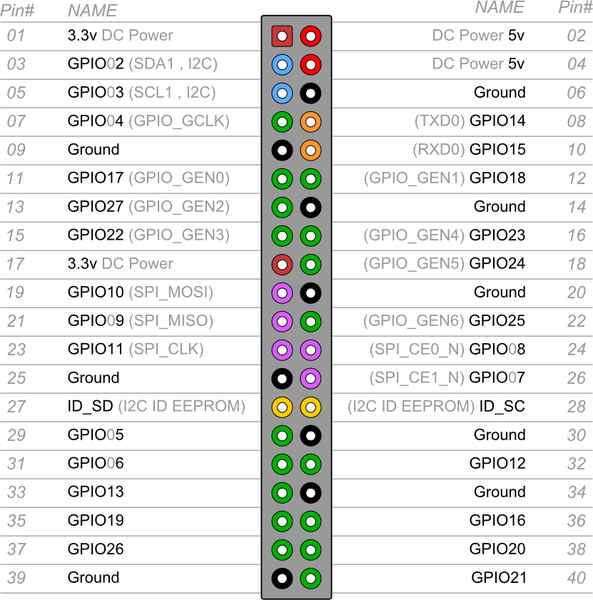
First install SPI-PY (git clone https://github.com/lthiery/SPI-Py.git) then rolle back:
git clone https://github.com/lthiery/SPI-Py.git

git checkout 8cce26b9ee6e69eb041e9d5665944b88688fca68

sudo python setup.py install
If you do that! Then and only then, you can get the RFID-RC533 working under latest Jessy or RetroPie latest build.
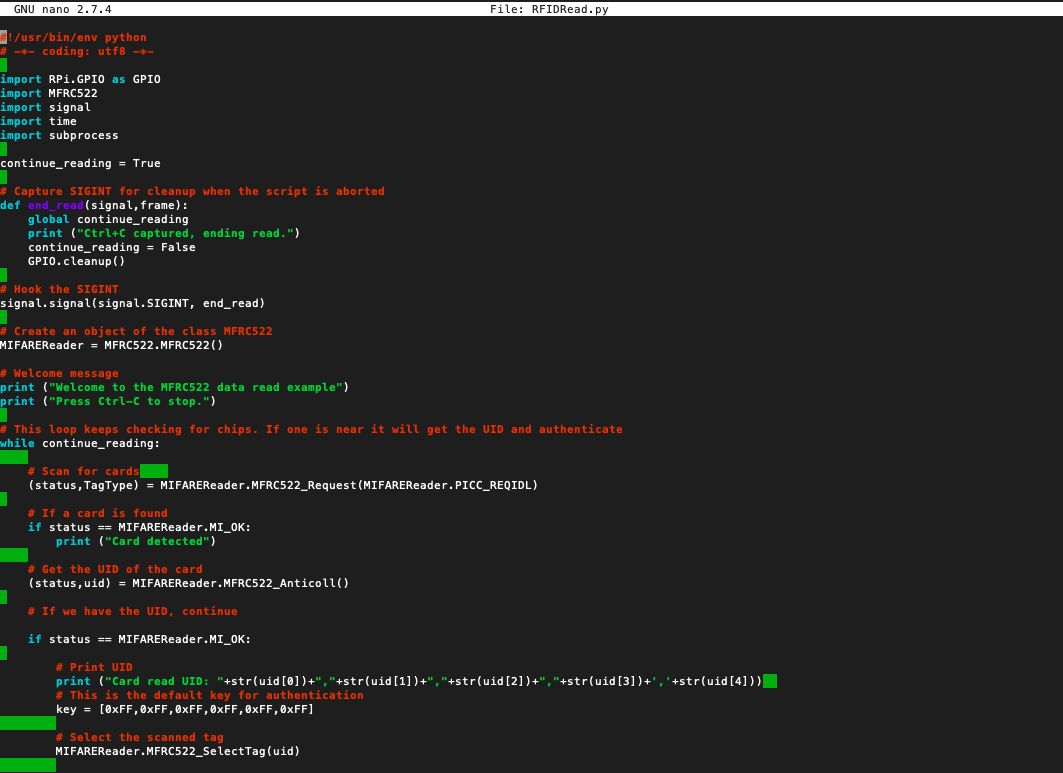
Then you can install the MFRC522 Library and start reading some card data.
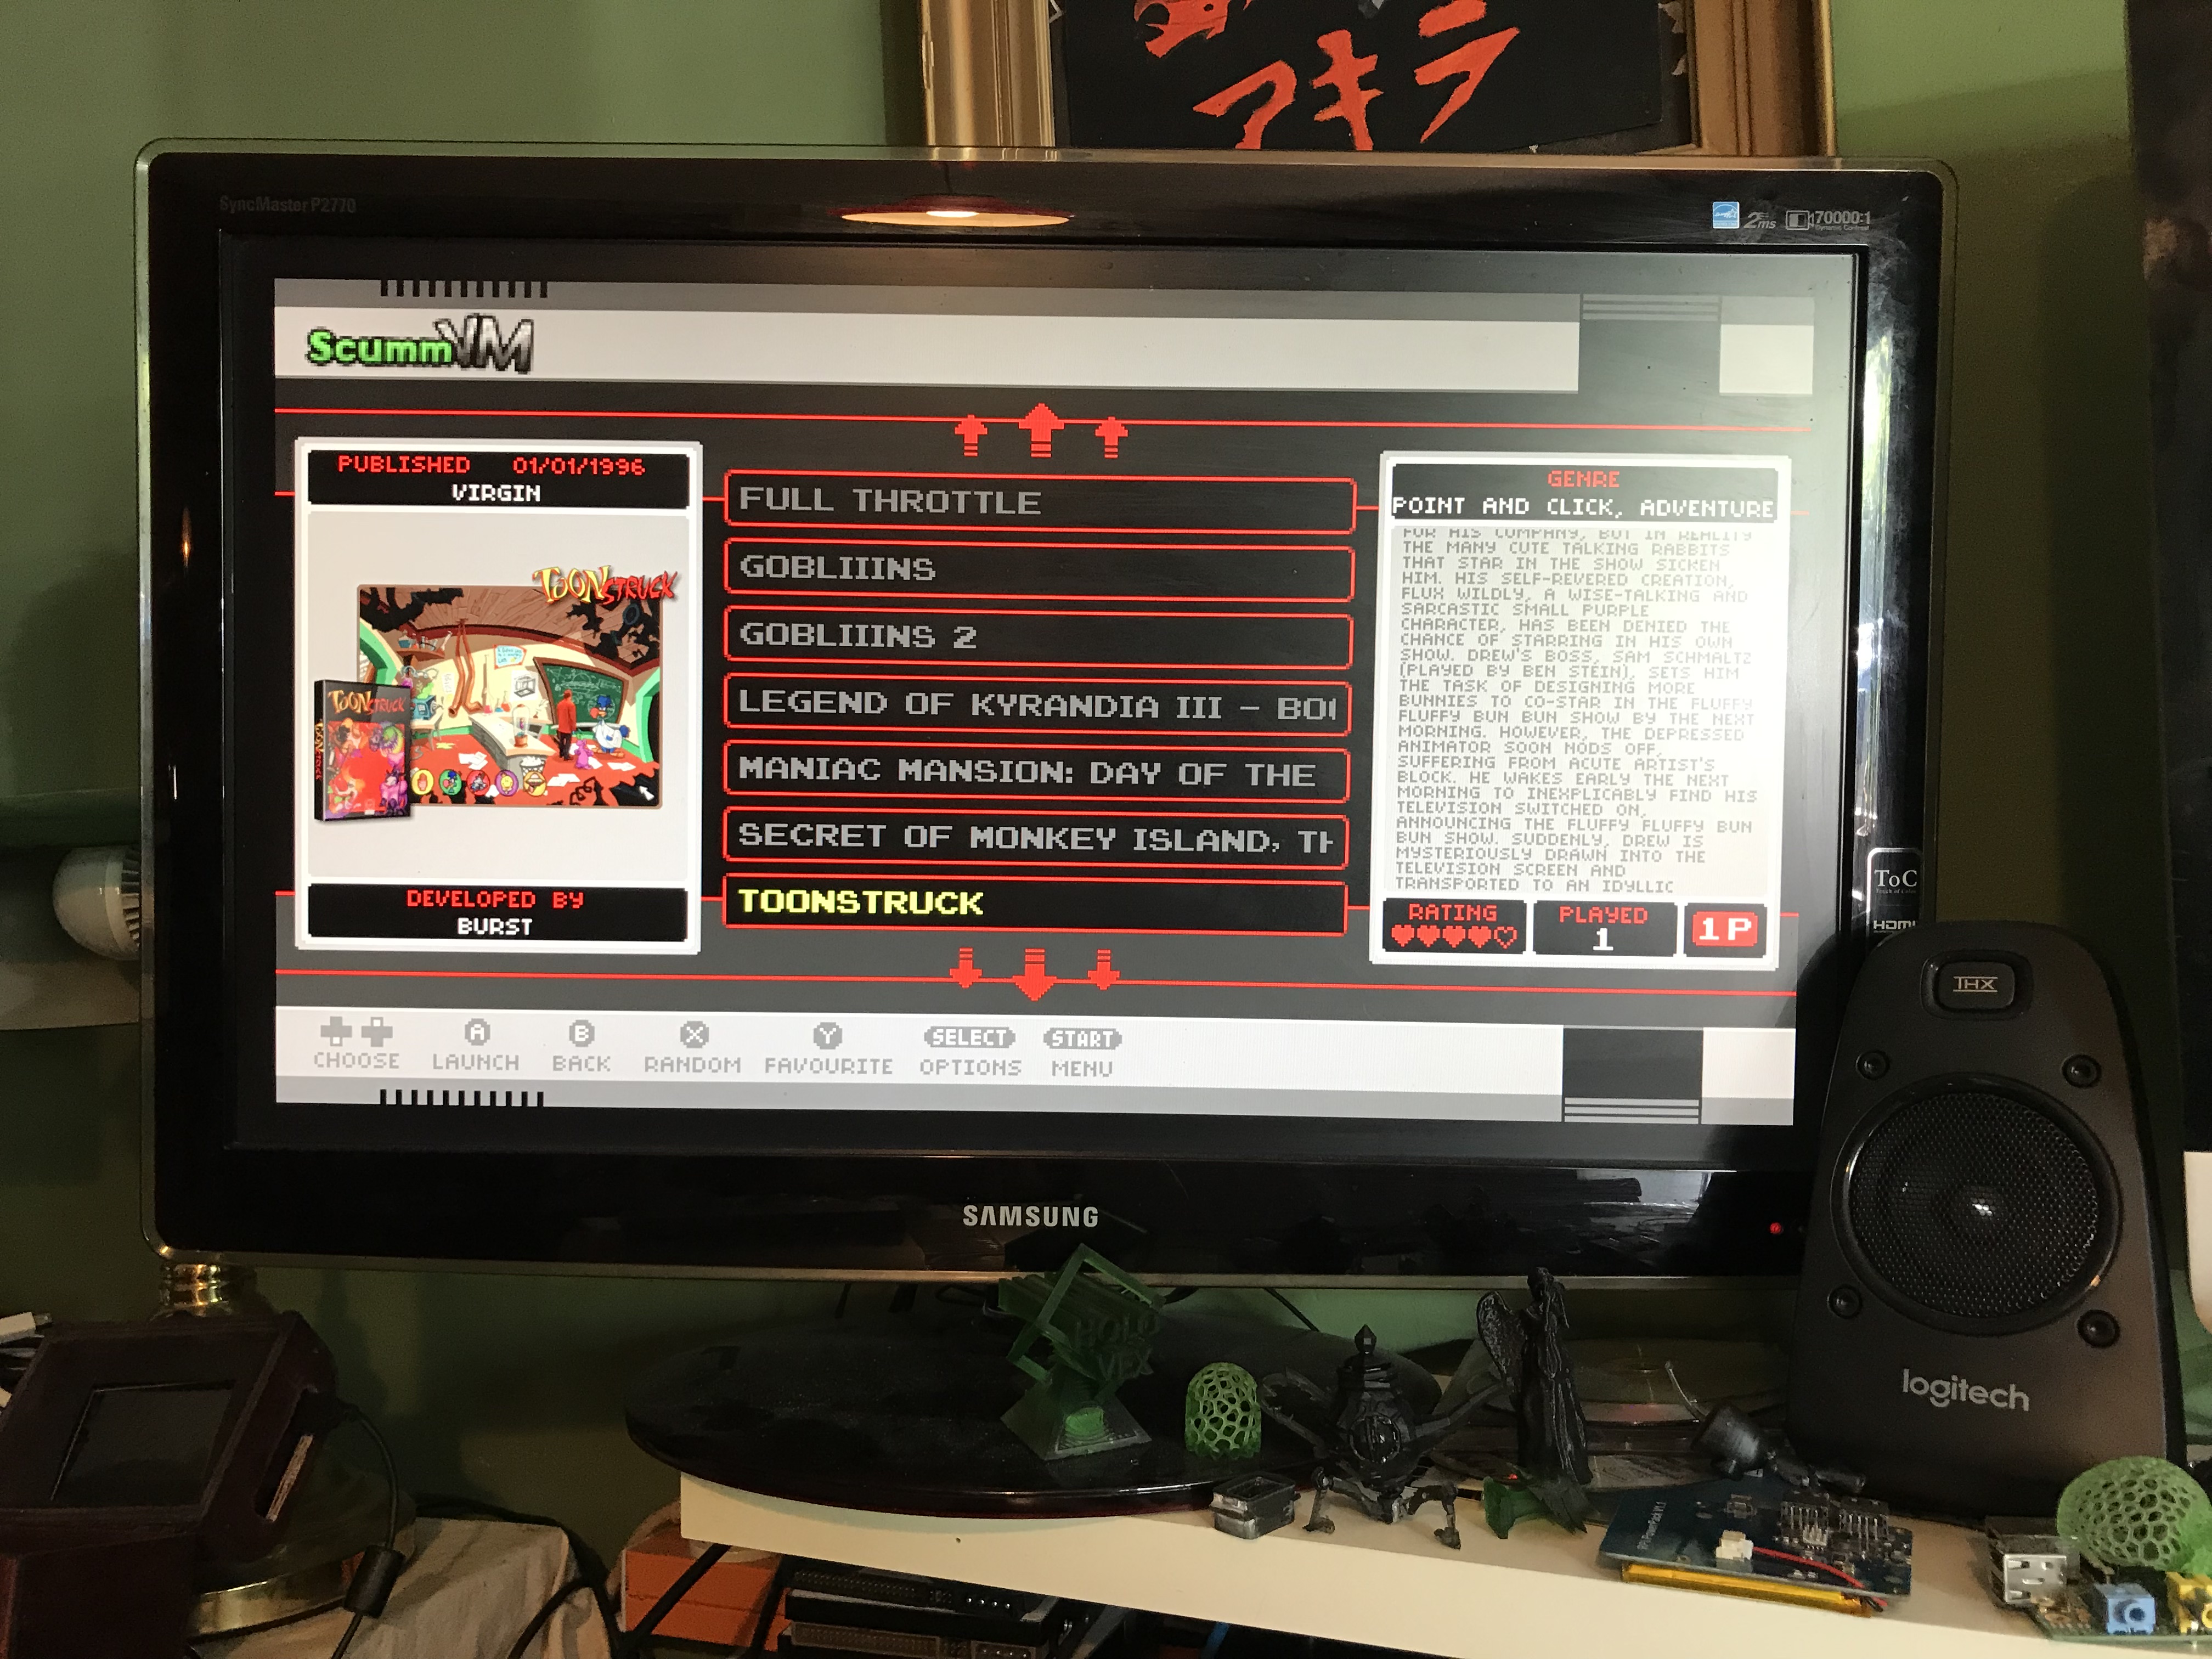
To get it working the way I wanted was a pain in the @ss. There is some info on runcommand:
/opt/retropie/supplementary/runcommand/runcommand.sh','0', '_SYS_', 'gb', '/home/pi/RetroPie/roms/gb/Tetris (JUE) (V1.0) [!].gb'But no info on Scummvm and i wanted to launch Monkey Island 1 SE talkie version I made back in the day.
When the Talkie Mod came out.. Been looking for a console that could play those 2 new Talkie versions.
And ScummVM is vers 2.0 on Raspberry so it would work.
Here is a Video showing off how it works and change between Monkey Island and EmulationStation.
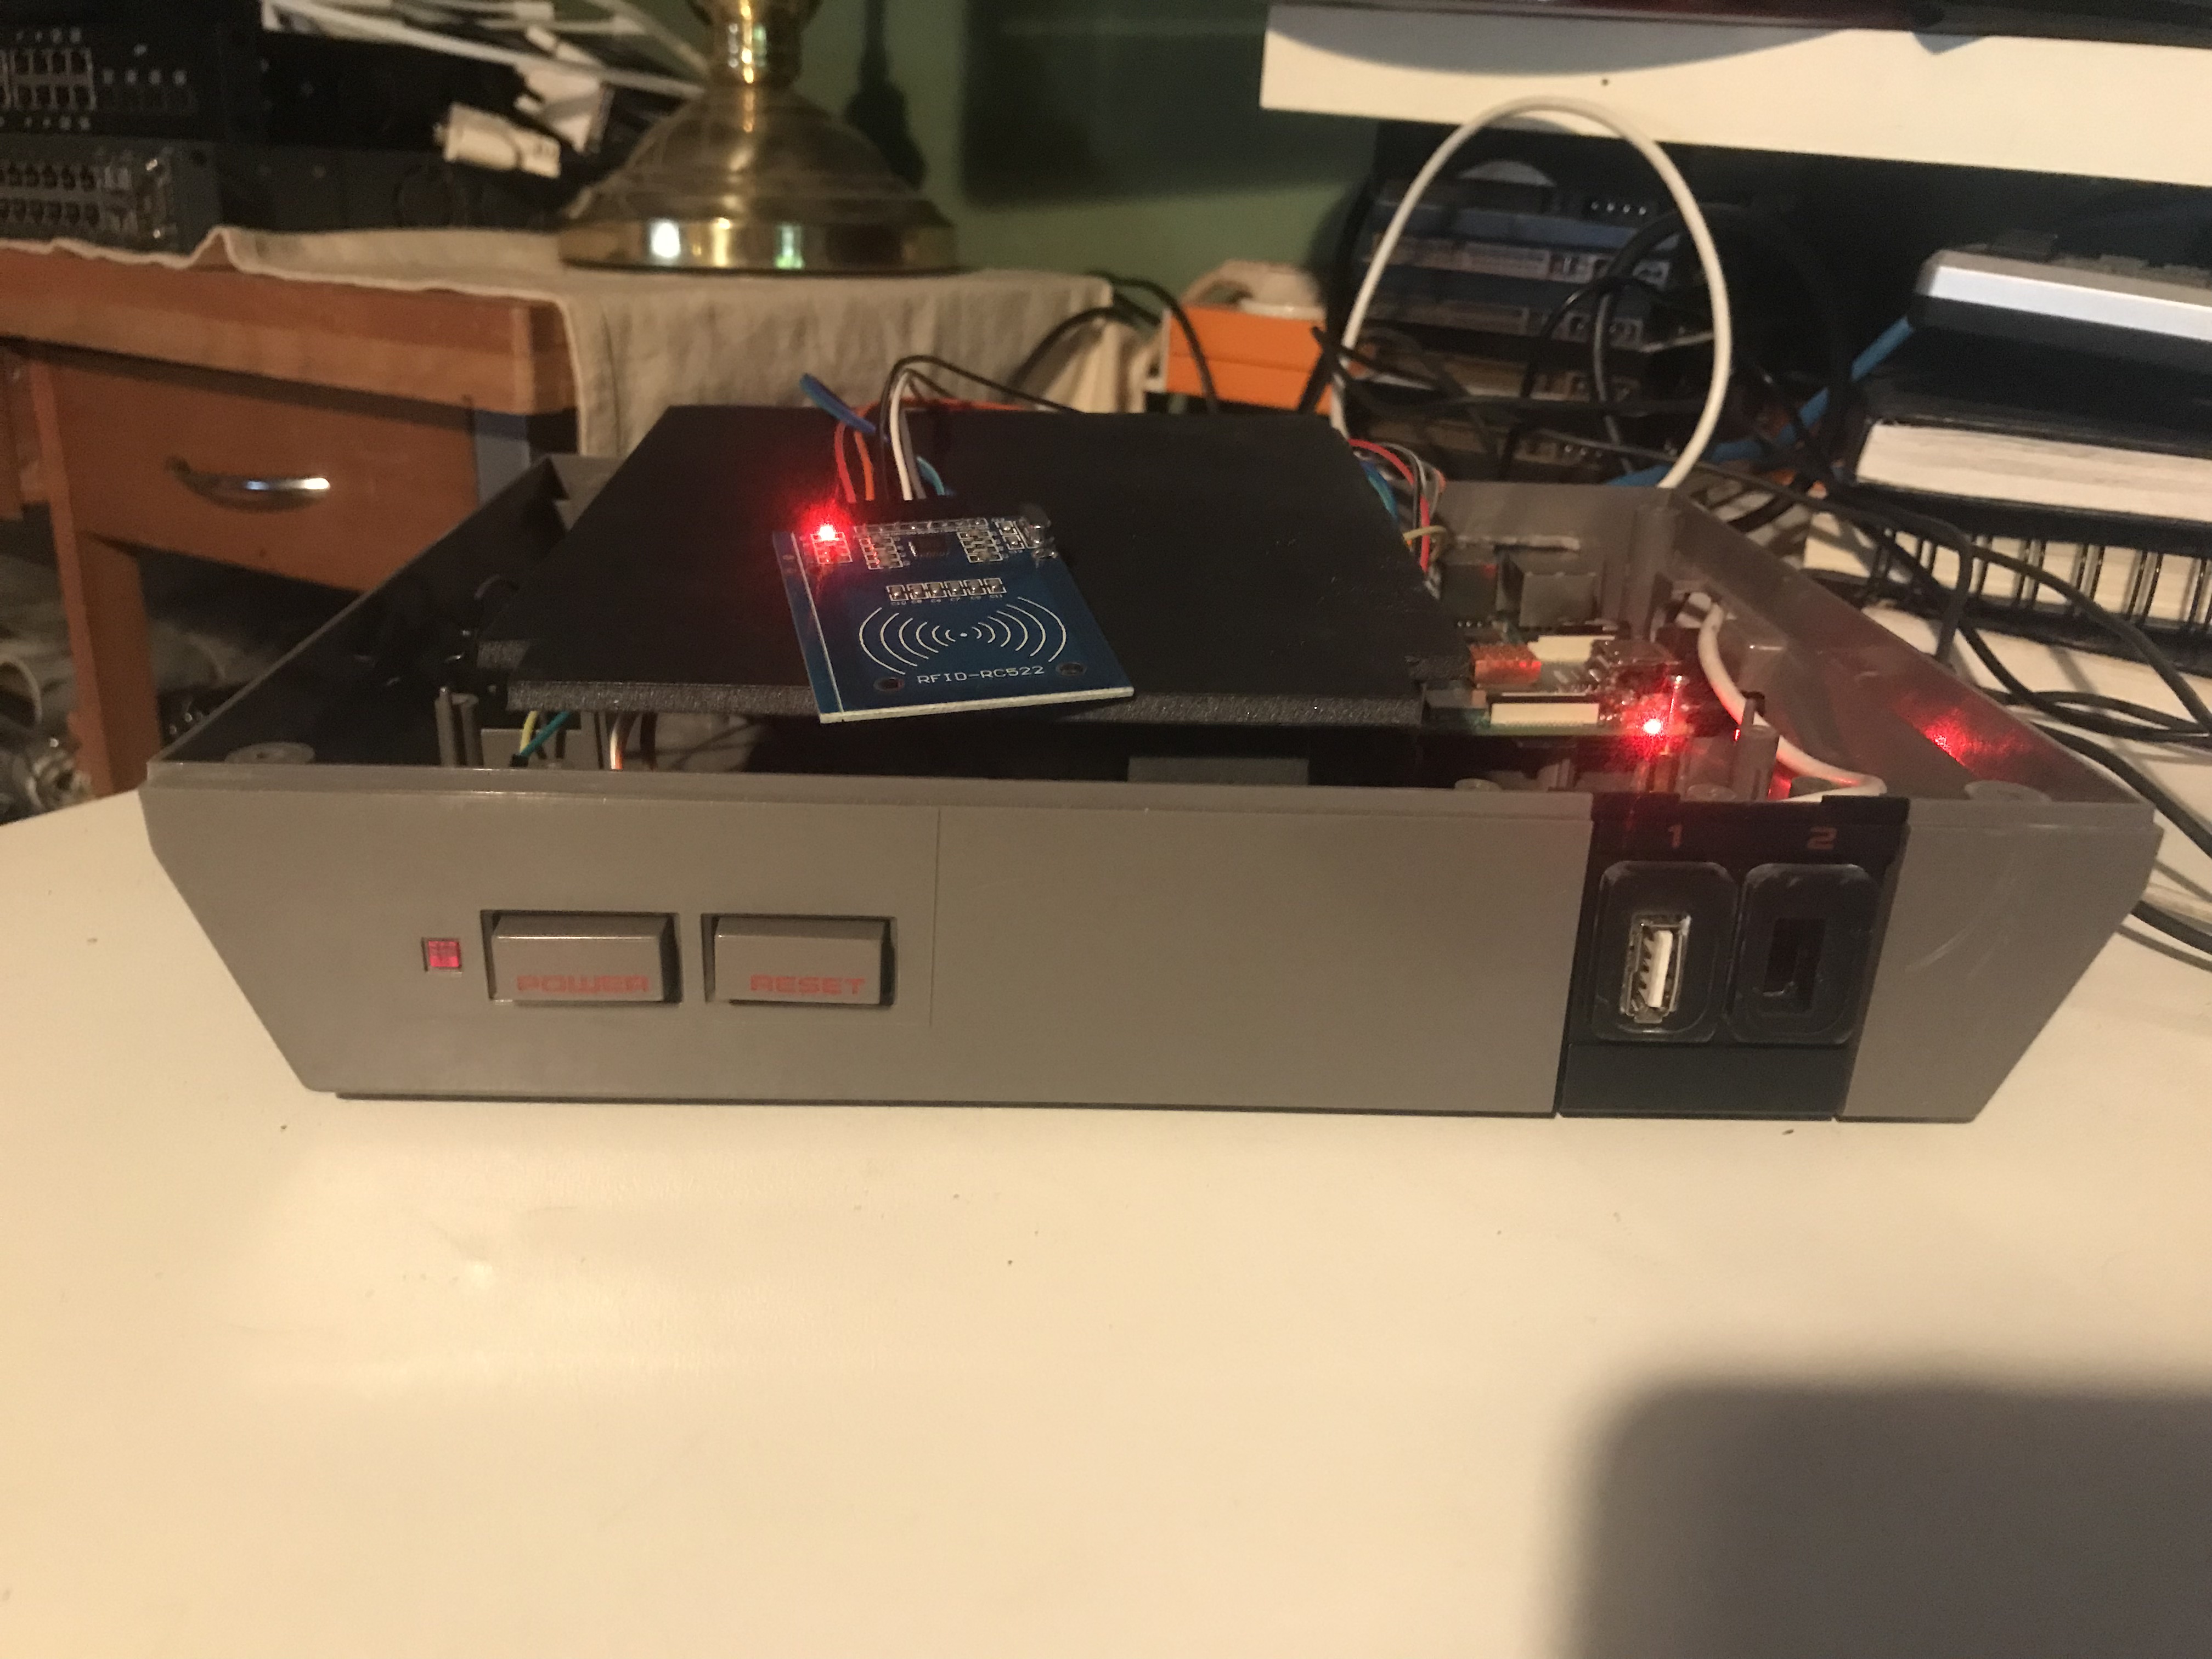
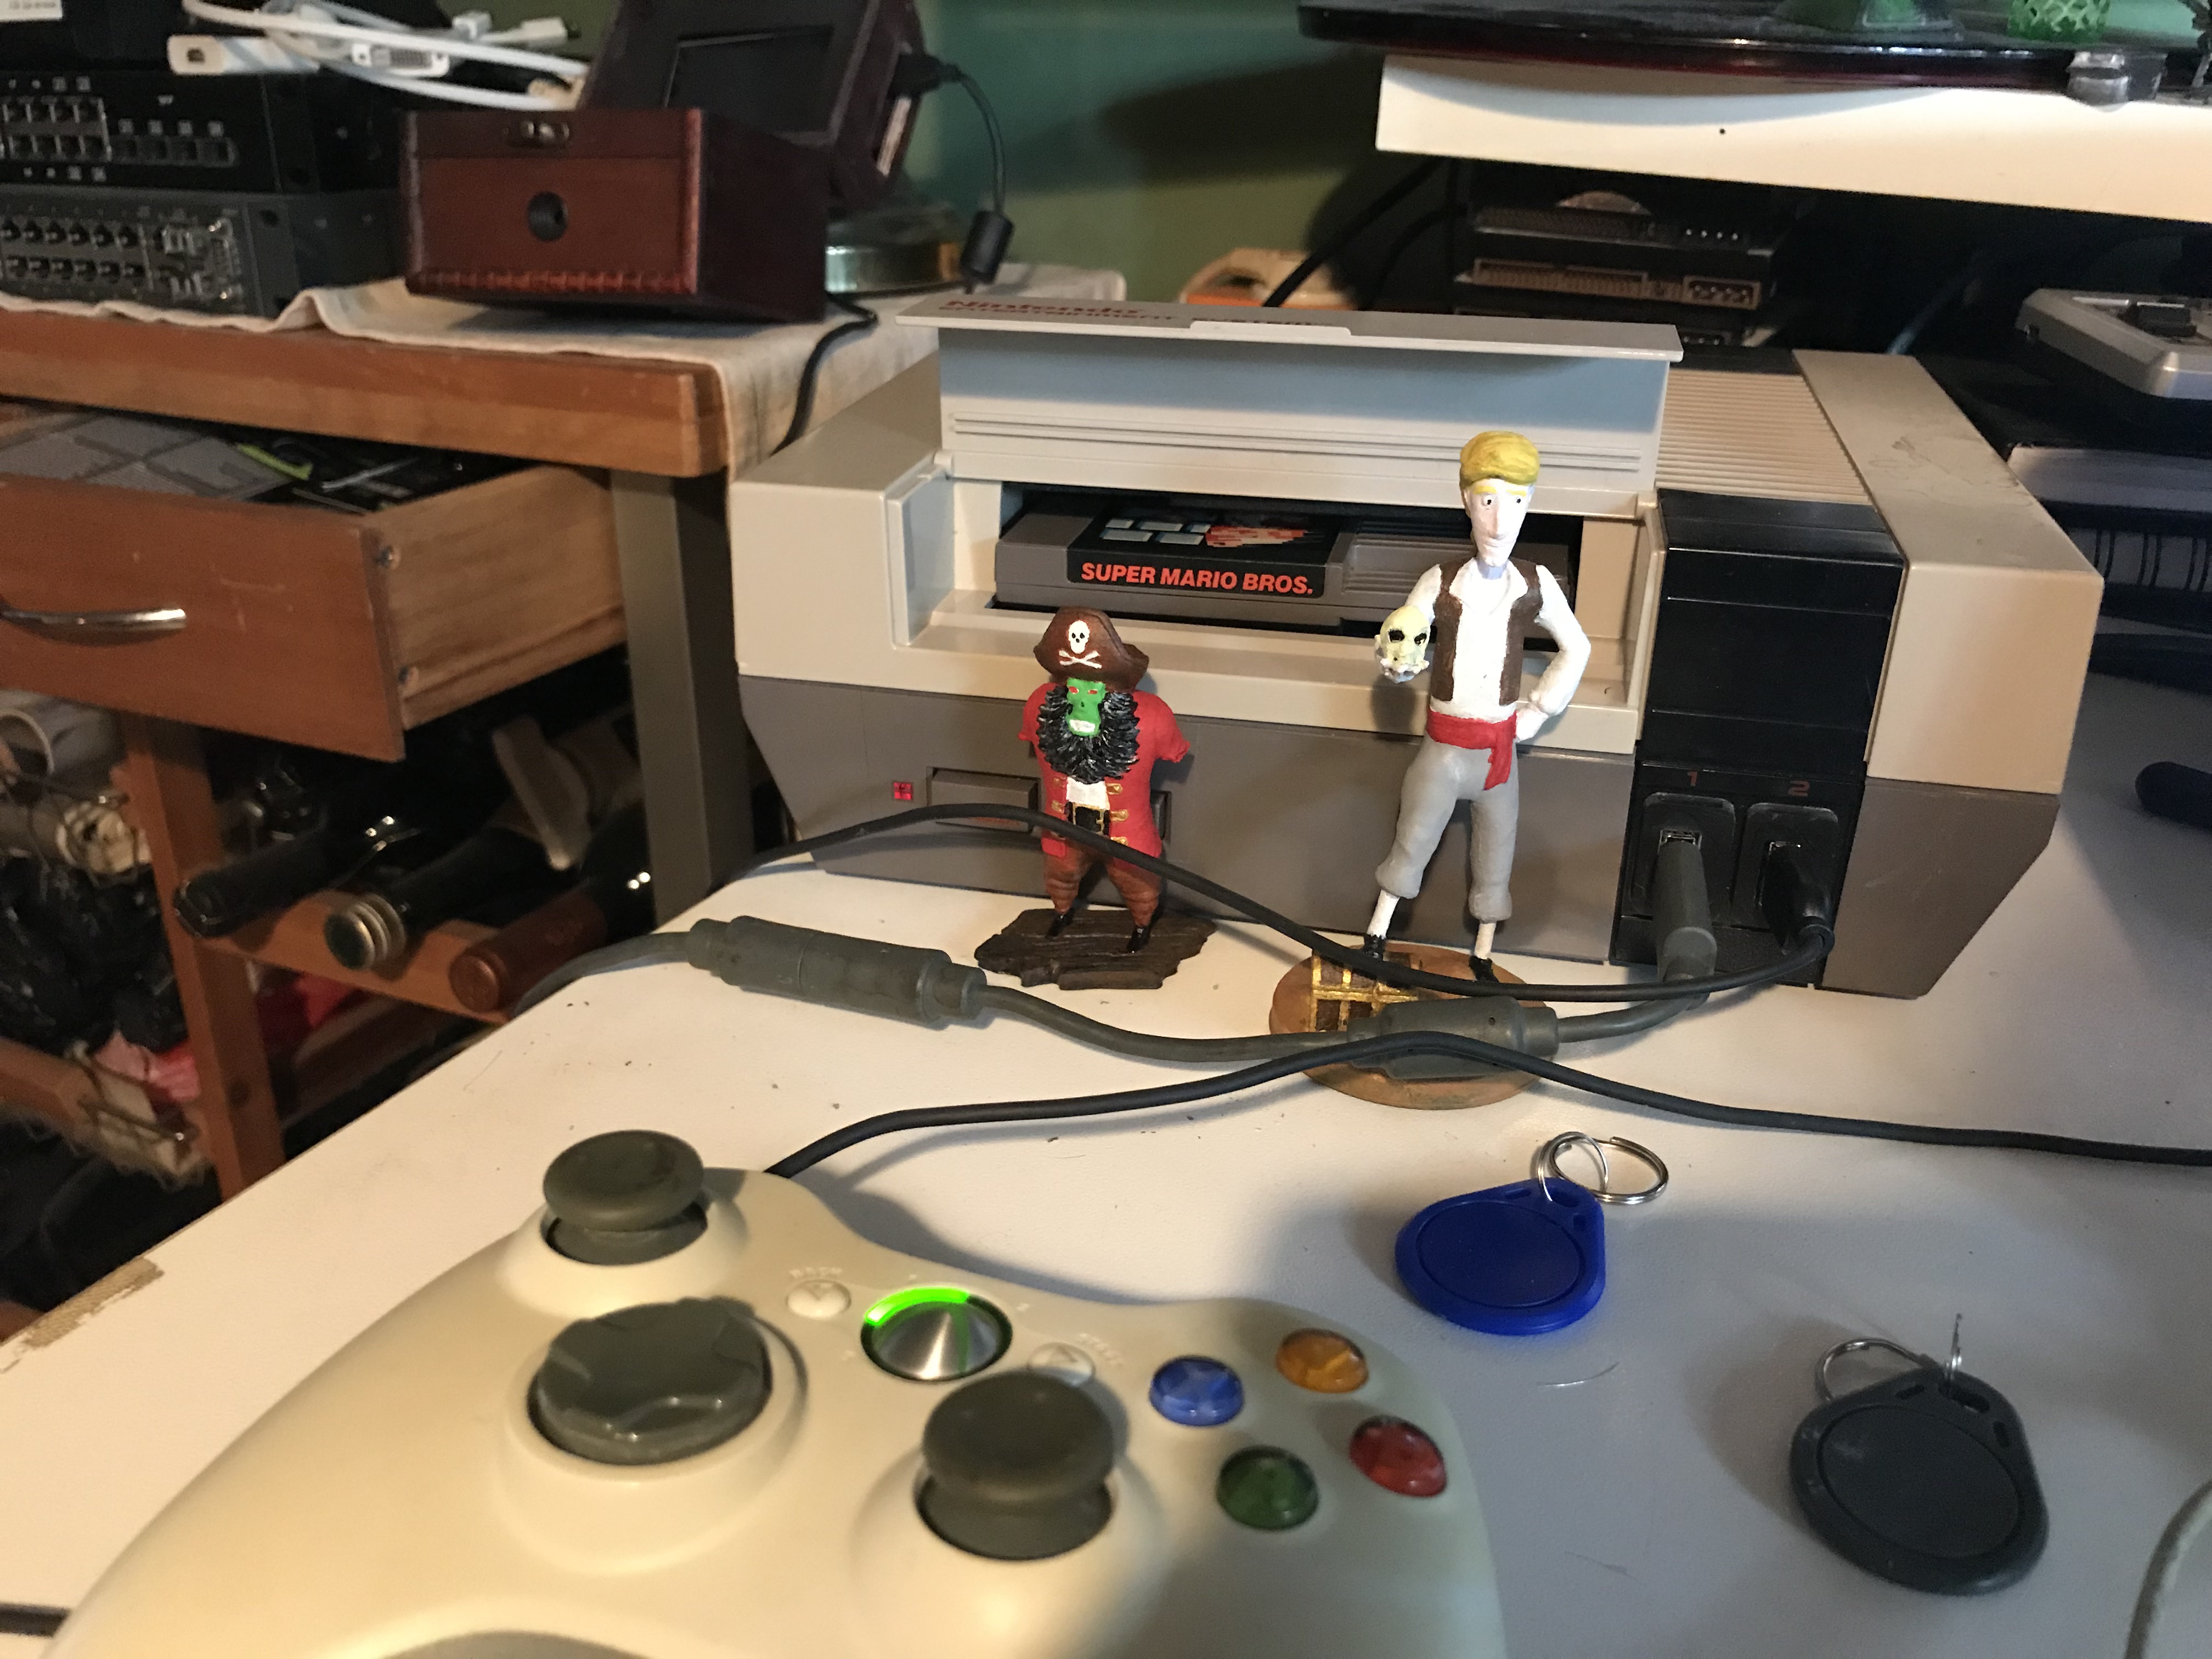
More detailed view of how it works: Look at the LED LOL
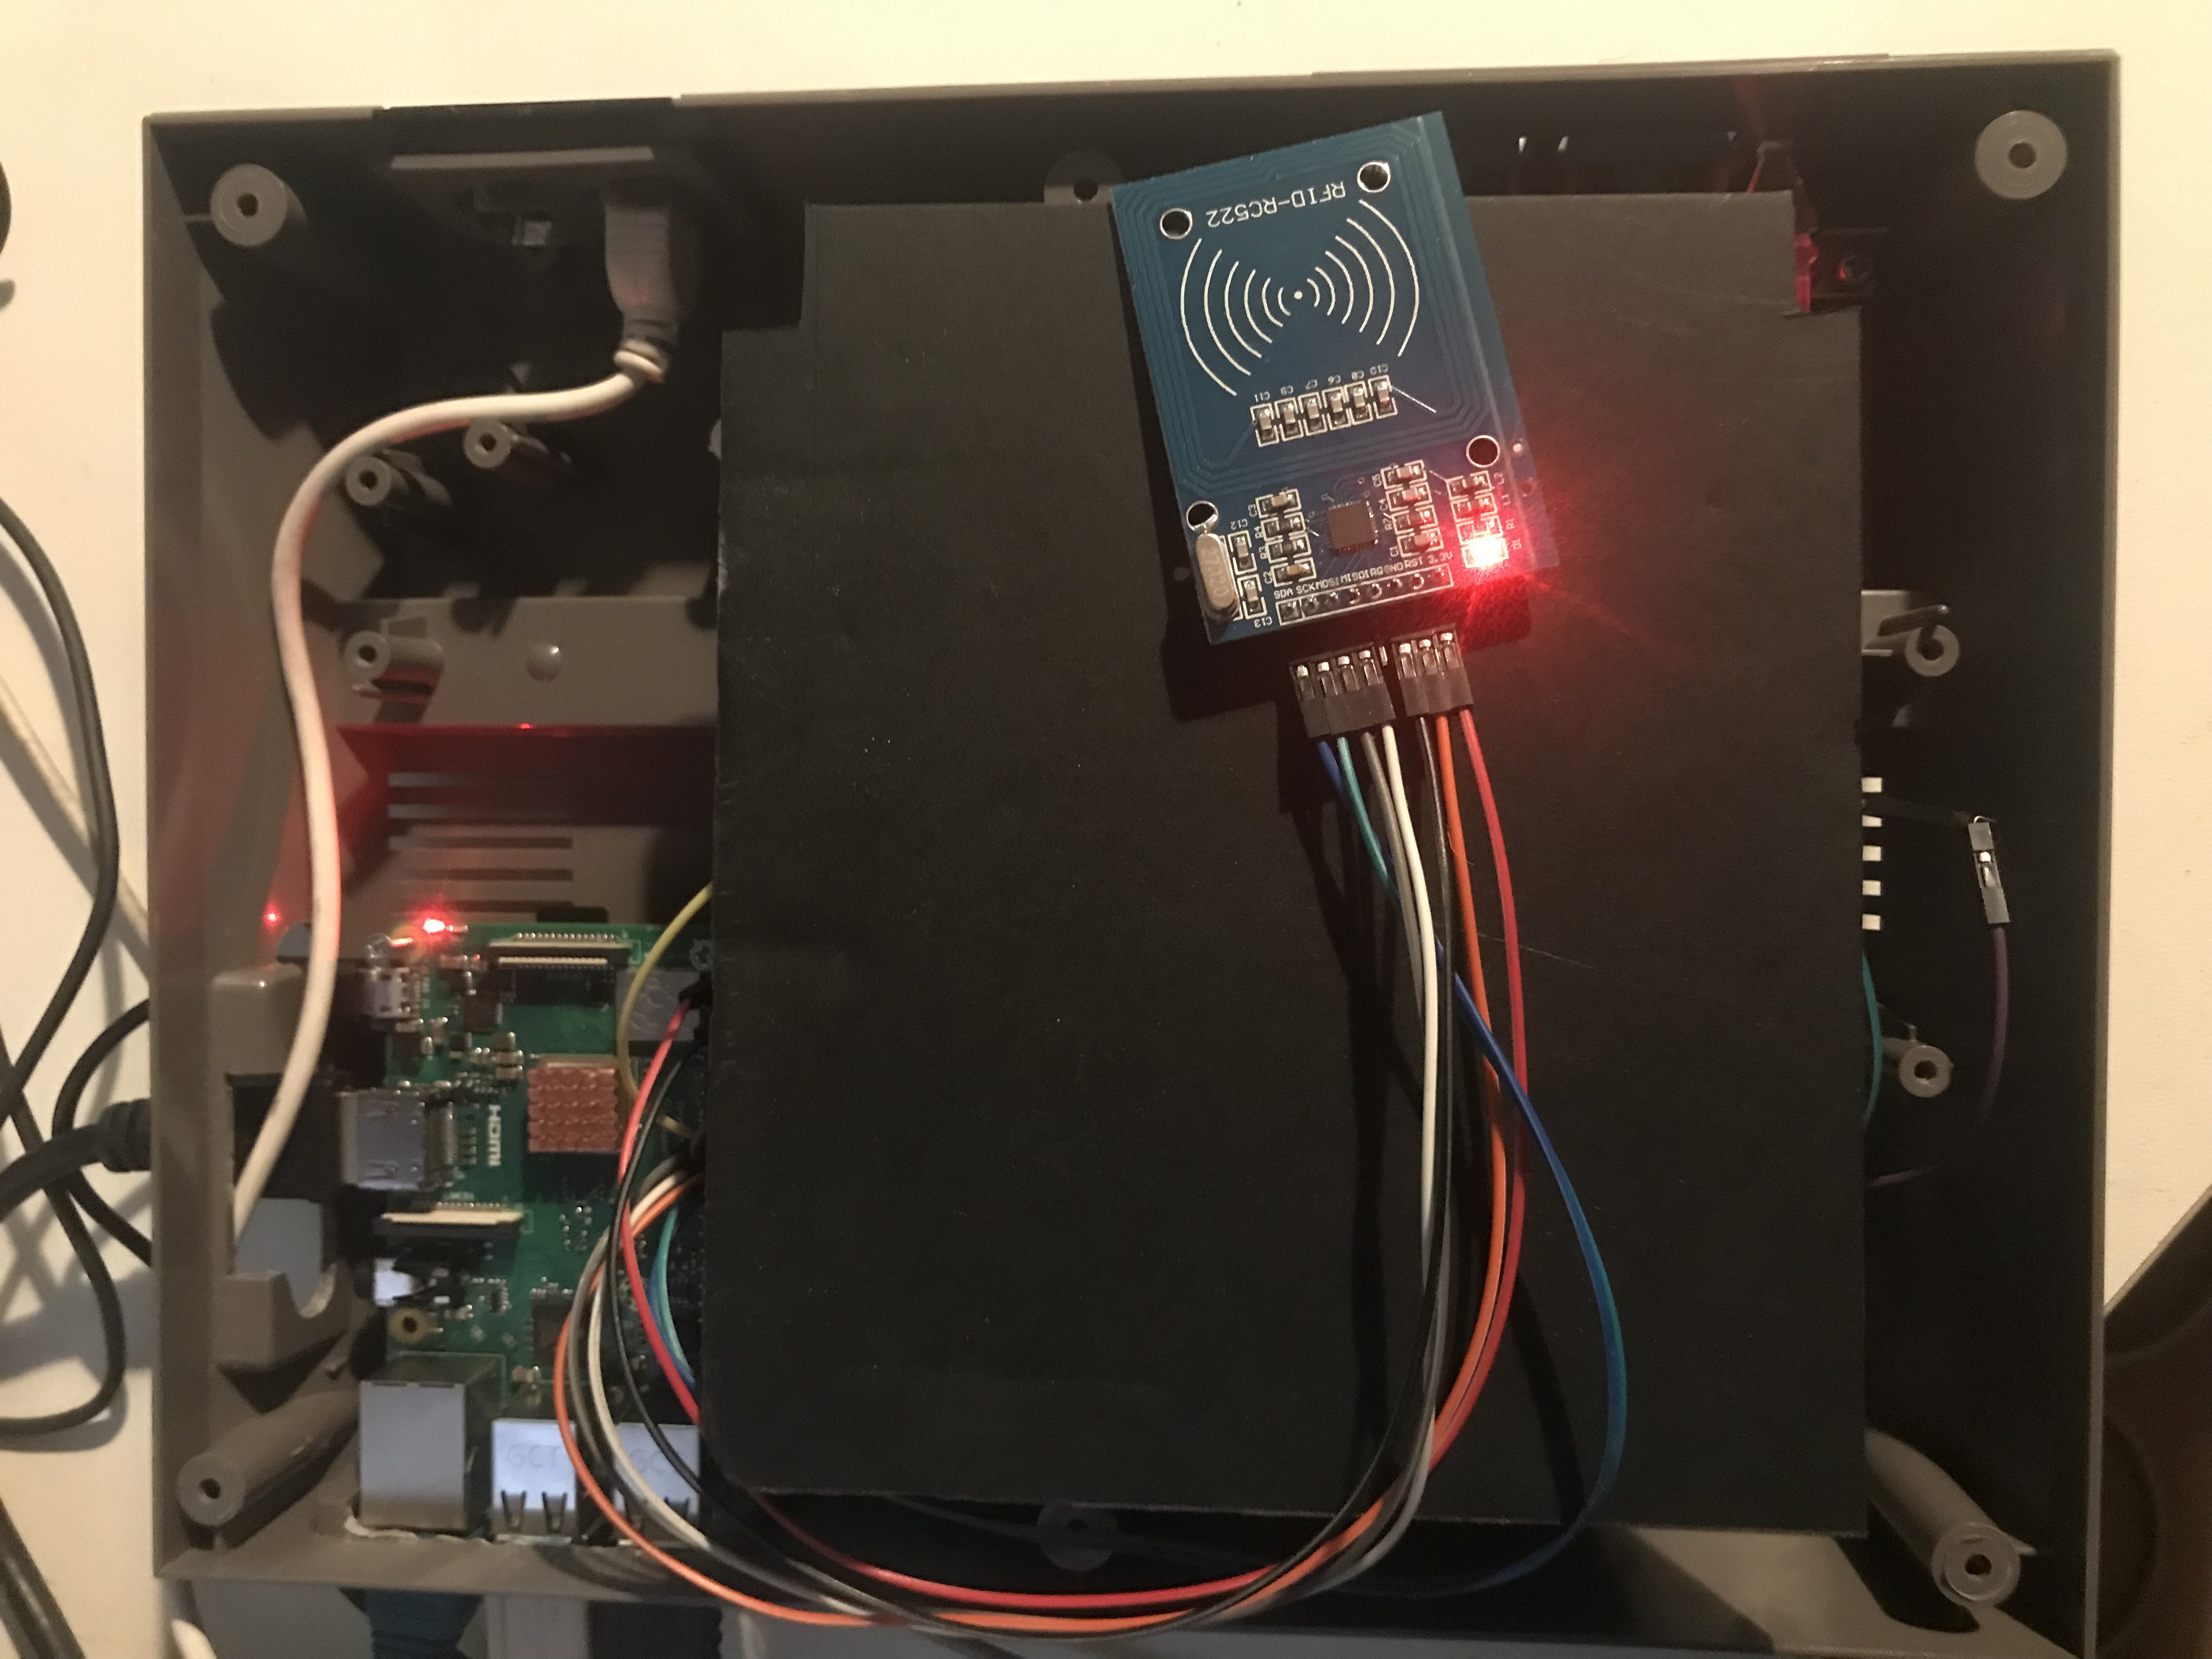
Some close up photo’s

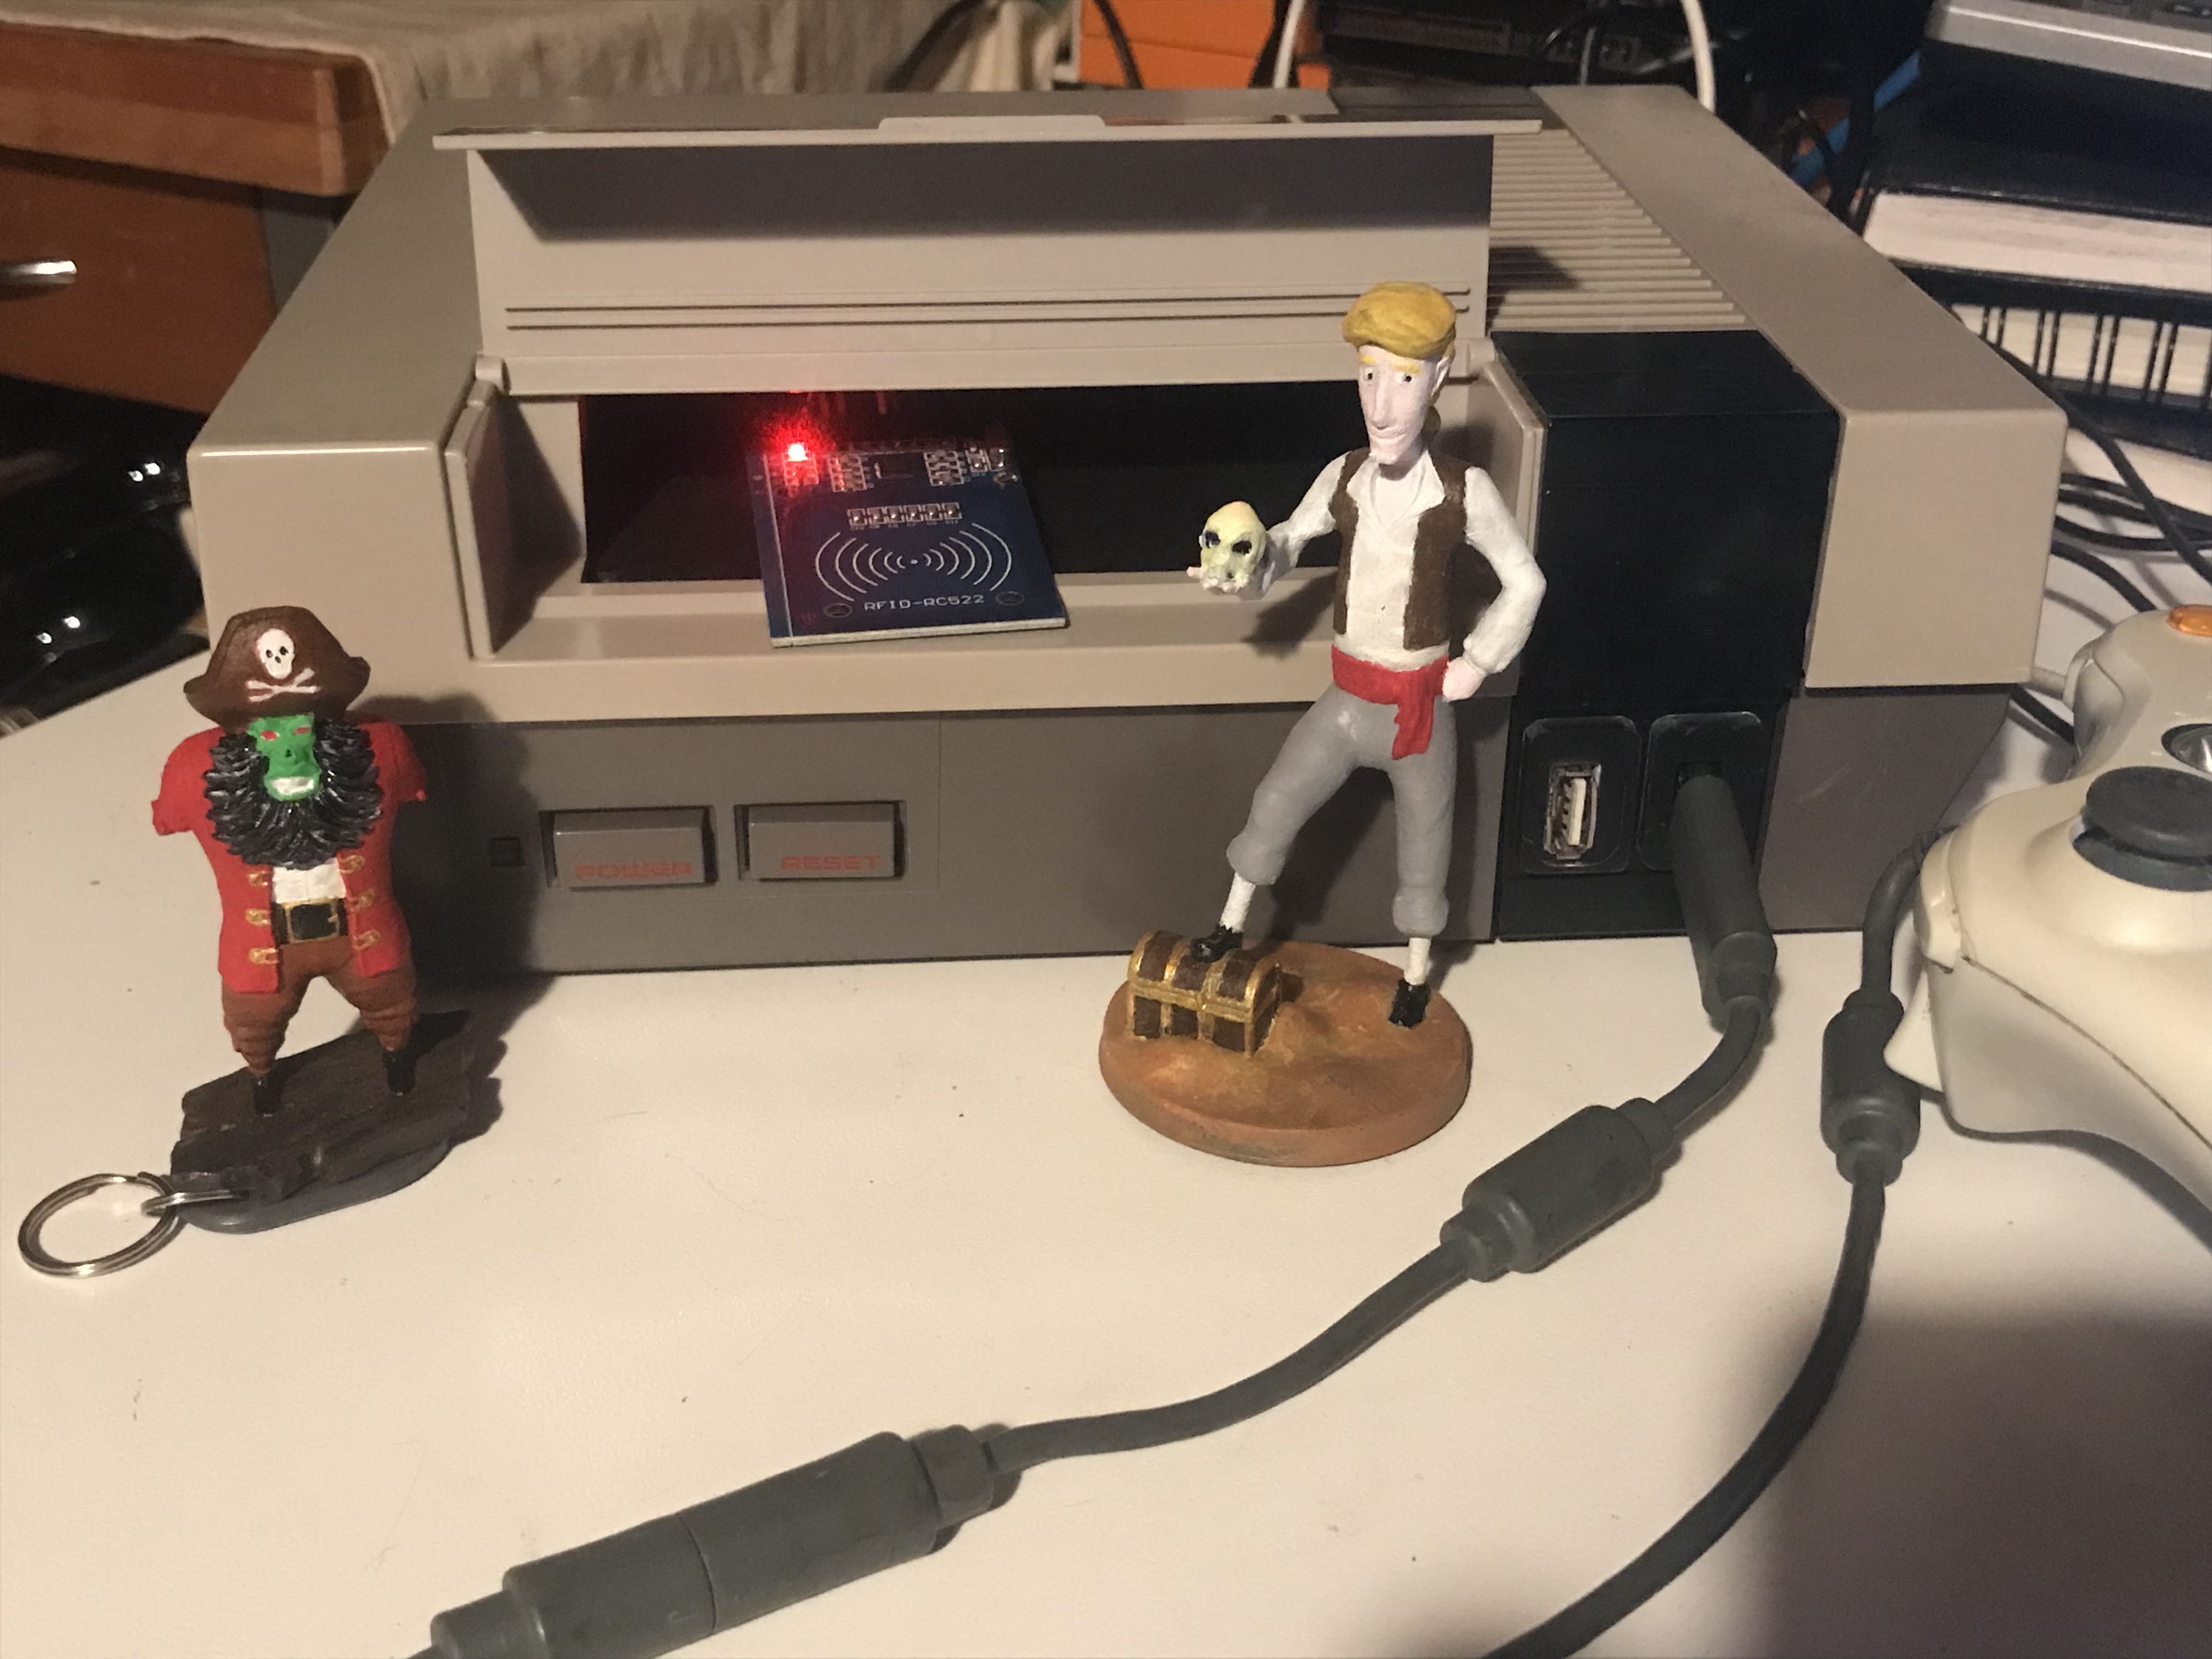
A almost done, want to mount the RFID on top. I want to keep the opening to load maybe custom NES cartridges.
Made also new printed USB controller ports:
How to Script it?
I made 2 bash scripts and 1 pyton script (reworked its the RFID reader):
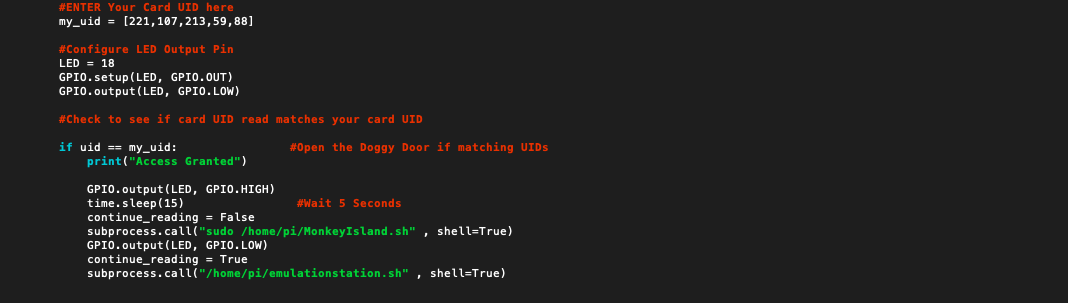
The Time.sleep(15) needs to be removed to boot the game quicker but left it in because want to try loading splach screen or something. The Led is to indicate if the game is stopt or not. Then it will boot EmulationStation again.
The python program stops but is been rebooted with EmulationStation.
The bash scripts:


And to make it boot at run you need to make this change:

And for the skin i used the NES-Mini theme.
But it was missing 2 themes, i used ScummVM and the Oric emulator on my Pi.
So i made them download link below:
ScummVM:
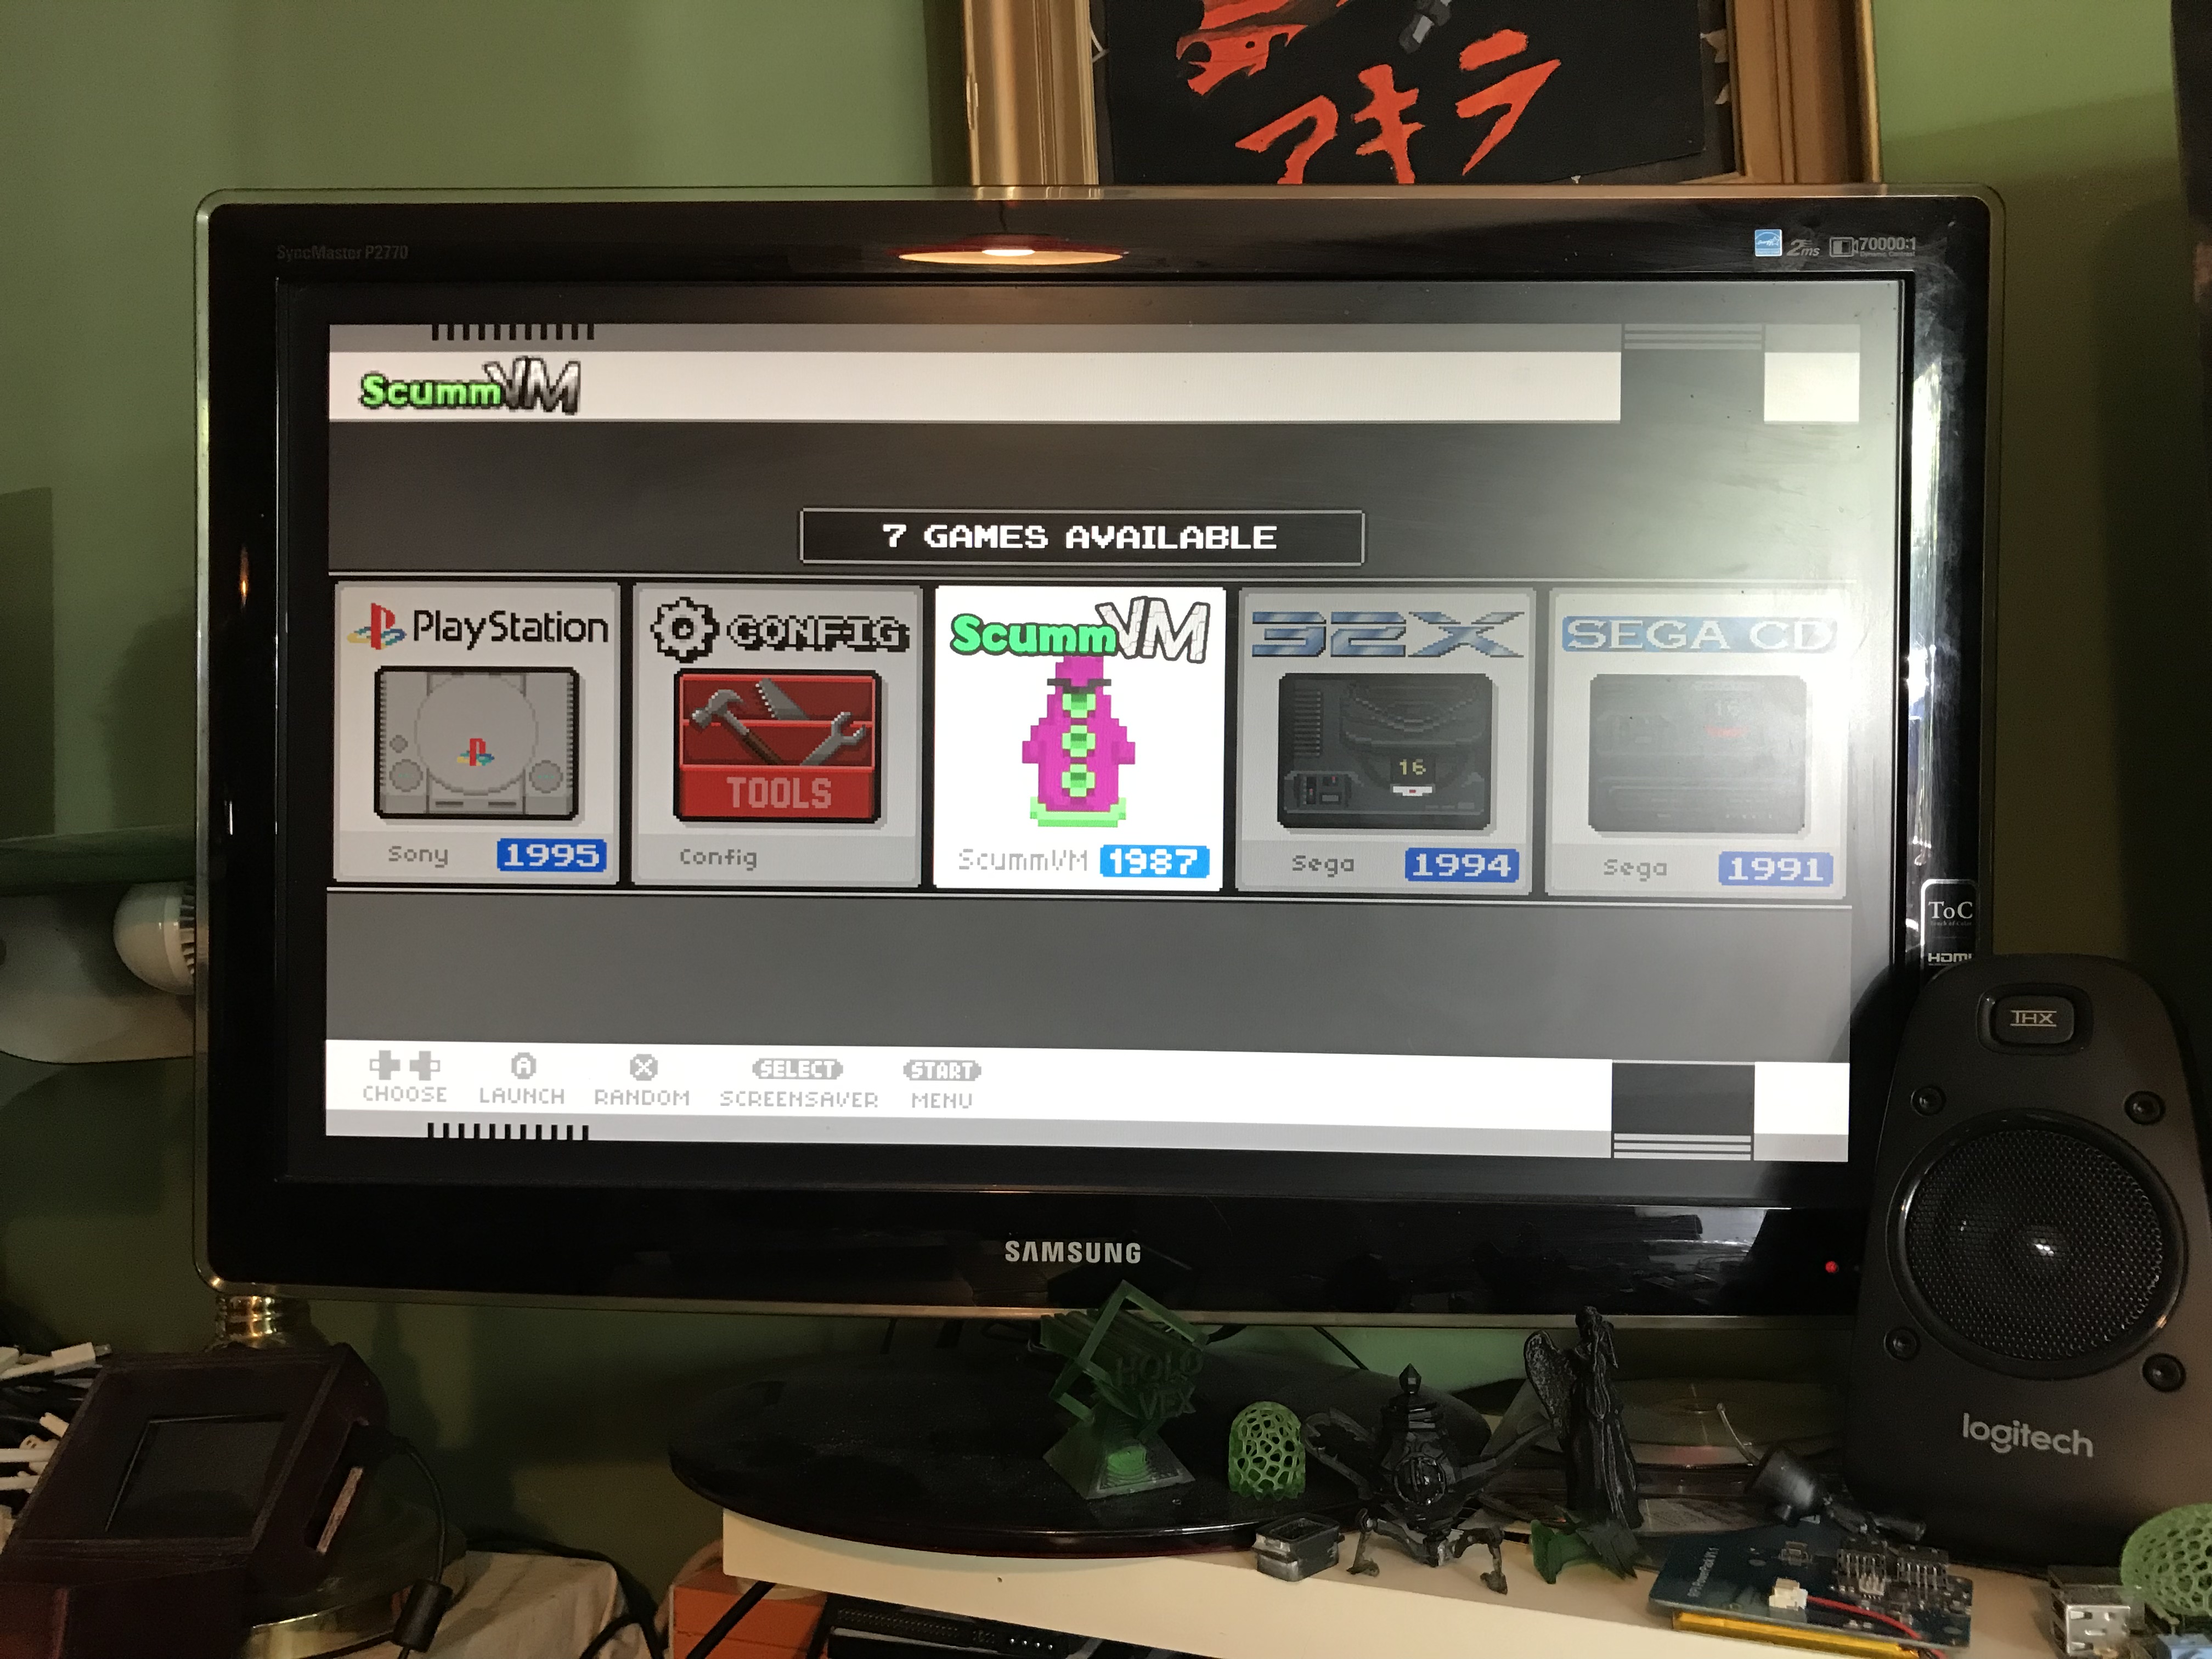
Download link: ScummVM.
Oric Atmos :
Download link: Oric Atoms.
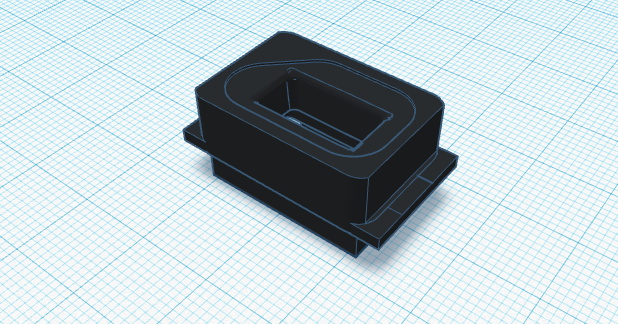
The RFID fits perfect in the box that i made, now i can insert real NES cartridges 😀
So if i buy empty nes cartridges i could insert a rfid tag and load that game
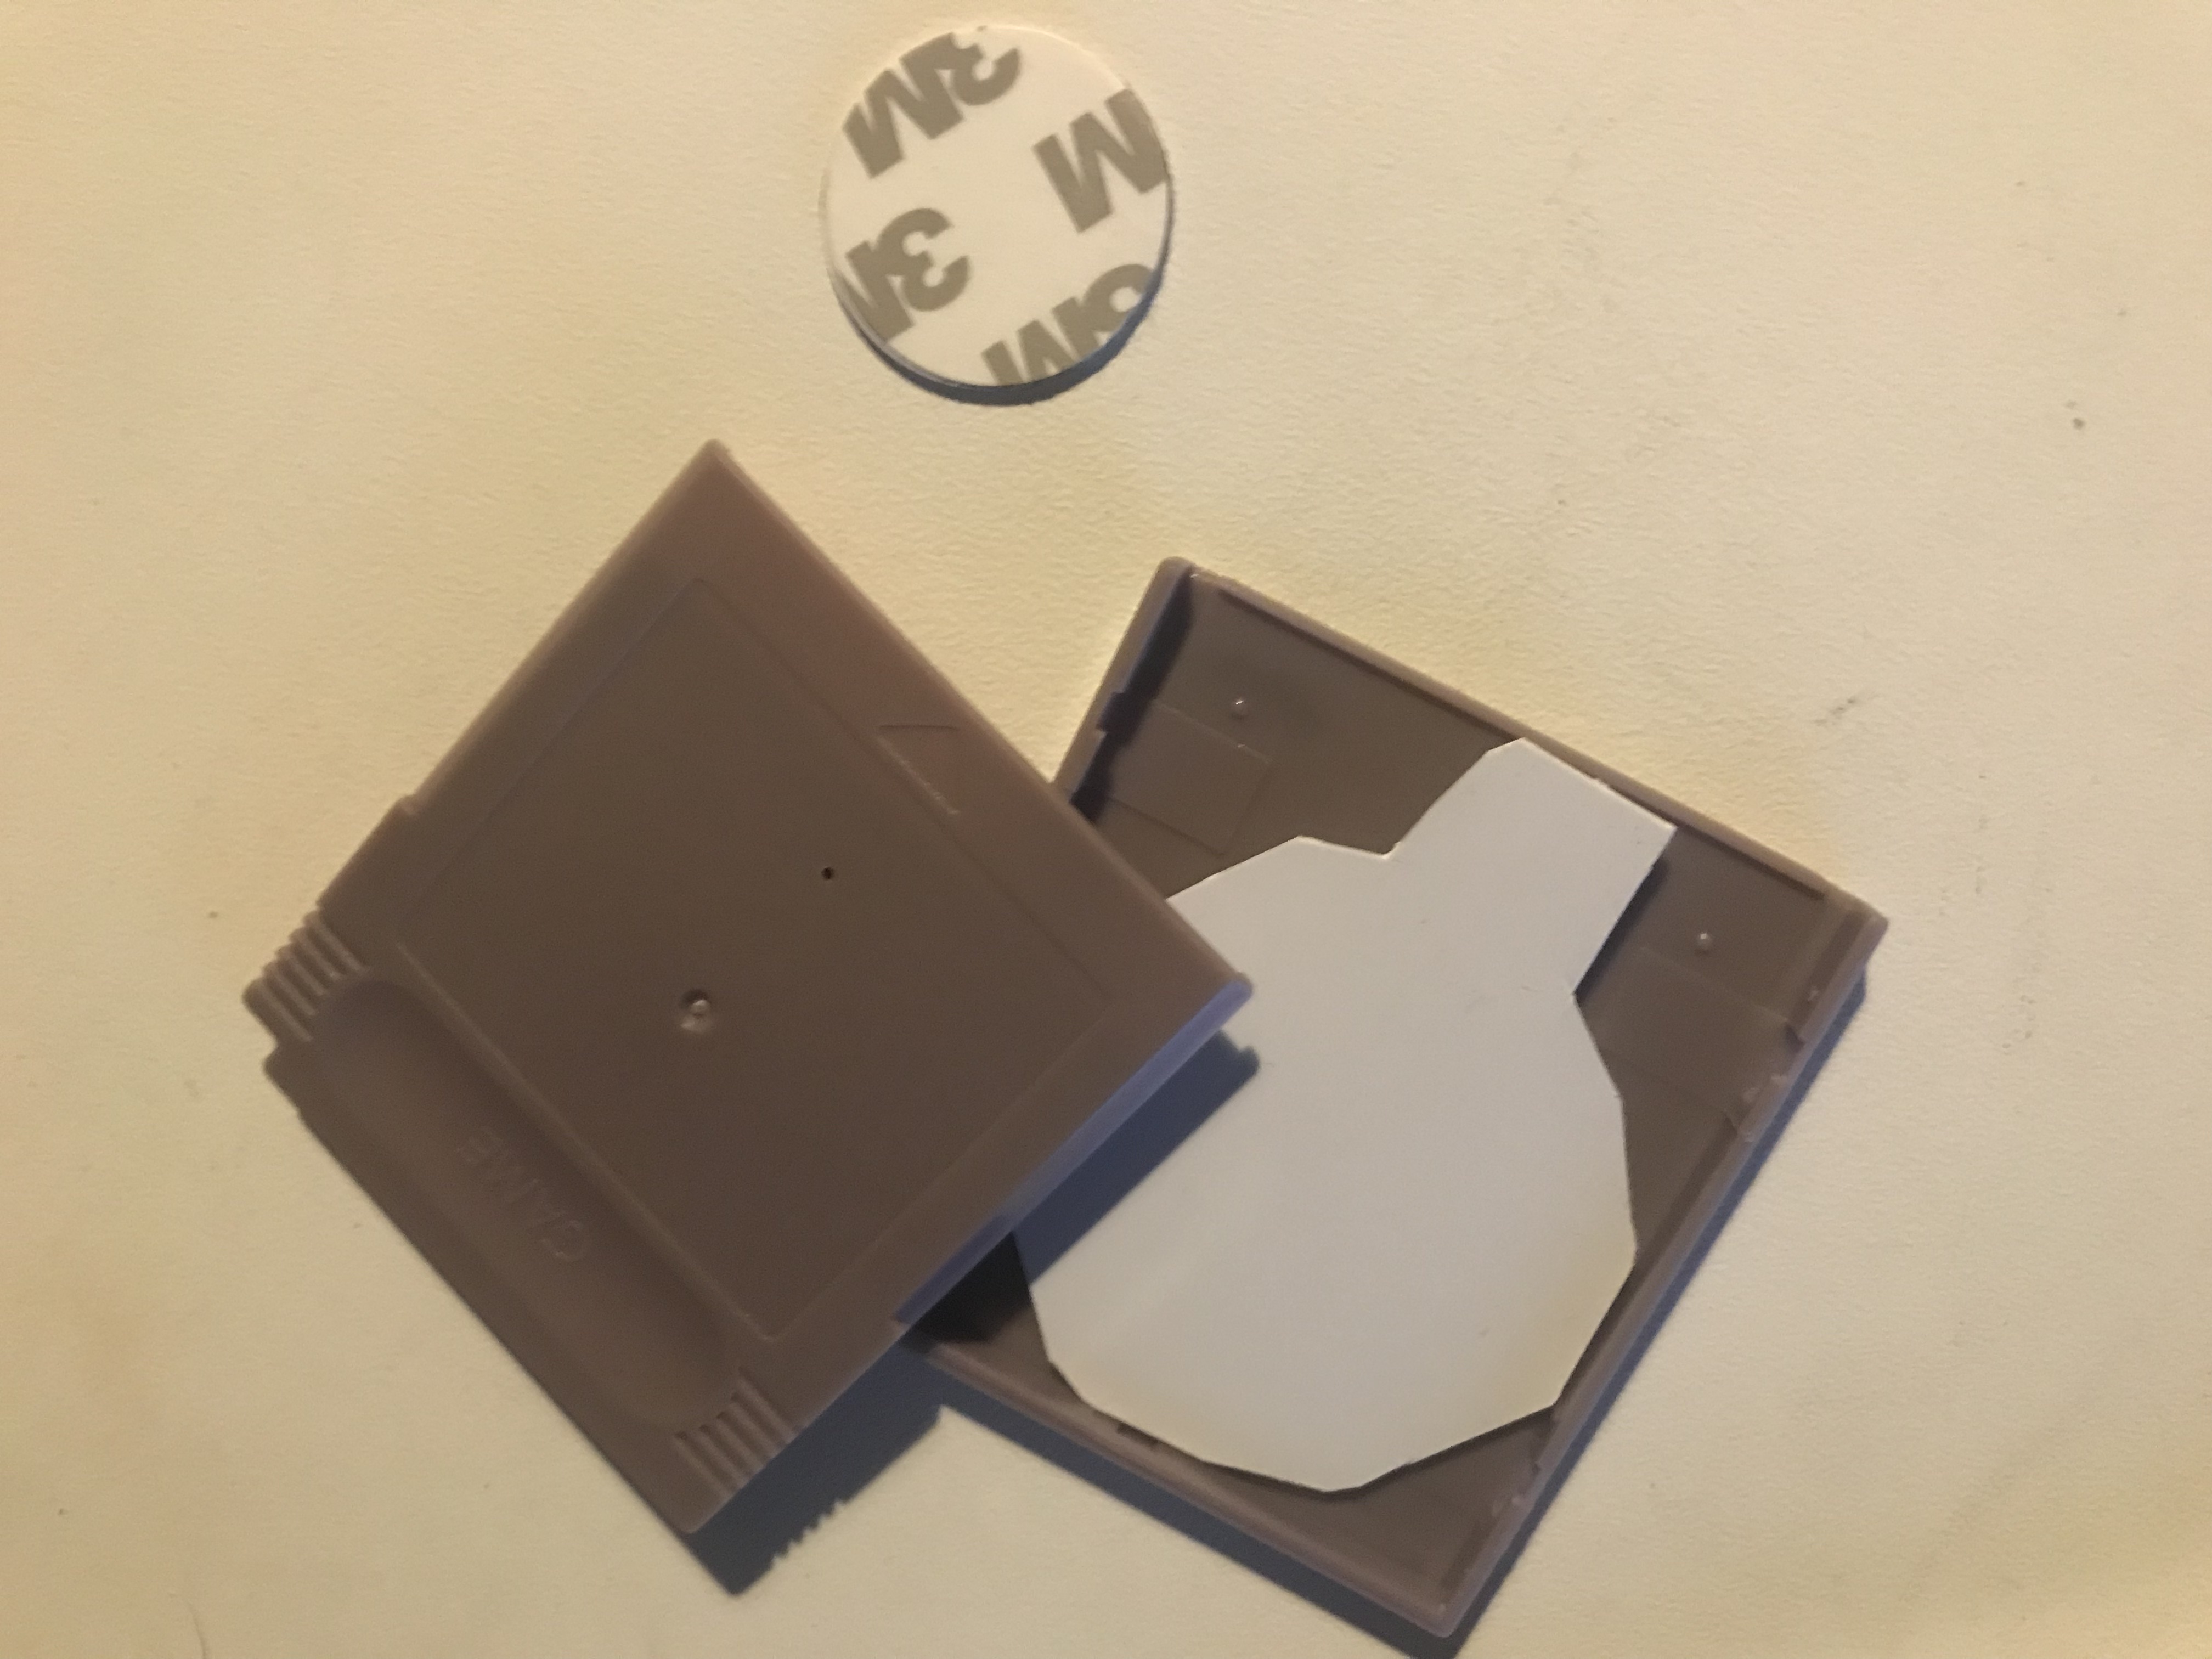
(cartridges and RFID tag)
Things to do:
Mount RFID on top case, make everything more durable.
Optimise the code, use some sort of database to use more UID’s and game titles.
Get more RFID tag’s, print more modes of old games… (open source Amiibo’s)
Sources needed to make this happen:
https://pimylifeup.com/raspberry-pi-rfid-rc522/
RC522 RFID lezer aansluiten op een Raspberry Pi en uitlezen met Python
https://github.com/mxgxw/MFRC522-python/issues/69
https://github.com/RetroPie/RetroPie-Setup/wiki/FAQ
https://retropie.org.uk/forum/topic/2211/questions-about-runcommand-sh/2
https://retropie.org.uk/forum/topic/8230/start-game-from-command-line
https://retropie.org.uk/forum/topic/18937/runcommand-usage-from-python-script-not-working
https://github.com/Aloshi/EmulationStation/issues/236
https://www.codingepiphany.com/2013/06/23/running-gog-com-scummvm-games-on-raspberry-pi/
https://retropie.org.uk/forum/topic/13482/using-runcommand-from-the-terminal/3|
https://retropie.org.uk/forum/topic/5307/command-line-command-works-but-doesn-t-work-if-i-put-it-into-a-script
Few weeks ago I installed Dream Pi on one of my Raspberry Pi’s.
After that I could enjoy the Online interner of 1999 😀
There is also a nice site that keeps track of how is online: dreamcast.online/now
But I din’t have a good case for it so it was laying around.
So I wanted to try for my first print on my new Anycubic Photon a Dreamcast Shell that I found on Thingiverse.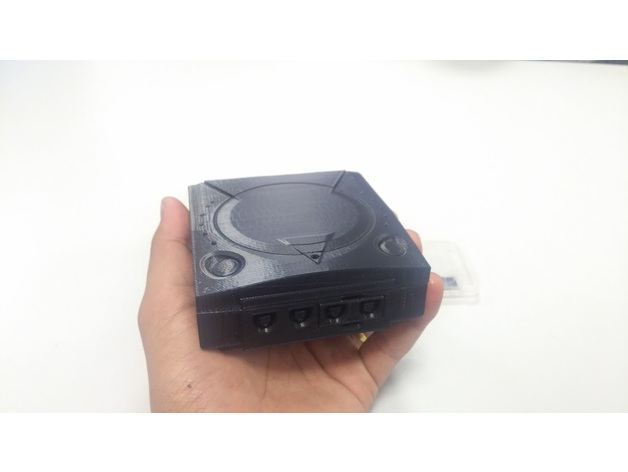 Just a Video of me trying to connect to DreamPi and Quake 3 DC servers
Quake is my go to game to test my connection…
First print ever on my Anycubic Photon… Not that good result 🙁
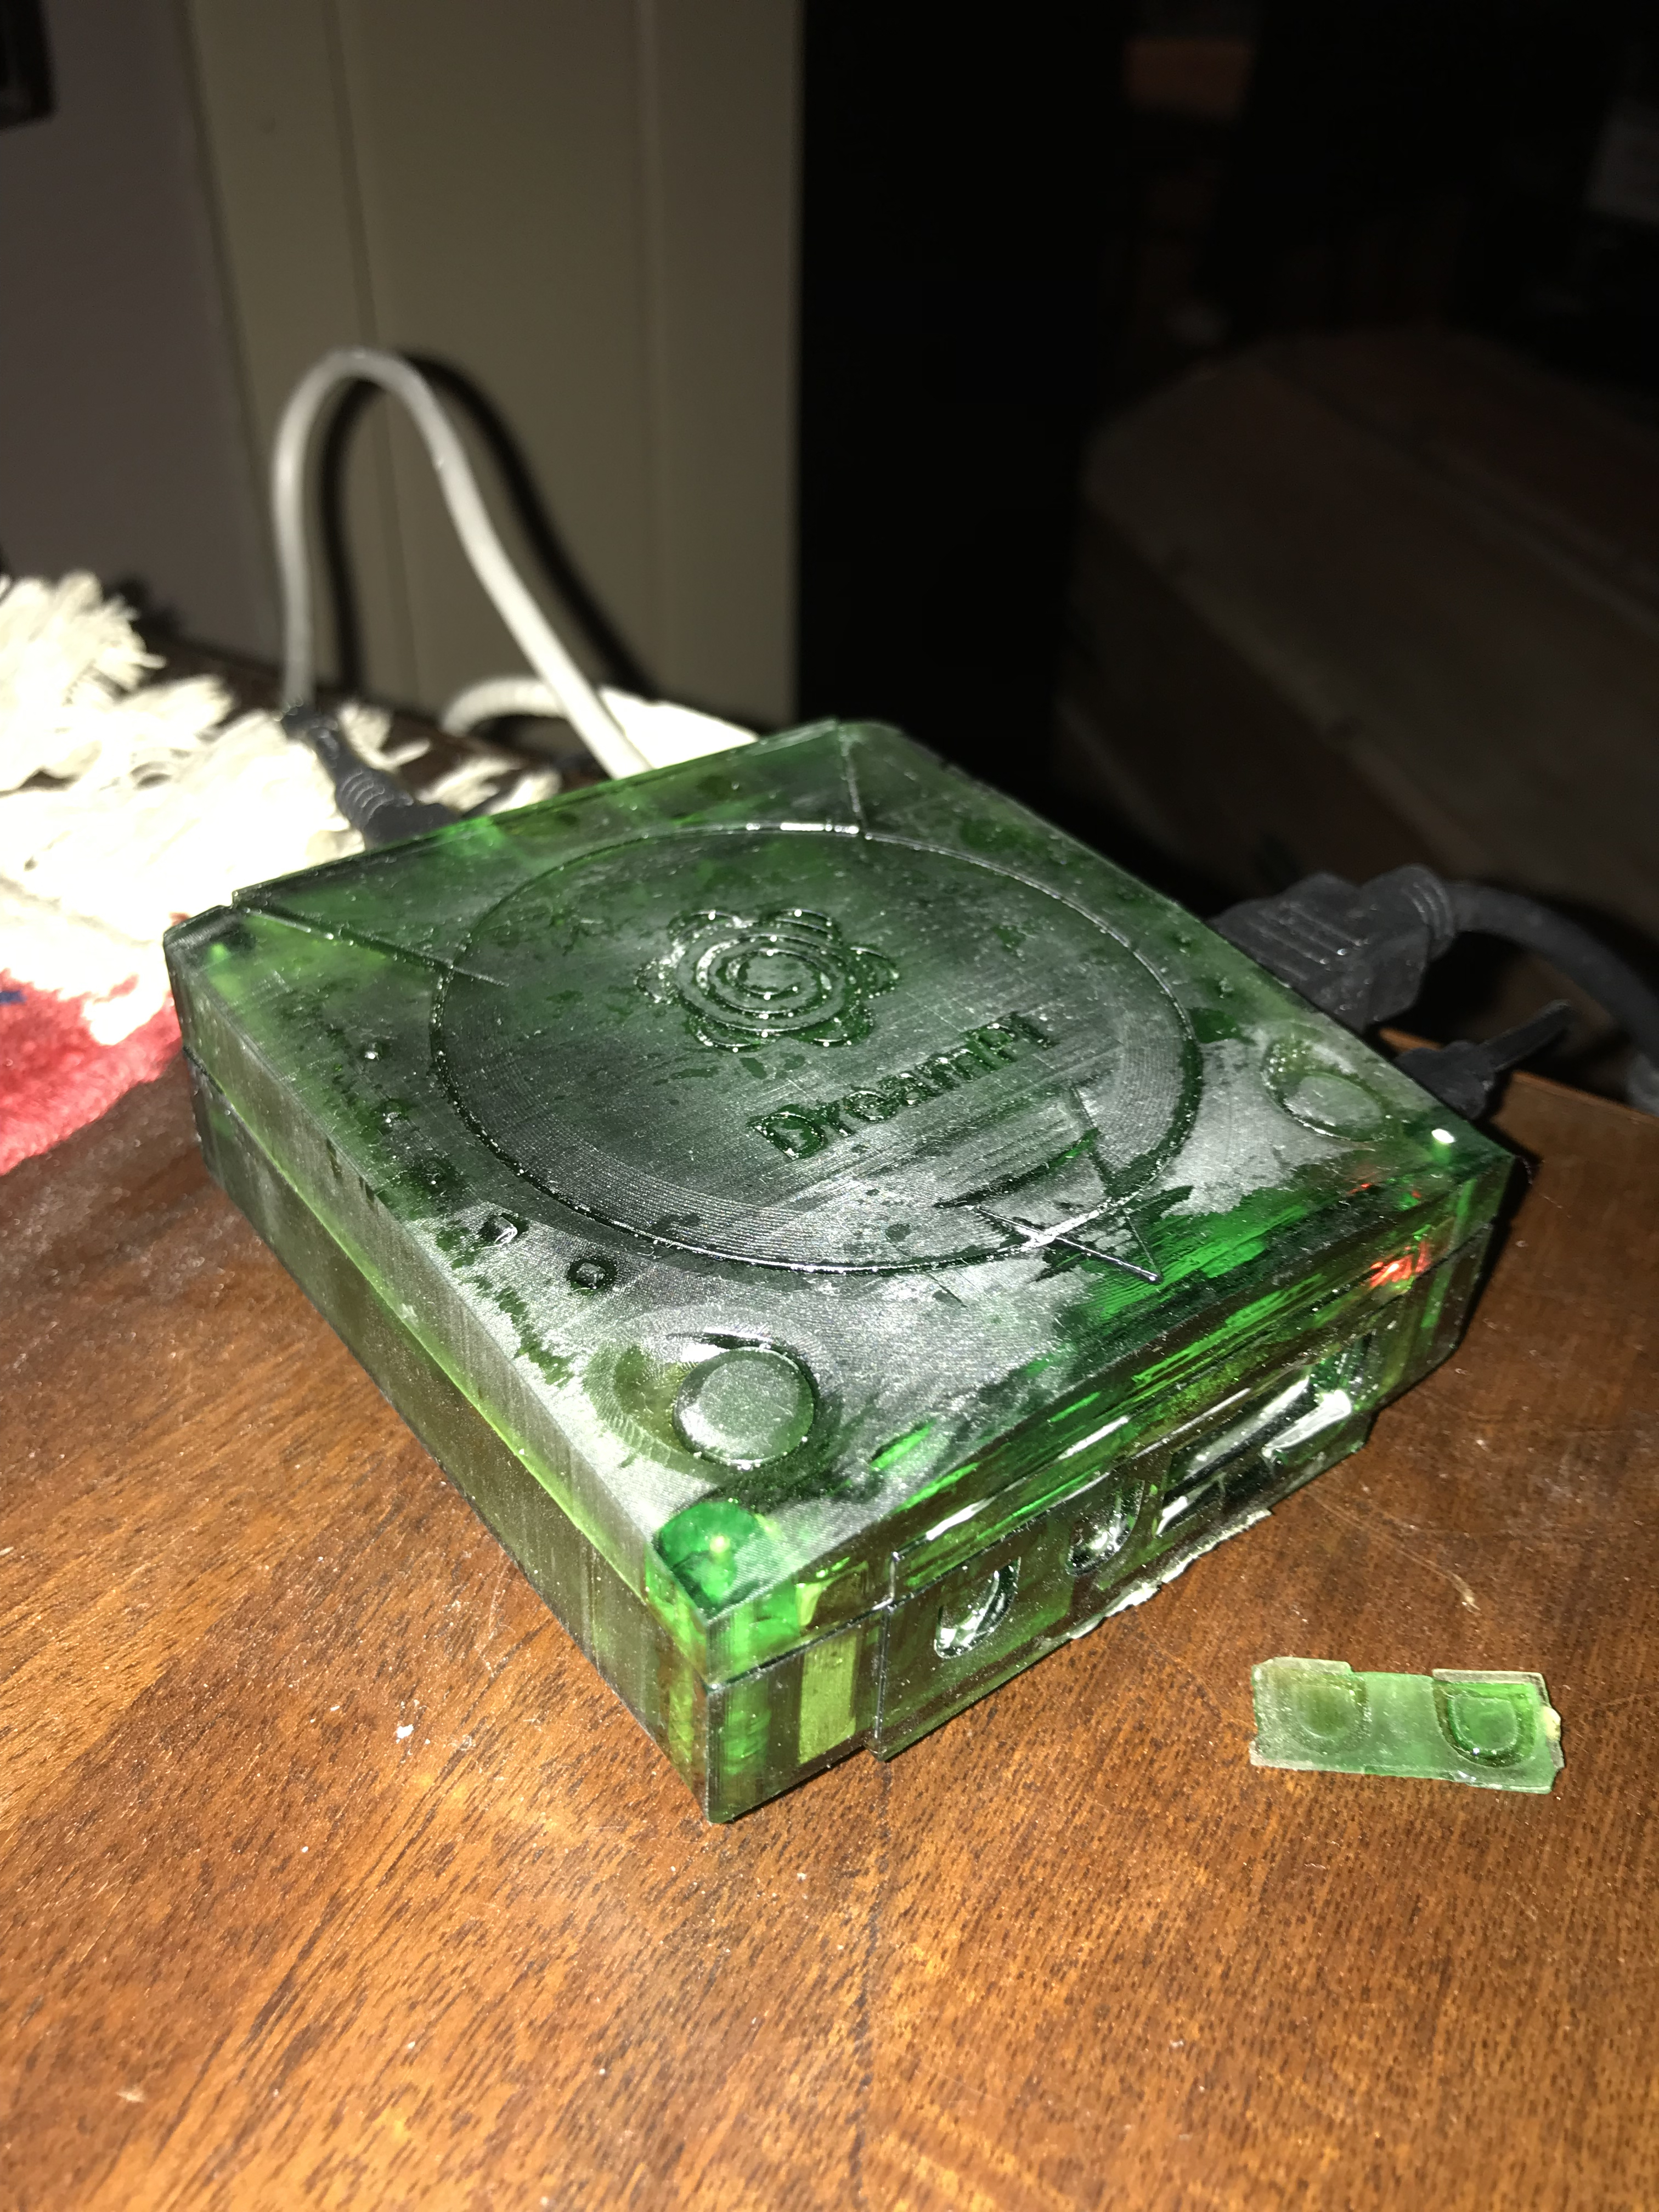
Did’t clean it correctly,
I did it in water after print and then let it there for a day, and then let it dry in the sun.
The water made it all defuses ooo well learned something i guess
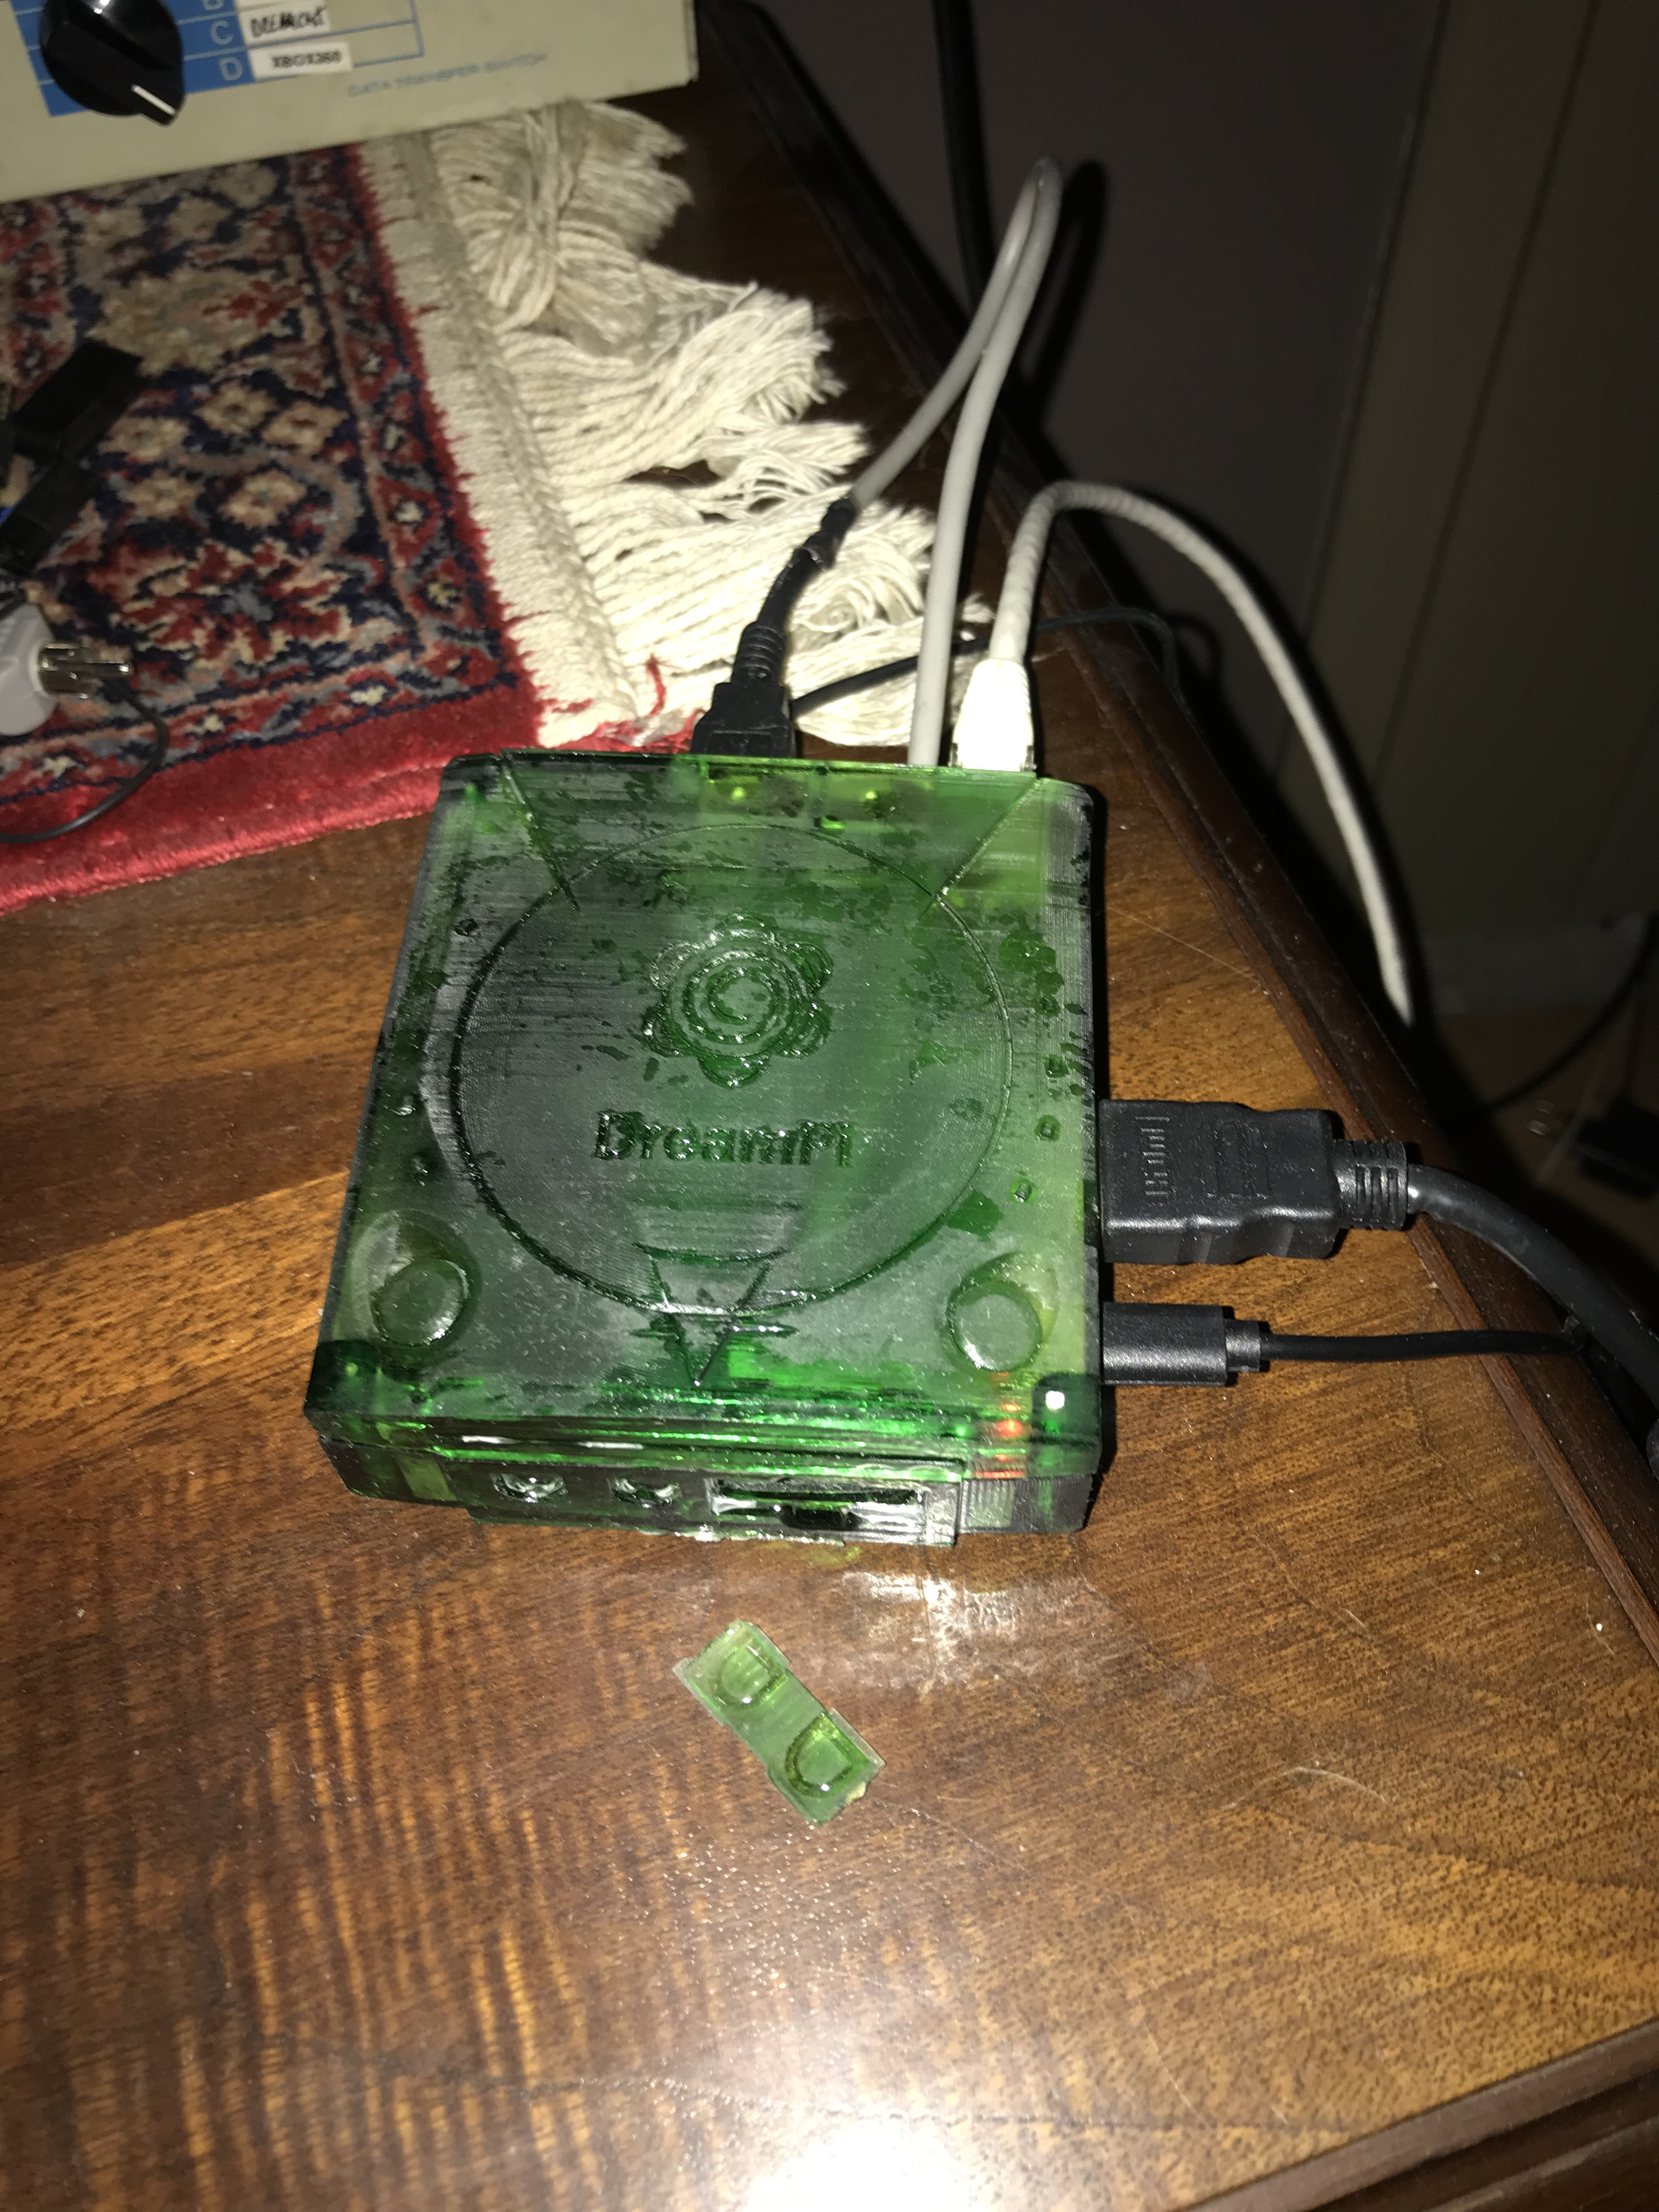
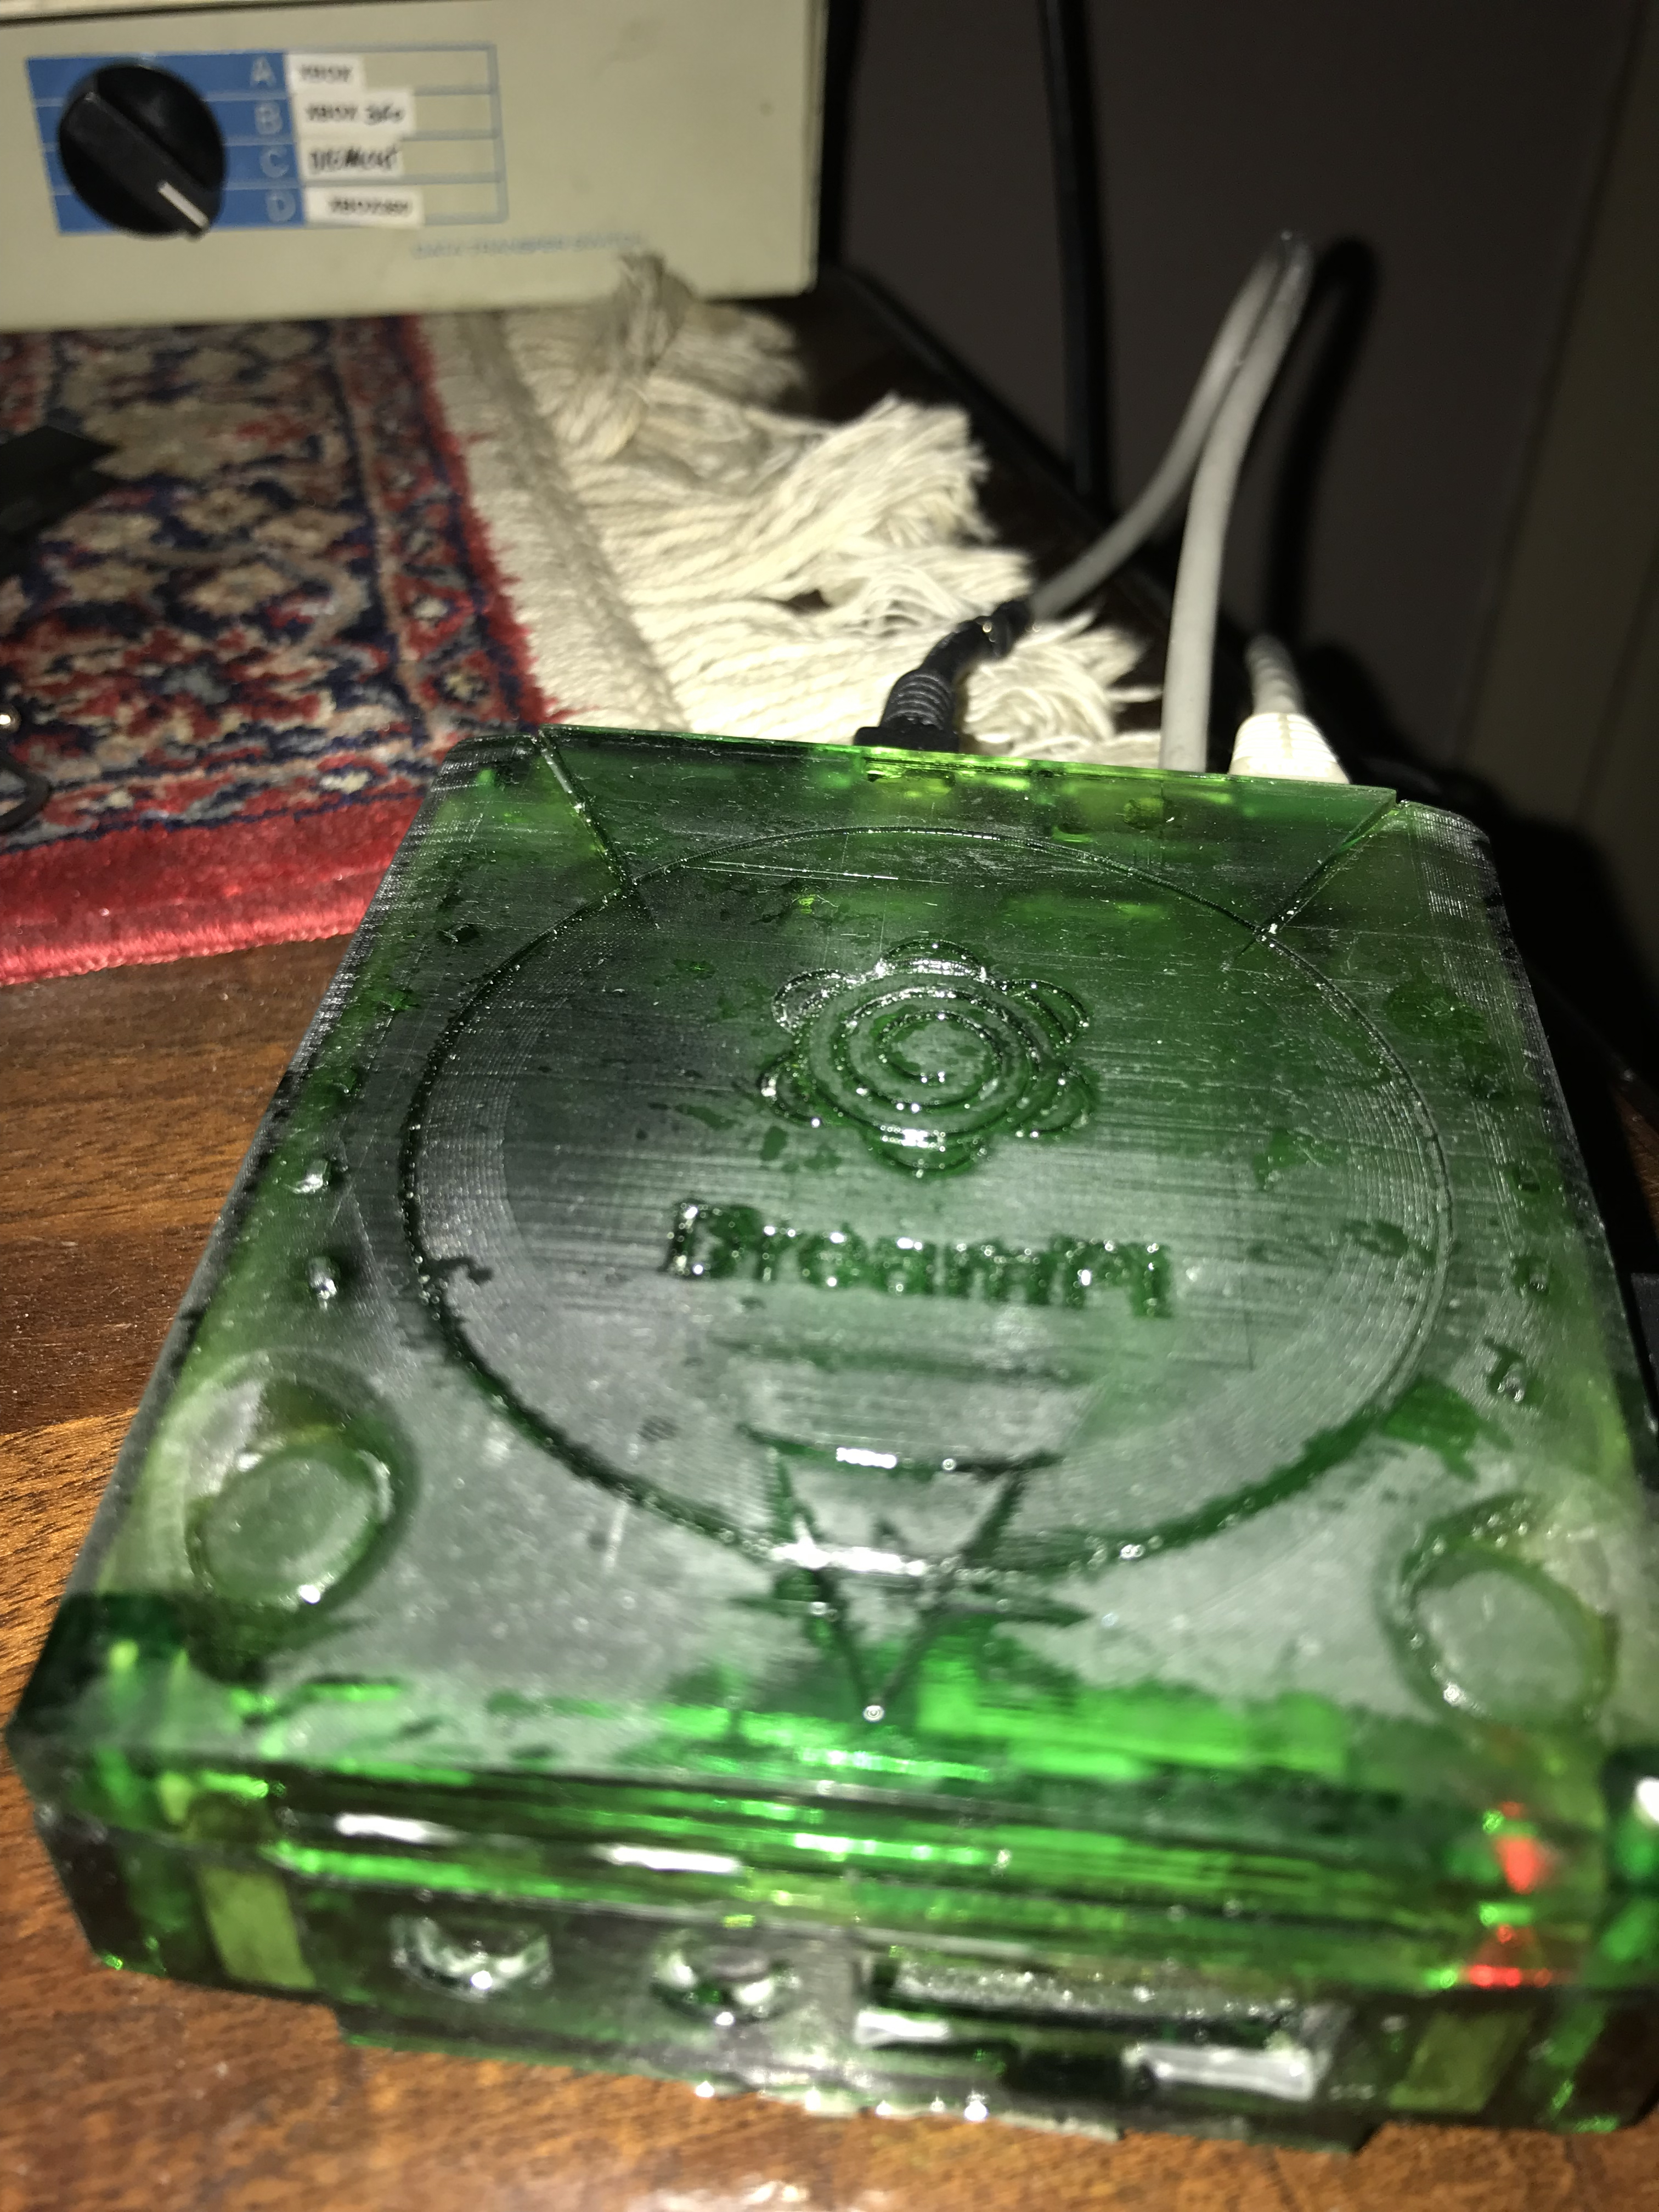 Maybe I can clean it a bit up, but for now the setup looks beter then it looked before.
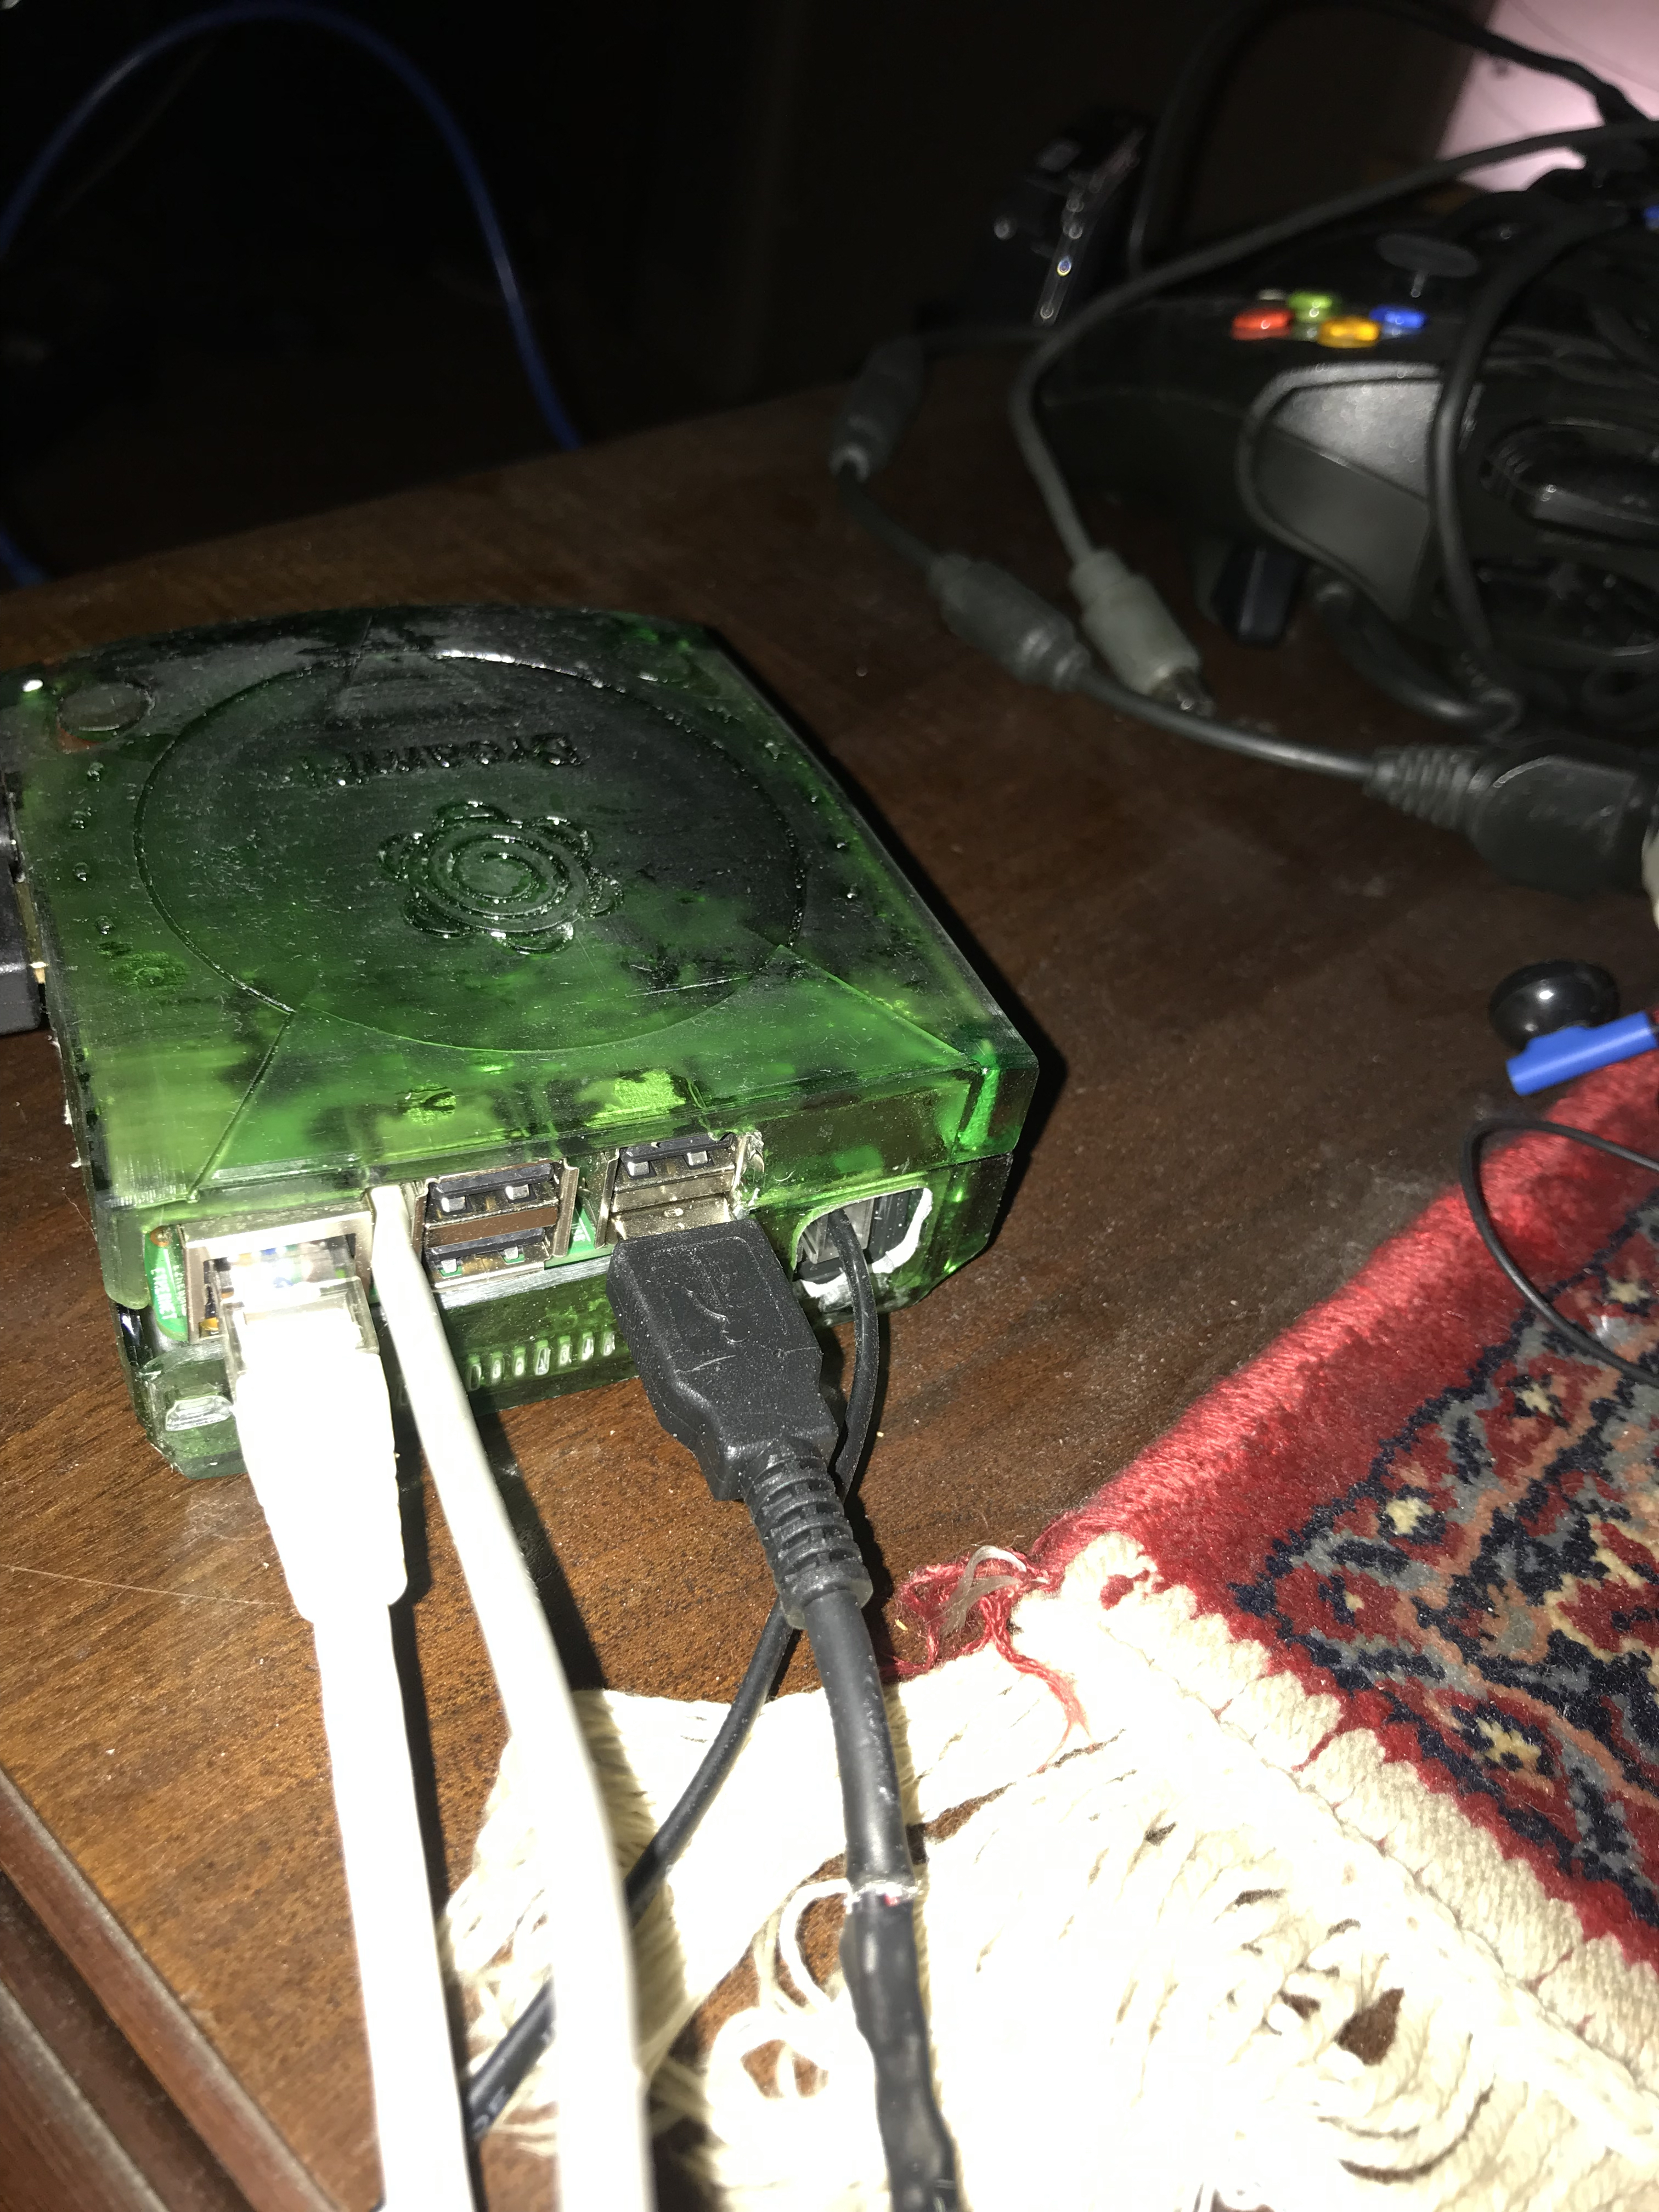
There was room for the USB modem in the shell so i mod it in.
Only needed to extend the USB cable to make it work:
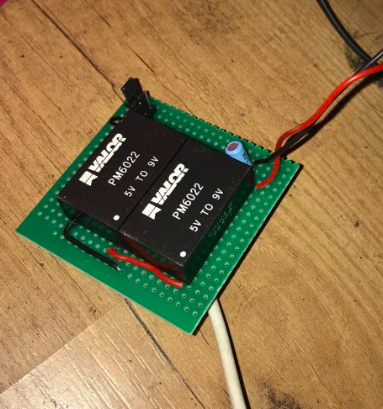
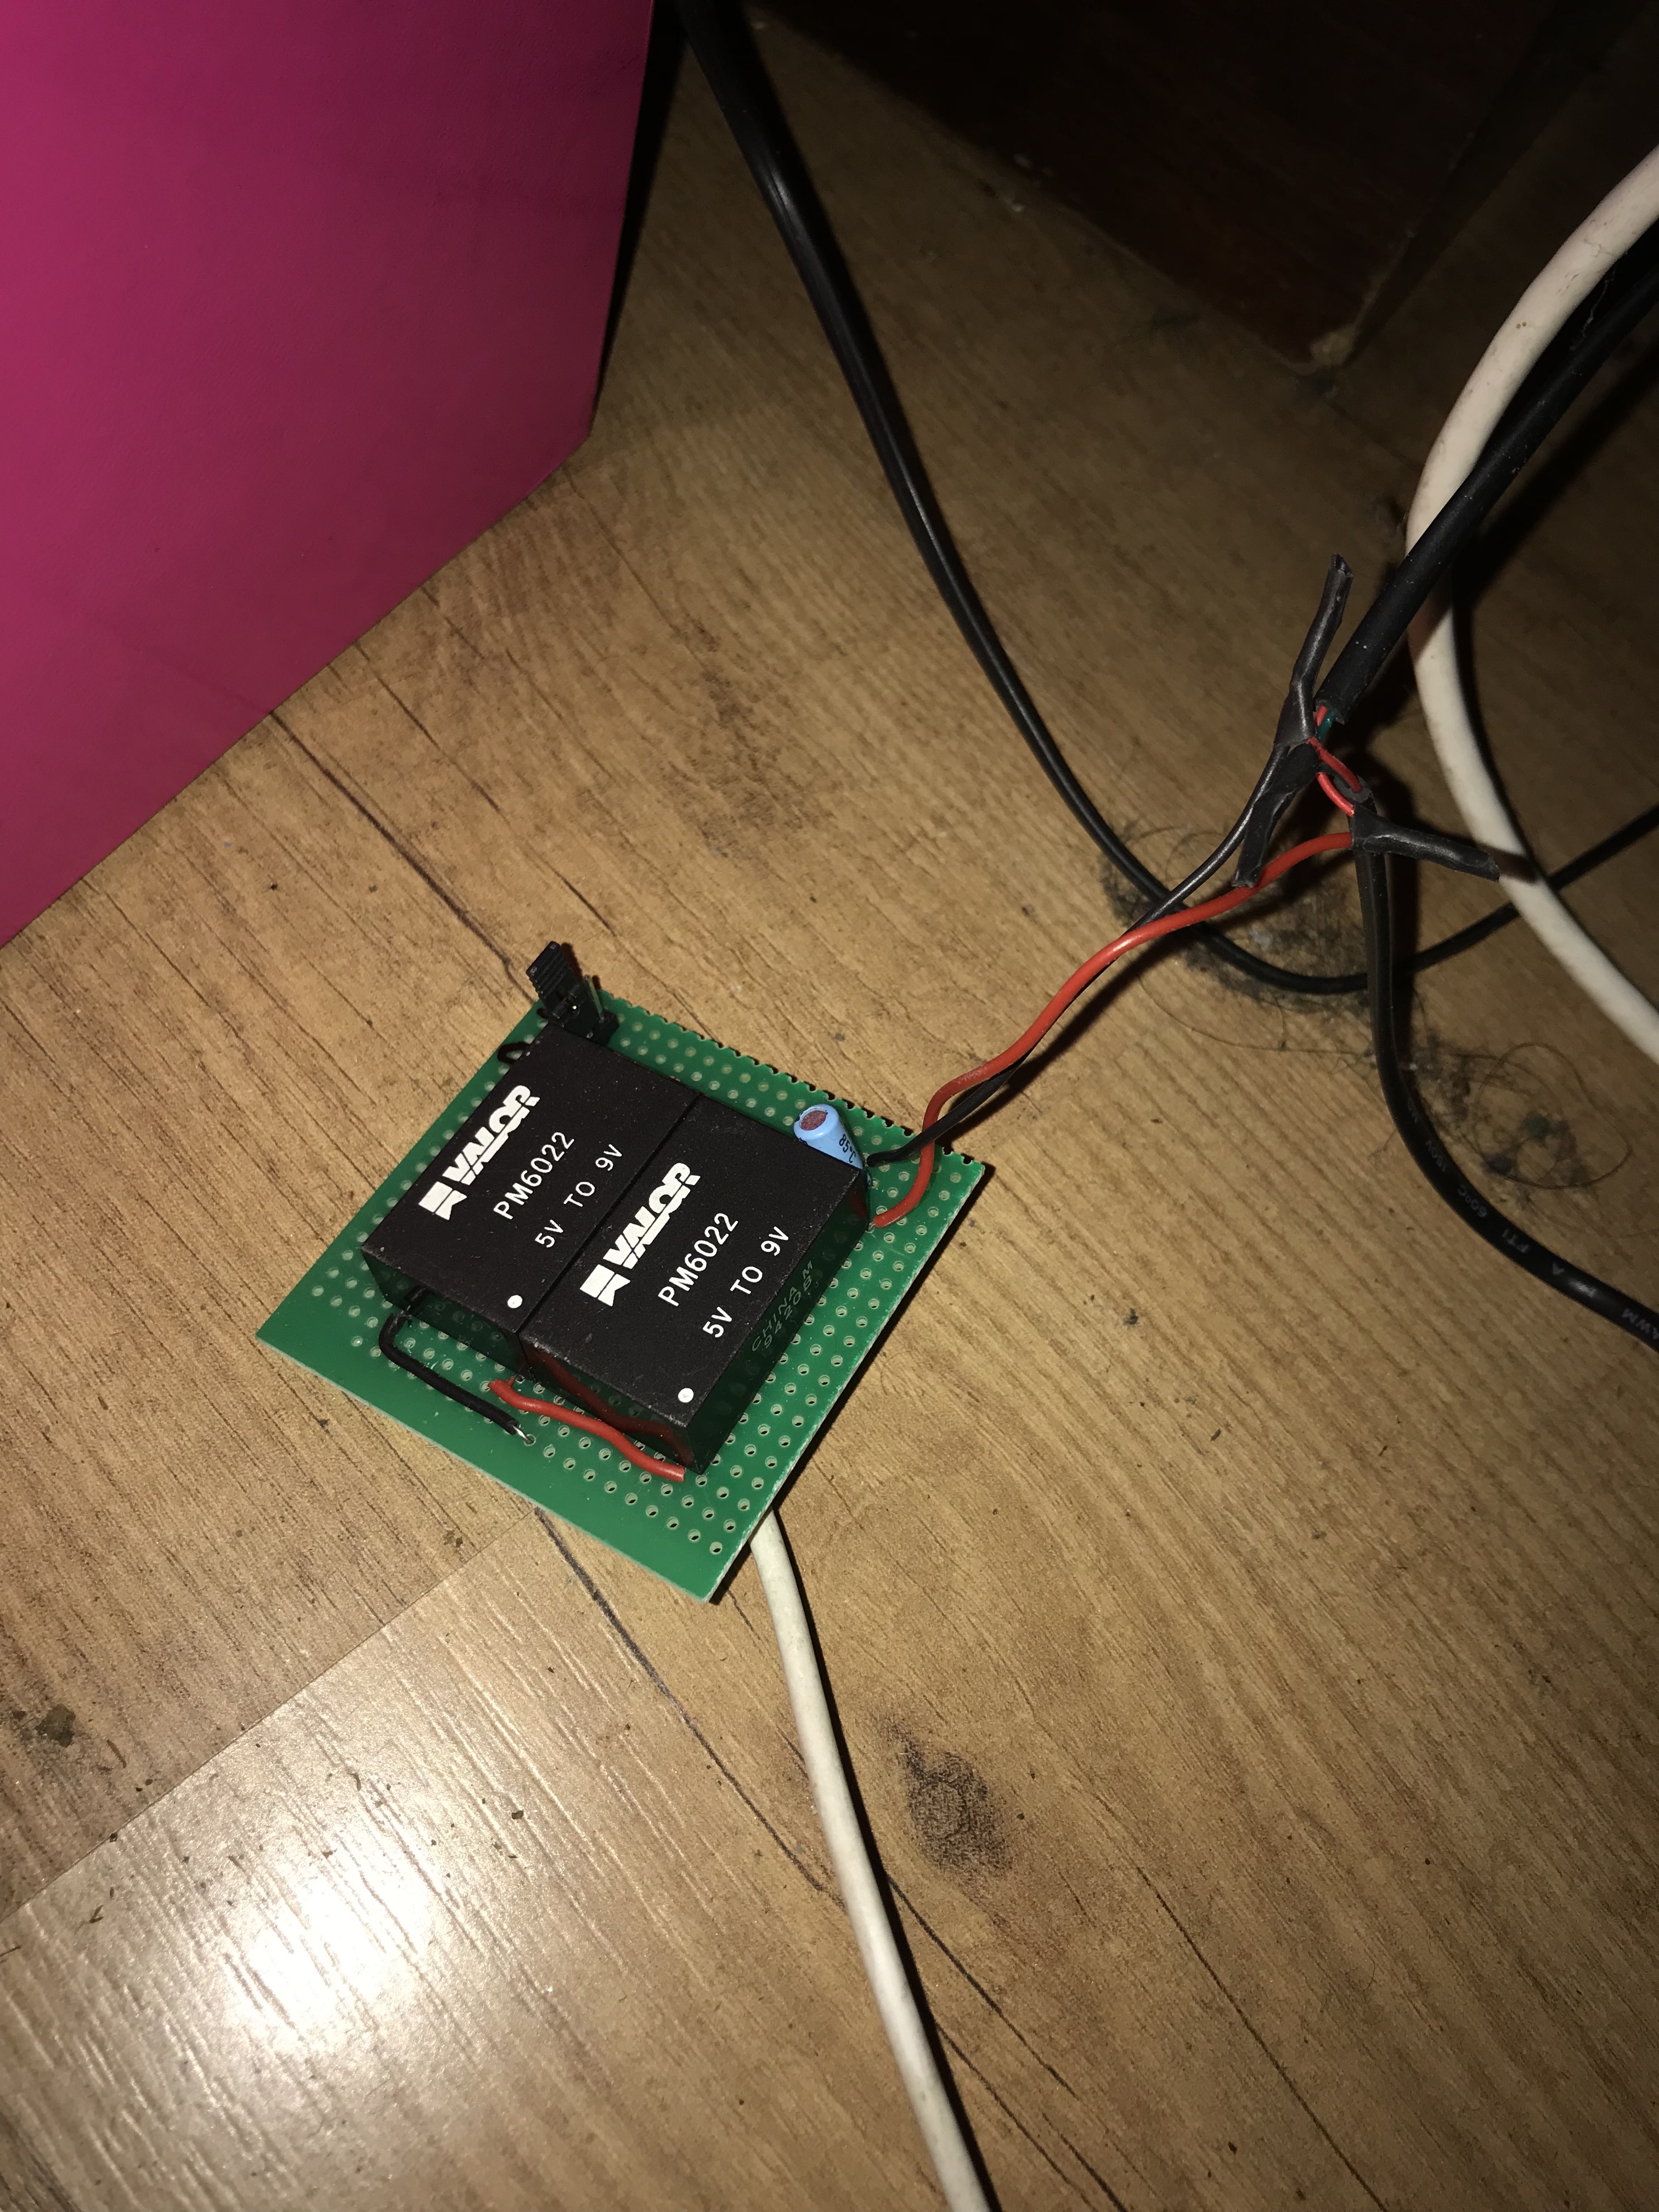
My Voltage Line inducer 2 x 9v because I live in PAL area!
Need to fix me a box or something for this thing…
Made a design
Will not print in color gonna use crayons to fill in the text and logo’s
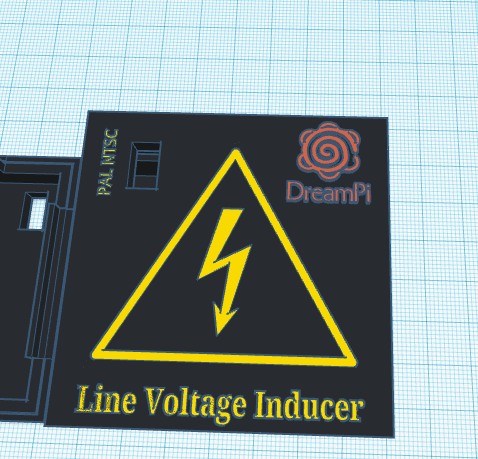
Print pix soon…
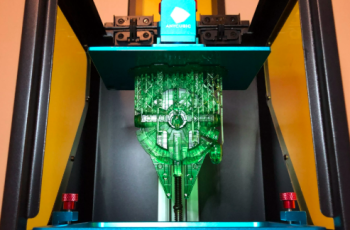
I recently got a Anycubic Photon.
And you can’t change your infill so you need to use hollow models;
when you don’t want to use a lot of resin.

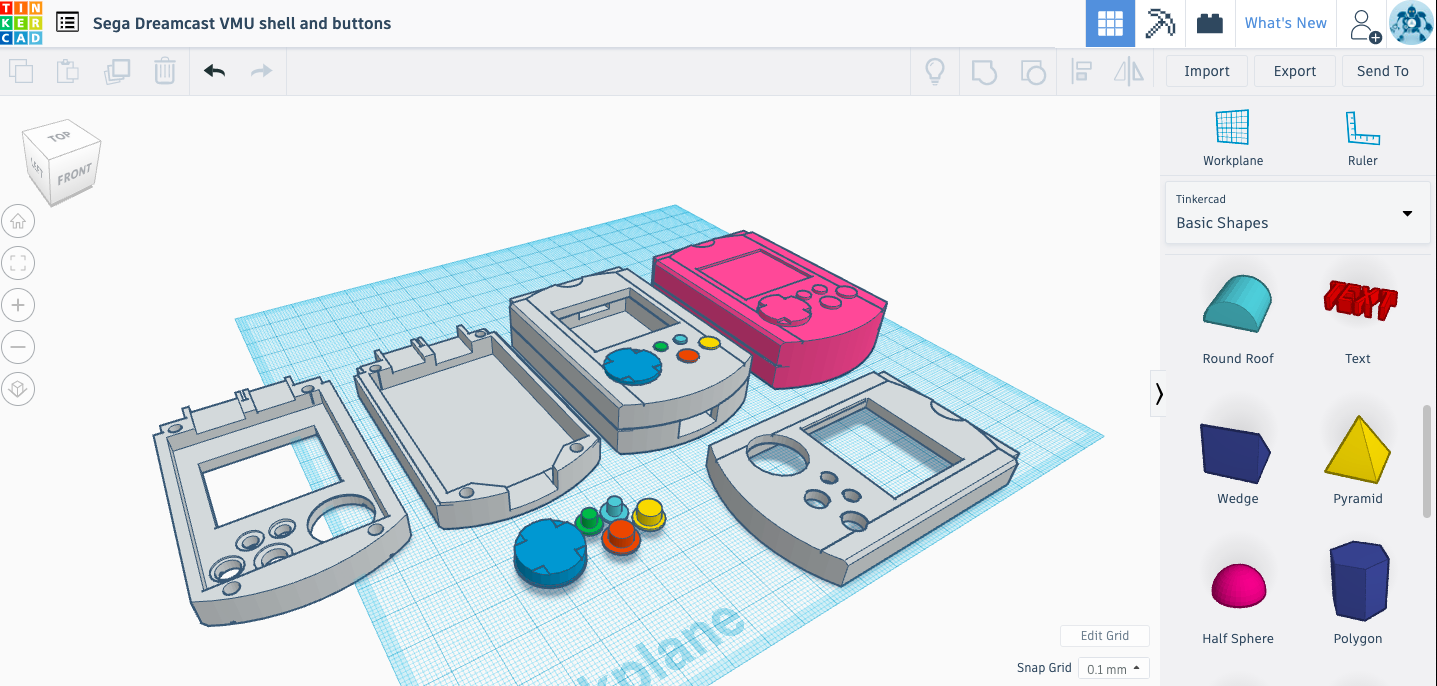
I found this vmu on Thingiverse by pcwzrd13:
Printed this for my self and looks good but want to try it on the Anycubic so i need to redesign it.
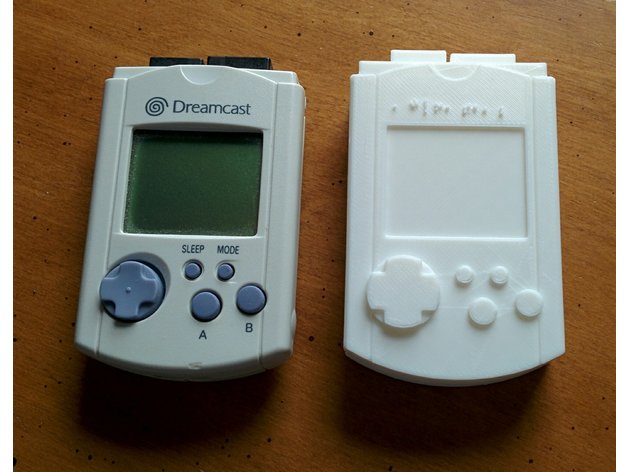
So I have been playing in ThinkerCad again result:
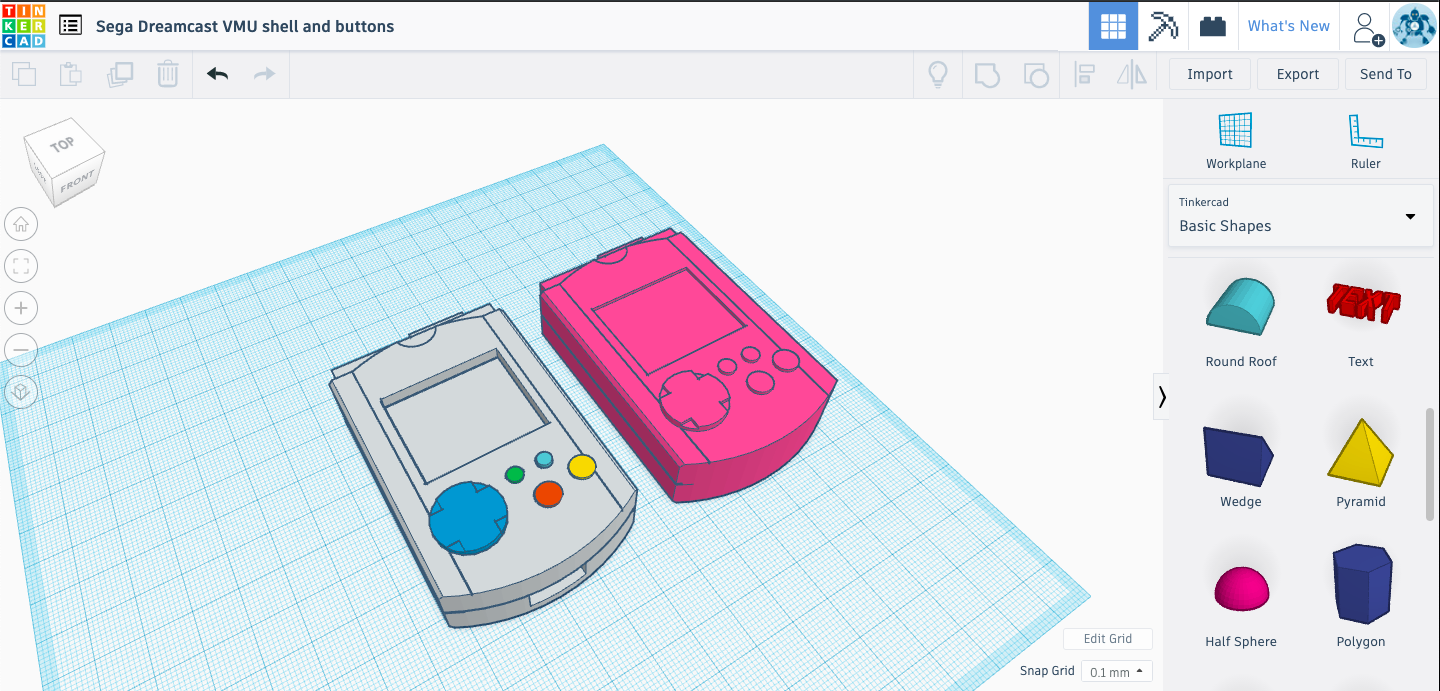
The VMU is now hollow and loose buttons 😀
Maybe I can fit a smartwatch in there have a cheap 10 euro watch laying around.
But lets print it first 😀
